


 |
| Inking the plate at a central work table |
 |
| Organizing to keep our paper clean for printing |
 |
| The process . |
 |
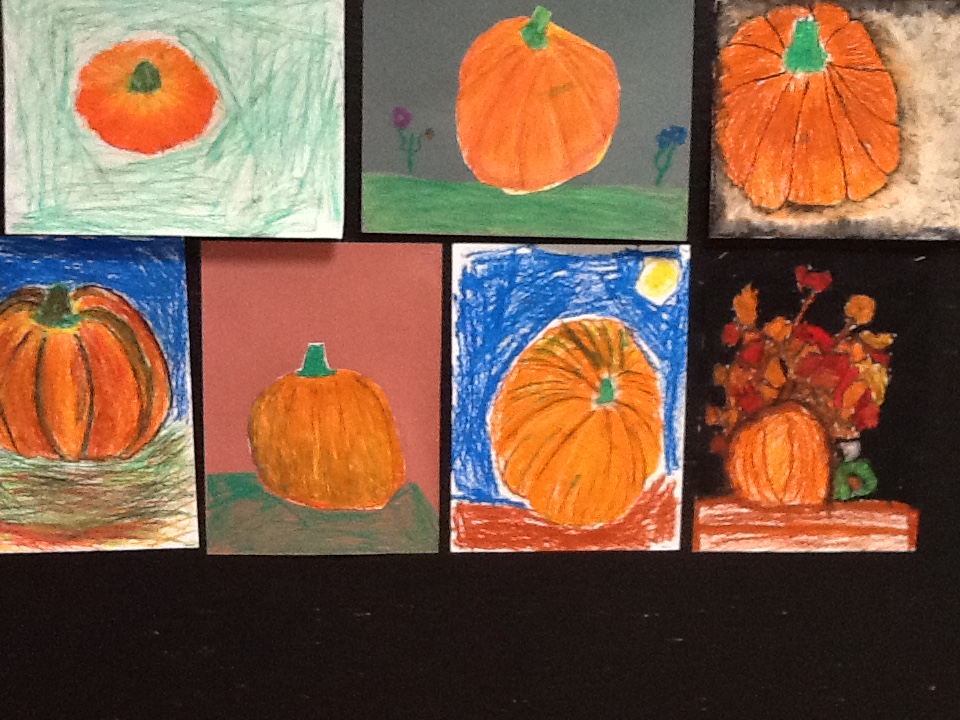
| Student Work |
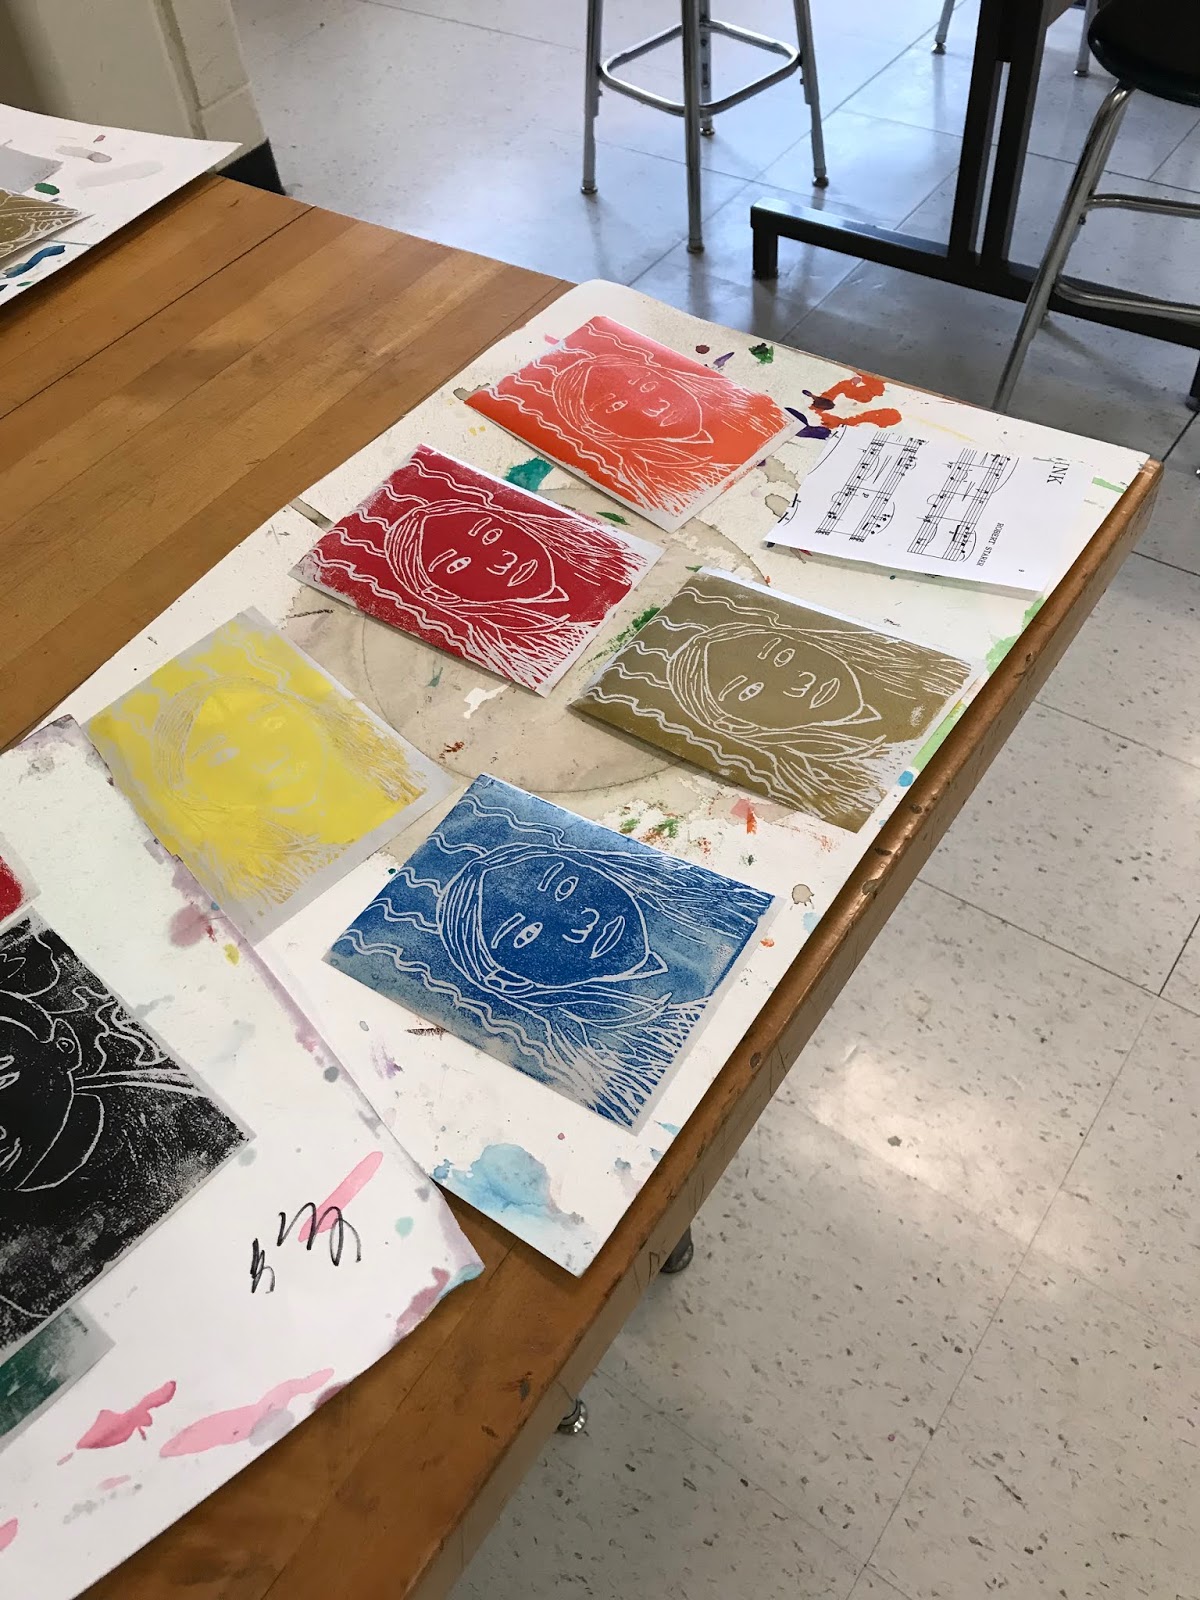 |
| Student Work |
 |
| Student Work |
 |
| Student Work |
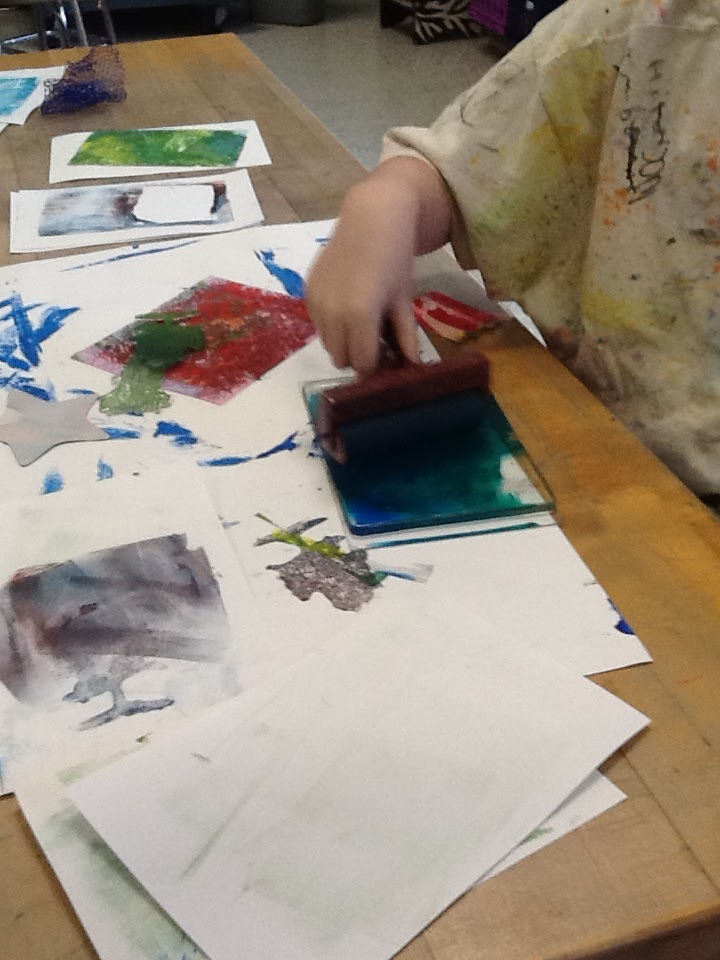 Last spring I ordered a class set of Gelli plates for my classroom and immediately became intimidated and overwhelmed with thoughts of managing a class using them. I shared the process with my fellow art teachers and hoped I would find courage to use them in my classroom. Baby steps last week when I pulled them out for the Art club to use. Here are some pictures of student's work "in the process". I laid out supplies, stencils texture tools and other found objects and allowed them to experiment and to personally discover the limitless possibilities. They printed on book pages, newsprint, construction paper and drawing paper. I had hoped to have deli papers for them but the order didn't arrive in time - next time I'll pull those out. WE had a blast! Collages will be made using selected prints on canvas and also for cards. Pictures to follow when they are completed.
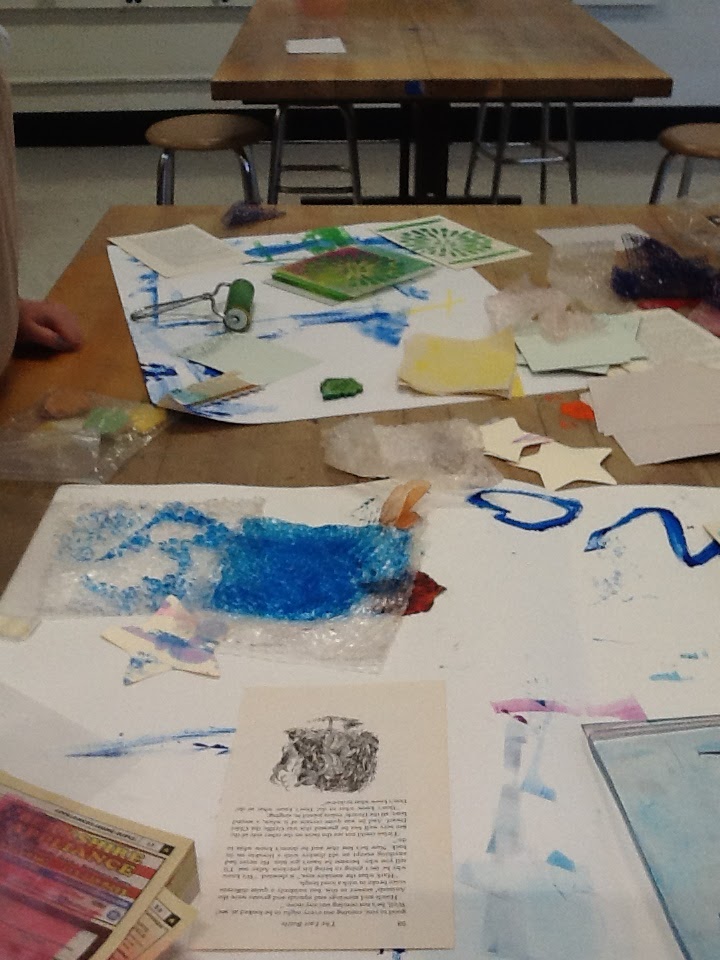 |
| We used large paper as a place mat to keep things organized by student. |
 |
| Playing with texture making tools both purchased and made from old credit cards |
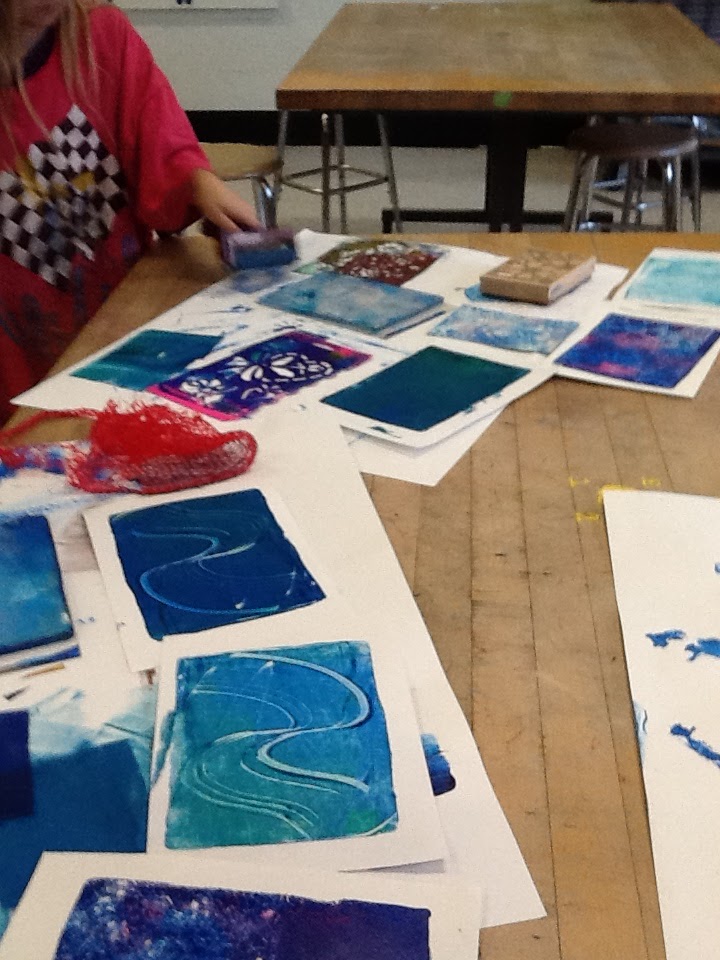 |
| Adding stamps for mask and then stamping on other prints to create ghost prints |
 |
| Gyotaku rubber fish worked well, too! |

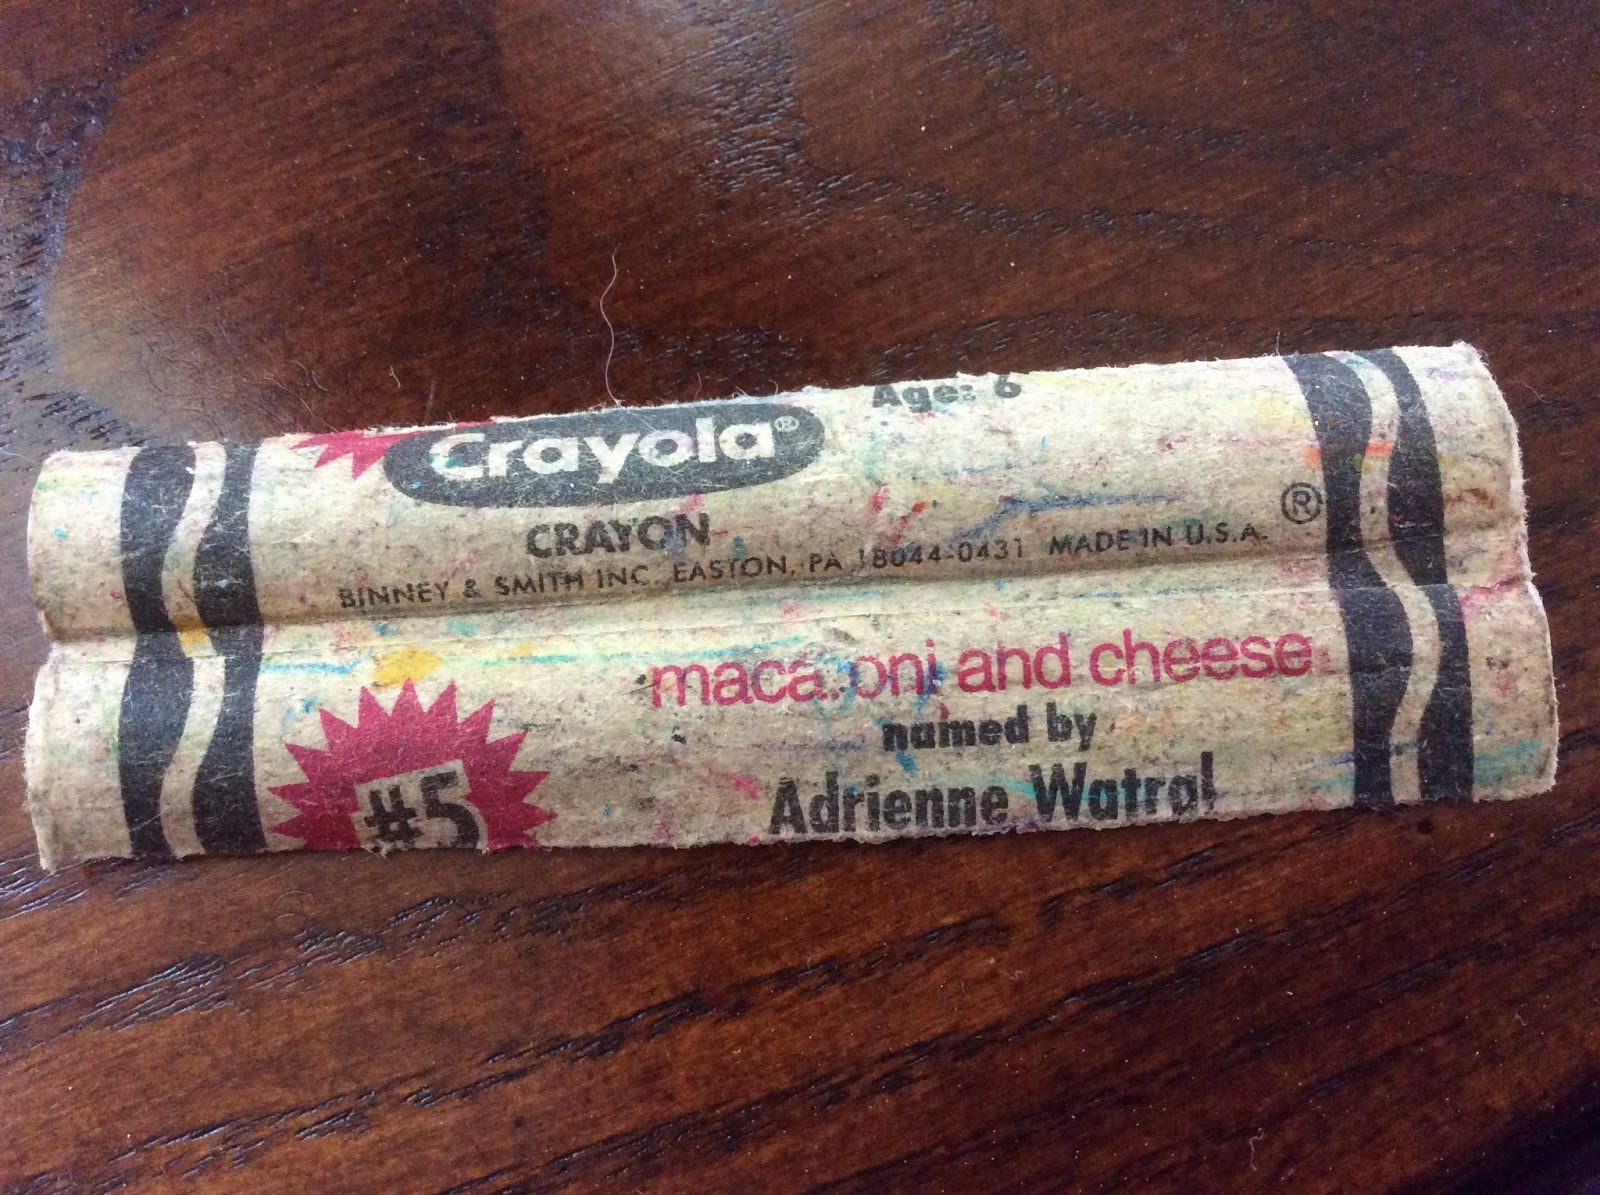 A while back a co-worker handed me one of those plastic shoe box containers full of old crayons and other miscellaneous trinkets that her grown children had left behind in her basement years ago. She knew I melted down broken crayons to use as prizes in the art room. I was thankful to receive them but didn't get to the box right away. My colleagues are great about sharing broken crayons with me so I had a fairly large stockpile. A few weeks ago, I started peeling the crayons in the box to begin the crayon making process and came across some labels I had never seen before. I retained one determined to learn more about what it was.
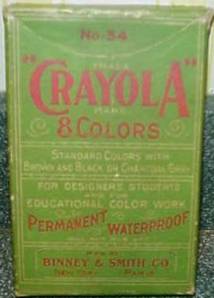
 I didn't have to do much research to discover this terrific site that enlightened me as to the contest that occurred back in 1993 for students to name a crayon. I know I have seen the crayon, Macaroni & Cheese in newer boxes for crayons since that day. The site was truly fascinating with a complete history of crayola. If you're into this type stuff, just over and check it out. It was interesting to discover the visual changes that have occurred to this common everyday material in the Elementary Art Room.
  |
| Student Work |
 |
| Student Work |
 |
| Student Work |
 |
| 3rd grade Worked, textured and inked |
 |
| 3rd grade: Worked, textured and inked |
 |
| 3rd Grade: Worked, textured and inked |
 |
| 3rd grade: worked , textured and inked |
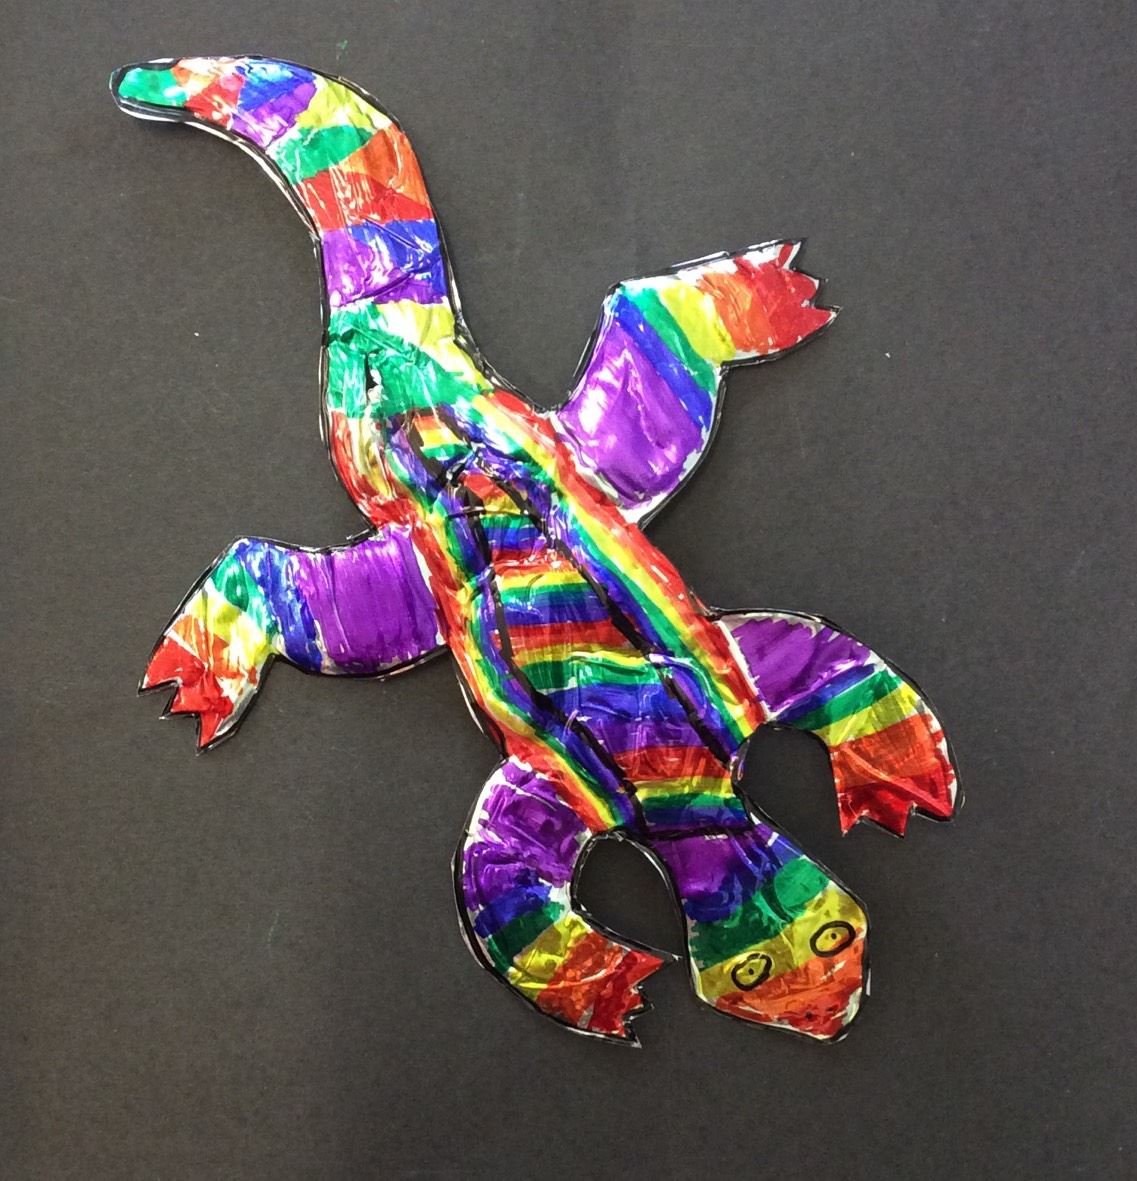 |
| 4th grade: worked and colored with Sharpies |
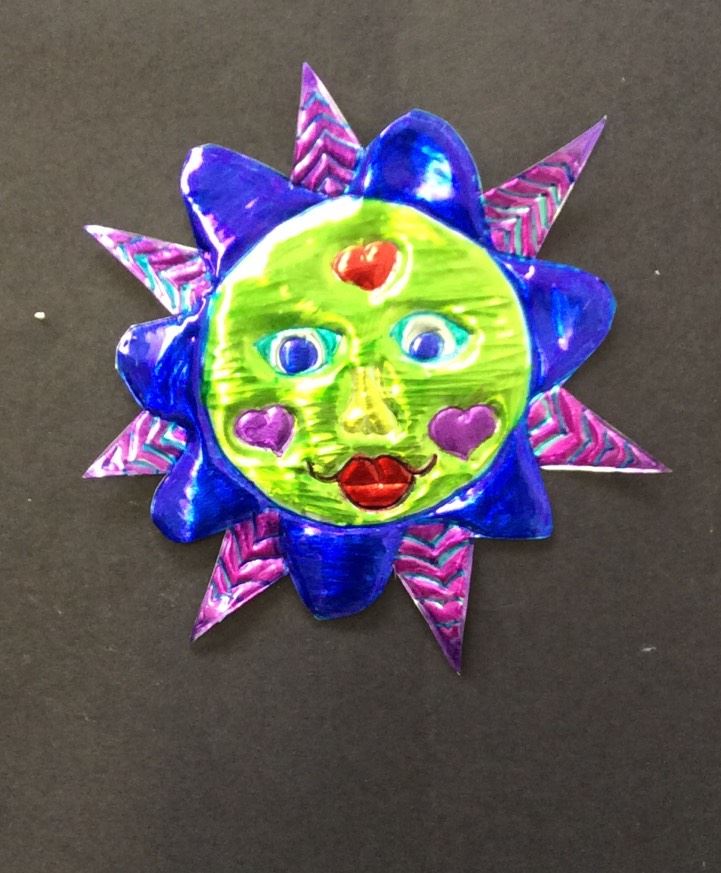 |
| 4th grade: worked and colored with Sharpies |
 |
| 4th grade: Metal worked and colored with Sharpies |
 |
| 4th grade: worked and colored with Sharpies |
 |
| 3rd grade creation |
 |
| 3rd grade |
 |
| very creative 2nd grader |
 |
| 3rd grader |
 |
| 3rd grader |
 |
| 3rd grader |
 |
| 2nd grade |
 |
| 2nd grade |
 |
| 2nd grade |
 |
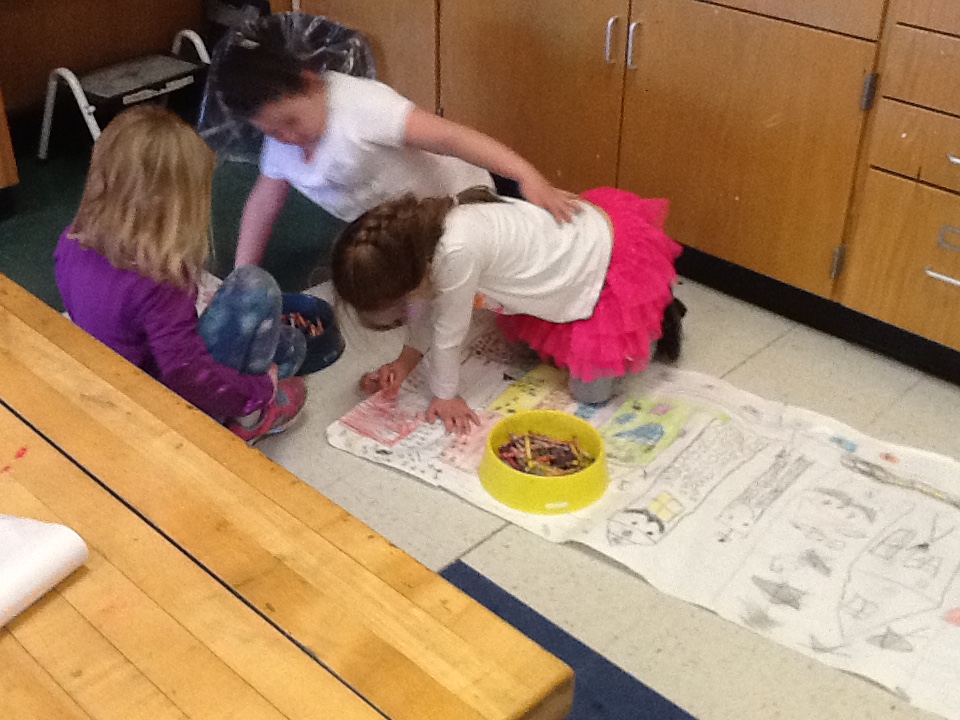
| These girls were really funny; always talking about how they were going to work together but not always achieving success in those endeavors. |
 |
| These guys are doing really well sharing the work load |
 |
| Super group dynamic here and they took turns being in charge |
 |
| A closer look at the actual project |
 |
| Student's wolf |
 |
| Student's Elephant |
 |
| Student's monkey with a banana |
 |
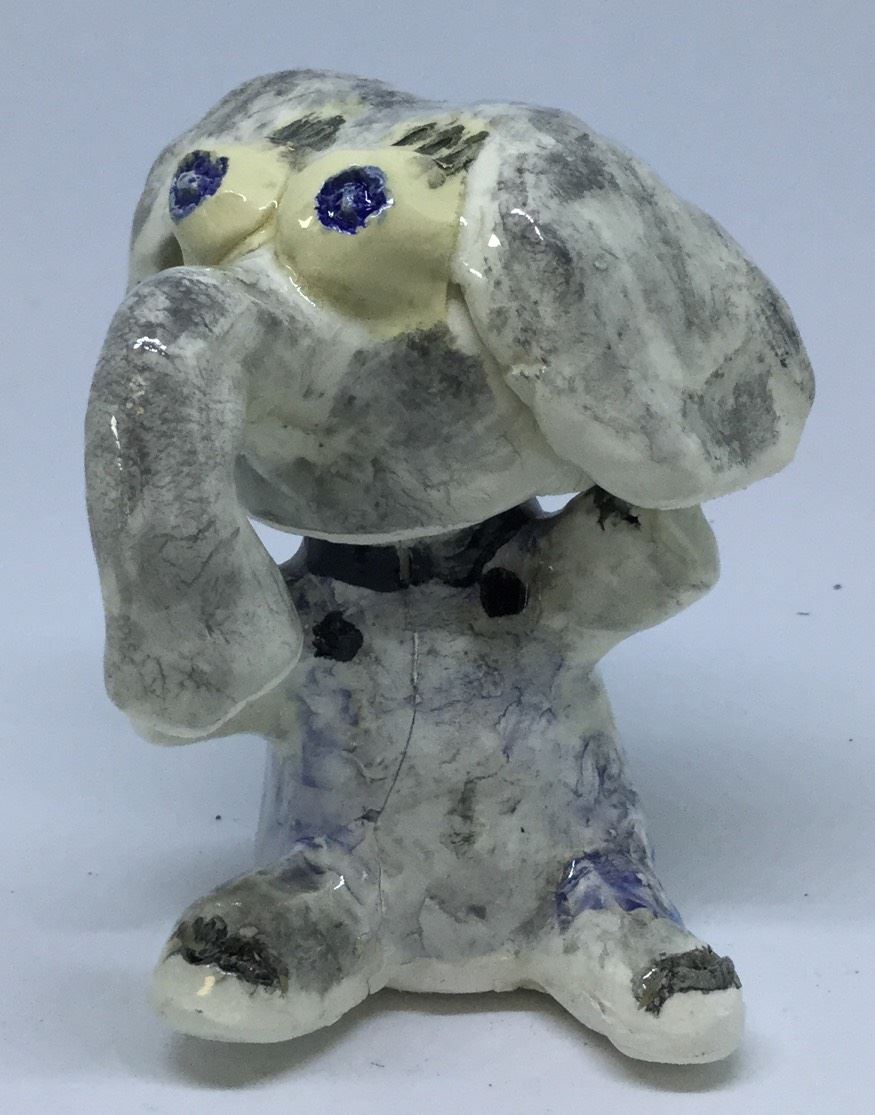
| Puppy by student. I was impressed by how she placed the front feet on the bobble and the back feet on the base. |