
Tuesday, December 31, 2013
Monday, December 30, 2013
Screen Printing Snowflakes

Day one we talk about folding and cutting snowflakes. I generally do this project with 4th graders who I can give a more grown up pair of scissors to. The scissors intended for younger students are awfully difficult to use for multiple layer cutting that is created with the fold. I have students fold a rectangle in half and then using the center point of the longest edge as the guide, the paper is folder into 3rd and becomes a cone shape. The top edges are removed to give the cone three straight edges. From this point students cut away shapes with the focus on paper falling out of the piece. This avoids the disappointment when only a slit is cut and the snowflake isn't a snowflake. Since day one is learning to cut the snowflake. Many snowflakes are cut. All go home but one that the student chooses for printing the following class.

Day two and this is the WoW day or maybe they are both WoW days. At any rate. I have pre-stretched inexpensive cotton fabric on 10" embroidery hoops. I like the plastic ones best because cleanup is easier and you don't have to worry about warping. You will get warping from the wooden ones. Students write their names on the back of 2-3 pieces of dark blue paper and proceed to the printing area. Here they place the paper on the table with their name not visible; then the cut snowflake is placed on the paper where they would like to see it printed. Location, location, location. White acrylic paint is on the table and either printing brayers or old credit cards. You might also need a few old brushes. Lay the hoop centered on the top of the snowflake with the concave area facing upward. You paint will go inside the hoop on top of the cloth. Use a brayer or credit card to spread the paint around inside the hoop. Lift the hoop and you will have a beautifully printed snowflake. I have students turn the hoop over on the table, convex, while waiting to print a second time to keep from transferring the paint and to keep from damaging their paper snowflake which is now adhered to the cloth by the paint. You can continue to print until you run out of time by adding more paint and squeezing it through the cloth. To clean-up I just run the hoops under warm water and scrub from the inside with a kitchen brush. The snowflakes fall out and head to the trash, clean hoops are dried and put away for the next class. Before using again, I always tighten the cloth inside the hoop to make sure it is taunt.


Sunday, December 29, 2013
Pondering Update
| Stockbridge Indian Tribe |
Still in the planning stages but at least I'm planning now with only a few more day to go. Wish me well!
| Mission House in Stockbridge |
Friday, December 27, 2013
Pondering some plans
 |
| Google Image |
So, what are your plans in January? I'd really be thrilled if someone would share their ideas. Lots of comments... Please!
Saturday, December 7, 2013
And then....it snowed!
 I admit I played a small trick on my precious little kindergarten class yesterday. We read a wonderful book about a snow day titled "The Snowy Day" by Anna Milbourne and Elena Temporin. After the reading, I told the students that we would try to bring some snow to New England by building snowmen. Well, it worked. Of course, I knew we had a storm predicted but, I'm sure it's exciting for the students to think they had a part in it all! This is the view out my back window this morning. Not the 4- 8" that was predicted, but a nice manageable coating of the gorgeous stuff.
 |
| I think these two suffered from warm temperatures and melted a bit |
Using model magic, students practiced rolling balls in their hands, not on the tables to create a two ball snowmen. This was stacking in 3D! I had pre-dipped toothpicks in orange paint to make carrot noses and cut some small twigs off of the trees outside my classroom to create the arms for their snowmen. Colored model magic was twisted to create the scarf which serves as a reinforcement for the joined areas and also a hat. Students created hats in their own methods. I had demonstrated how to roll the clay into a cone for those who were interested. As is true of all young student works, they are adorable!
 |
| Students used black fine point markers to add their own faces and buttons |


Monday, December 2, 2013
Kindergarten "Not a Box" books
 I posted this past weekend about my substitute plans for tomorrow. I had everything ready to go, books copied and assembled but confidence was waning so I decided to try out the lesson with my Kinders class today. Her are a couple of photos of the books during assembly. I was able to do double sided copies so it really does go together like a book.
The lesson went well with my class today. The kids enjoyed the reading of the book and the wonderful, yet simple illustrations. They couldn't wait to begin their own. Since I had everything assembled, I allowed them to select what cover color they wanted. (one piece of construction paper cut in half made two covers). Here is how I conducted the lesson. Students identified the first shape in the book, it was a square. I wrote the work "box" on the whiteboard and they all copied it onto their books. They all selected a red crayon and colored in their box focusing on good control and trying to stay in the lines. Next they drew a box on the following page and turned it into something. I gave each student a post-it where I wrote the word for what they had drawn for them to copy. This enabled me to move around and not be stuck spelling for a student while the others tired of waiting their turn. When all were finished, we moved on to the next shape in the book, a rectangle. Same process, word "rectangle" on whiteboard then written into book and color. They drew a rectangle and told me what their rectangle was to become. I wrote that word on the post it for them to copy. They only completed three pages in the book today, page three was a circle. I hope it goes well for the substitute tomorrow. With organization, it went great for me today. Here are a few finished pages that I had to share with you!


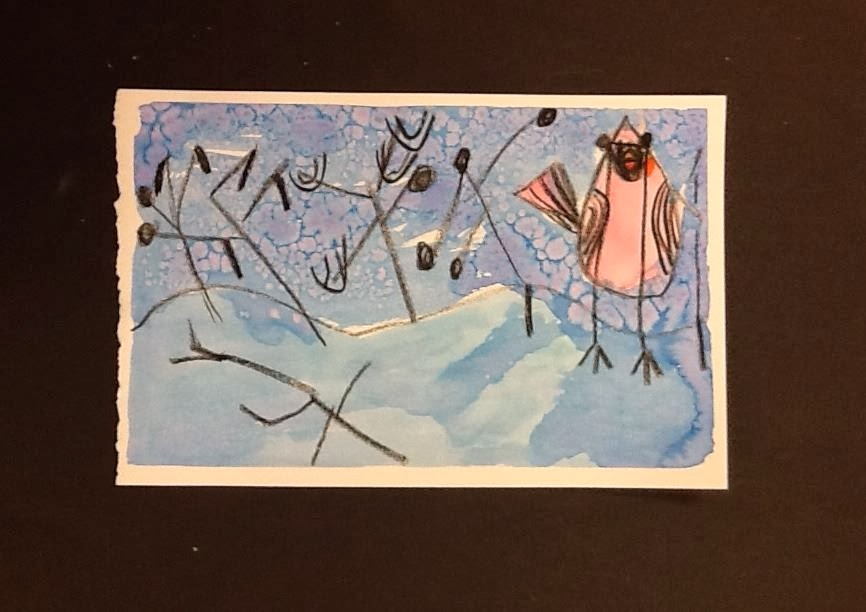
Charley Harper Cardinals


Second graders took a look at some of the work by Charley Harper today. He is described as a modernist artist and is best known for his simple geometric shapes drawings. Most of his work depicts wildlife. The focus today was on several of his prints with a cardinal theme.
Students followed along as they drew their cardinals using the instructions below.

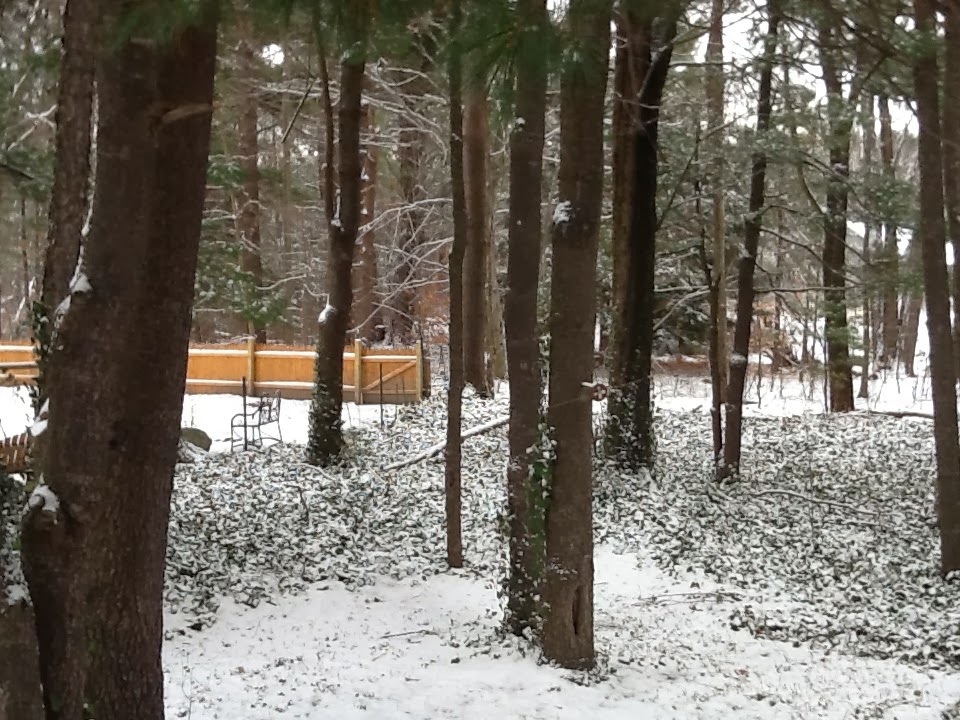
The next step involved taking a look at the vegetation outside the windows of the classroom in order to really see what a heavy frost made nature look like. Students then drew various winter dead looking plants around their birds. Black crayons were used for the drawings and also to color in the black area of the bird's face. Students using liquid watercolors to complete the composition. Kosher salt was added to the painting of the sky to make it appear as if it might be snowing. Here are a few of the wonderful completed projects.


Subscribe to:
Posts (Atom)