Here we are in the final weeks of school and I have so much cleaning out to do! My room became the catch all space for some really cool recyclables this year so when I was trying to come up with a final project for a class of second graders, recycled materials came to mind. I had a huge pile of thin cardboard that a stamp collector had passed on to me as well as some cool ovals cut from mat board. I pre-cut all the cardboard into 2" x 2" squares and gave students the option to use as many as they wanted but with a minimum requirement of five squares for each sculpture. First we reviewed how to slit the squares on each side so they could slide and lock together to form the structure. Students experimented with what they sculpture might look like and determined how many squares they would need. They also could cut anything into a small size if they wanted. As soon as they had a plan they disassembled everything and painted the pieces in colors of choice adding designs and patterns as they wanted. Once everything was dry, sculptures were reassembled and I used hot glue to attach them to the base. This was a very successful project, the students really enjoyed it and it was all recycled!!
Showing posts with label paint. Show all posts
Wednesday, June 10, 2015
Let's Recycle!
Here we are in the final weeks of school and I have so much cleaning out to do! My room became the catch all space for some really cool recyclables this year so when I was trying to come up with a final project for a class of second graders, recycled materials came to mind. I had a huge pile of thin cardboard that a stamp collector had passed on to me as well as some cool ovals cut from mat board. I pre-cut all the cardboard into 2" x 2" squares and gave students the option to use as many as they wanted but with a minimum requirement of five squares for each sculpture. First we reviewed how to slit the squares on each side so they could slide and lock together to form the structure. Students experimented with what they sculpture might look like and determined how many squares they would need. They also could cut anything into a small size if they wanted. As soon as they had a plan they disassembled everything and painted the pieces in colors of choice adding designs and patterns as they wanted. Once everything was dry, sculptures were reassembled and I used hot glue to attach them to the base. This was a very successful project, the students really enjoyed it and it was all recycled!!Sunday, February 1, 2015
Here's what I've been up to.....
![]() |
| Not so good prints |
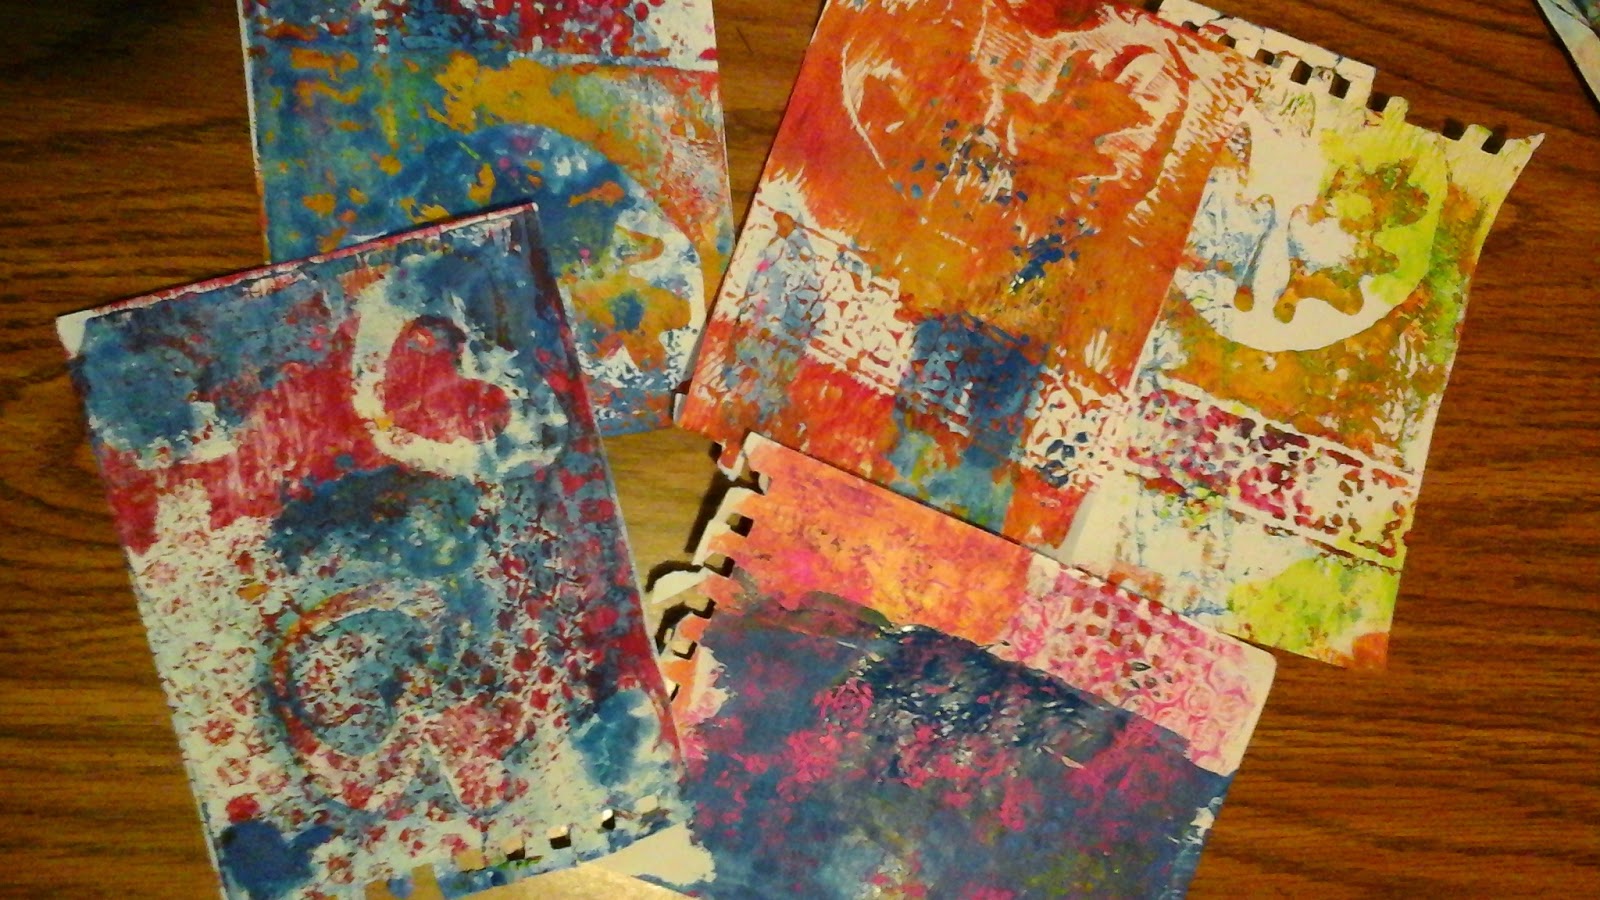
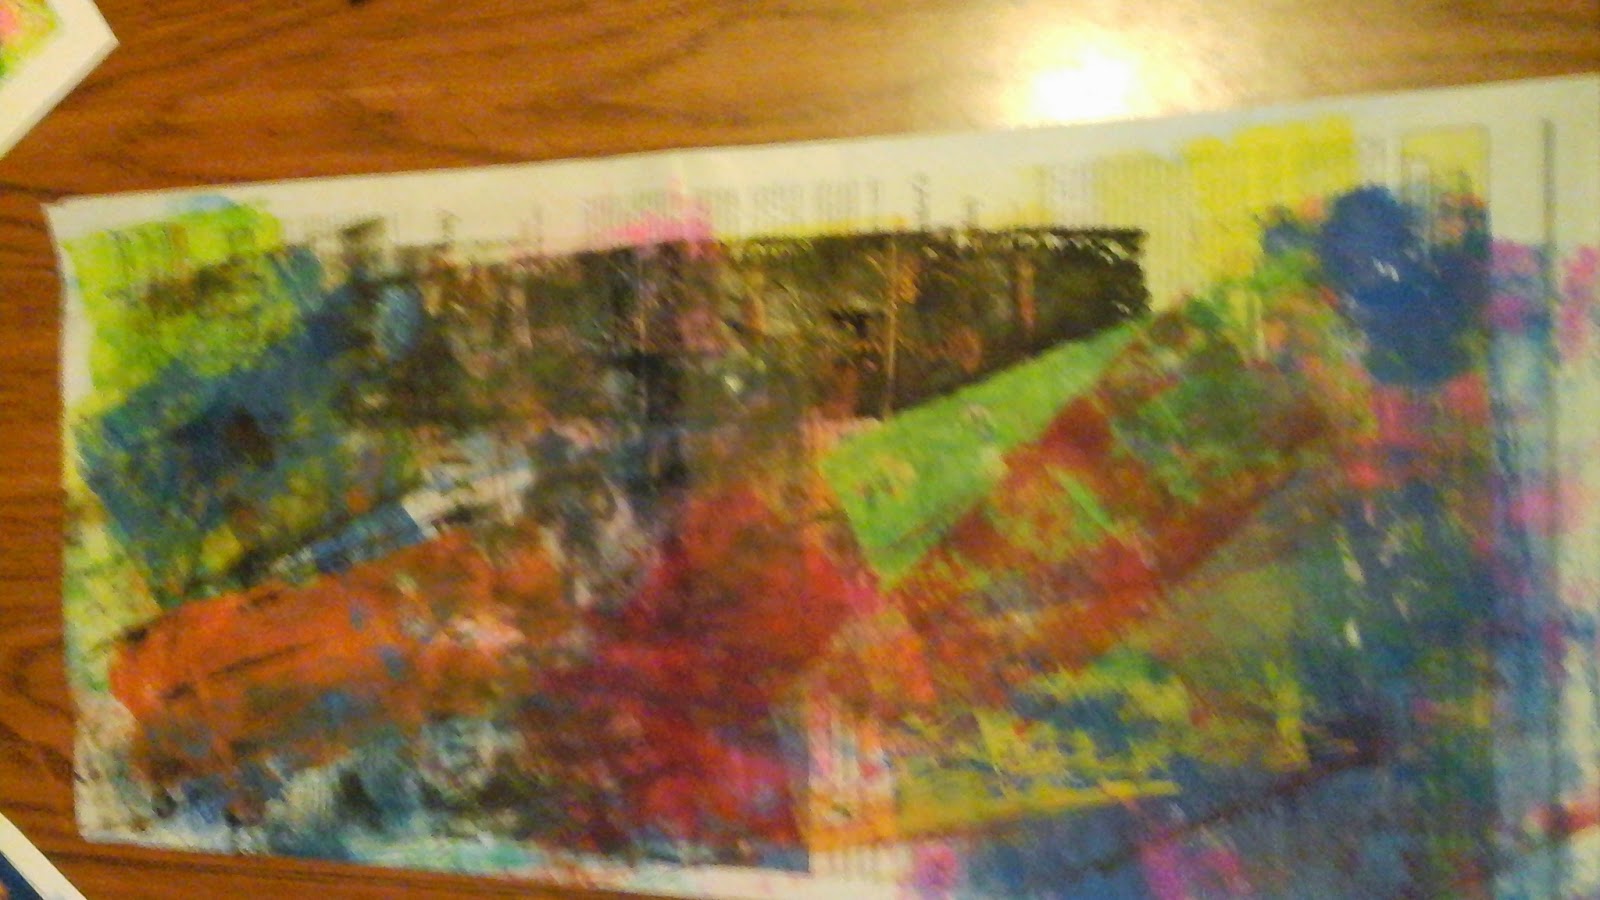
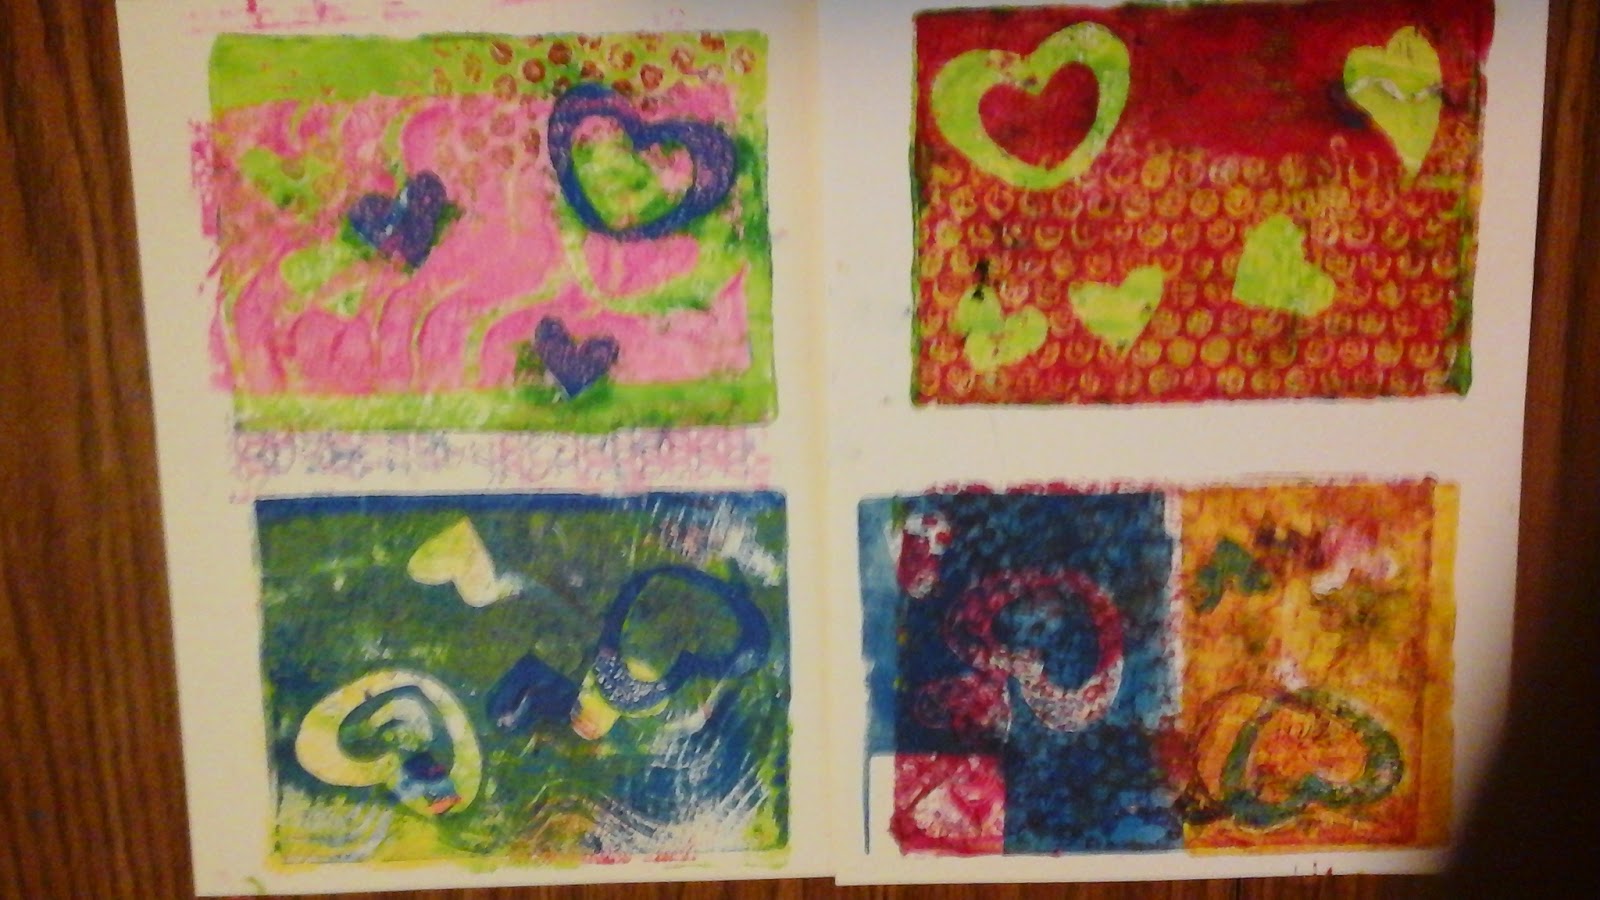
To begin, yesterday was a fabulous day, I posted myself in front of the big screen to view the AOE Winter on-line convention. I can't think of a better way to spend my day than being connected with fellow art teachers from all around the world, getting inspired and well, uh, educated. It's the next best thing to actually attending one of those face-to-face conventions like the one coming up in New Orleans in March. One day I'll be able to do that, too. Many weeks back I ordered a Gelli Plate. I kept reading about them, viewing all these wonderful instructional videos and seeing some amazing prints so I just wanted to give one a try myself. I ordered the 5 x 7 size and I am happy with my choice. Upon it's arrival I immediately opened the package, read all the directions and sealed it back up leaving it to sit on the side table in my living room where it has been for weeks. But today, inspired by all the wonderful of yesterday, I gathered up all of my tools and miscellaneous gadgets that might work for texture and headed to the kitchen table to finally try out that Gelli plate. After a few refresher videos to refocus on the process I began to "play". And, yes, it really does feel a lot like play. First I attempted just inking the plate using printing ink. Some of my ink has been around for awhile and either was too cold from being stored in the basement or was about to dry out because I really struggled with spreading it. I used bubble wrap, a onion bag, and some stencils I found in a craft drawer to see how I might do with masking. Quickly I discovered that I had jumped ahead of myself and I should be making my foundation prints using only color. I think I learn best from my mistakes, it sticks with me longer and as we all really know "There are no mistakes in Art only opportunities for creativity"! I eventually got the hang of the multiple layers of printing and masking to produce some of the effects I had seen in the videos. Oh, and thanks to the Sargent paints in my AOE swag box, I was able to make some really effective prints using acrylic paint. I did like the way the paint moved on the plate much better than the inks. I don't truly know if it was because the paints were fresher or if paint is really an easier medium to use this way. The yellow paint also stained my plate but it didn't add residue to subsequent prints so no bother. I read that it would come off with mild soap and water but it wasn't that bad of a stain and I didn't attempt to clean it. What was a surprise was that the plate picked up the ink from the newspaper I had laid out to protect my work surface. It does not appear to come off but again did not transfer to the prints. I had moved the plate off of the plastic surface I had it on to wipe up some ink and it was only on the paper a second...lesson learned. Clean up was very easy. I enjoyed attempting to pull as many ghost prints off of the plate as possible so there was not much ink or paint left on the plate to clean up. I can't wait to gather up some more stencils and other items to use for mask and try it all again. I do want to make sure I have a wider variety of colors available for the next round of printing. ![]() |
| Work in progress |
![]() |
| Used for Ghost Prints |
![]() |
| Used for Negative Prints |
![]() |
| Even the paper used to clean the brayer looks interesting |
![]() |
| Starting to get the hang of it. |
Tuesday, April 15, 2014
Kinder Bunnies
I think this is becoming one of my favorite Kindergarten lessons. It's great project for spring. This year the timing has been wonderful as we completed these the week prior to Easter. They are going home this week and I am sure will be a wonderful addition to many a family celebration. Week one, students used a tracer to make a contour bunny on a 12x18 sheet of blue construction paper. Using white tempera and a small cube sponge cut from a standard household sponge, students proceeded to pounce or hop with the sponge to fill in the form of the bunny. These were set aside to dry for week two.
Today was week two. Students were given construction paper crayons to embellish their bunnies. First three shades of green and a brown were used to draw the grass. I had the students imagine their spring bunny hiding in tall, tall grass as they used their crayons. The green grass was tall and the browns grass was stubby and shorter. Next two shades of pink were selected for adding the color in the bunnies ears, a nose, and the eye. Finally, students were encouraged to complete their compositions by adding touches of spring through multi-colored flowers, butterflies, bees or anything else from their imagination. I was really pleased with how these turned out and the students were thrilled by the oohhs and aahhs as they walked down the hall carrying their completed projects.
Sunday, June 2, 2013
Texture Magnets for Kindergarten
Two of my Kinders classes worked faster than the others during the clay unit so I taught a texture lesson and gave then each a ball of clay to make a texture imprint from the bottom of their shoes. This is usually a Spring project for me and I use model magic and add a magnet to the back.
I begin the lesson by reading the book "Feely Bugs" by David A. Carter. I have the mini hard back version from when my soon to be 20 year old daughter received it as a child. As I read, I have good listeners come up to feel the bugs and report back to the rest of the group with their descriptive feeling words. This helps them to define texture as something we can feel and challenges their vocabulary as well. If the group is doing a good job as listeners, we read the book twice through so everyone can have the opportunity to report.
I give them a piece of clay about the size of a jacks ball that they form into a ball and then carefully press into the bottom of their shoe to flattened to about 1/4". With the model magic, they are left to harden for the following week and with the low-fire clay, of course they had to be fired. The rest of the class period is usually used coloring with texture sheets. I have a pre-drawn picture of a turtle that is turned into "Texture Turtle". They then practice cutting skills by cutting it out on the lines when finished.
Back to the clay, with the model magic texture magnets, I have the students color with water based markers and then I spritz then with water to create a tye dyed finish.
In the process of trying to complete all the projects in the remaining three weeks of school, I came upon the clay textures the other day and was scrambling for ideas on how to finish them. I did not think the marker tye dye would be as effective so went to google to find an alternate method to finish these up. All the sites I tried to visit were blocked by the district but I though I remember reading on other blogs something about oil crayons and tempera. Here are the results and I could not have been more pleased with the outcome. The students were so excited that each one showed them off to the principal! First they colored as they chose using the oil crayons. Then a quick coat of black tempera went over everything. As they dried, I rinsed them under running water and patted them dry. I think I ill replace the model magic with the low-fire clay in all of the classes next year.
I begin the lesson by reading the book "Feely Bugs" by David A. Carter. I have the mini hard back version from when my soon to be 20 year old daughter received it as a child. As I read, I have good listeners come up to feel the bugs and report back to the rest of the group with their descriptive feeling words. This helps them to define texture as something we can feel and challenges their vocabulary as well. If the group is doing a good job as listeners, we read the book twice through so everyone can have the opportunity to report.
I give them a piece of clay about the size of a jacks ball that they form into a ball and then carefully press into the bottom of their shoe to flattened to about 1/4". With the model magic, they are left to harden for the following week and with the low-fire clay, of course they had to be fired. The rest of the class period is usually used coloring with texture sheets. I have a pre-drawn picture of a turtle that is turned into "Texture Turtle". They then practice cutting skills by cutting it out on the lines when finished.
Back to the clay, with the model magic texture magnets, I have the students color with water based markers and then I spritz then with water to create a tye dyed finish.
In the process of trying to complete all the projects in the remaining three weeks of school, I came upon the clay textures the other day and was scrambling for ideas on how to finish them. I did not think the marker tye dye would be as effective so went to google to find an alternate method to finish these up. All the sites I tried to visit were blocked by the district but I though I remember reading on other blogs something about oil crayons and tempera. Here are the results and I could not have been more pleased with the outcome. The students were so excited that each one showed them off to the principal! First they colored as they chose using the oil crayons. Then a quick coat of black tempera went over everything. As they dried, I rinsed them under running water and patted them dry. I think I ill replace the model magic with the low-fire clay in all of the classes next year.
Wednesday, May 1, 2013
In a spring garden
Cruising around Pinterest a few weeks back, I discovered a cute lesson using a soda bottle to make flowers and decided it would be a perfect lesson for my Kinders with a bit of extension and my own focus. Here is how I presented this lesson. First I read the book "In a Spring Garden" edited by Richard Lewis. It is a compilation of short poems that tell a story about spring. Next we practiced vertical lines using values of green with markers. This is the first time Kinders have used markers so a lesson in proper use preceded. We thought tall, thick spring grass prior to the first mowing. With white paint, 9 flowers were printed along the top of the grass at various heights. A pencil eraser dipped in yellow paint was used to add the centers in the flowers. This was set aside in the dry rack. Finally, the traditional symmetrical butterfly was made and added to the dry rack. I had pre-set both papers with student names prior to class time for efficiency and to avoid "no name" papers. Students cut out the butterflies and attached them to the flower field during week two. It is a busy lesson with a lot of transition but I have everything ready to go and switch material out throughout the process.
They turned out really cute.
Monday, March 4, 2013
Thinking of Spring with Kindergarten
Lets make Rabbits. I've used this book in the past as a collage project with Kinders. It's a cute little book. Next the students traced the rabbit onto blue constructions paper near the bottom of the paper using a white crayon. Using construction paper crayons, students created grass remembering to color in a top to bottom motion to create the appearance of deep grass where the baby bunny might be hiding. Students used several shades of green along with brown and gray as they colored their grass. Flowers were added growing up out of the grass and around the rabbit. After all coloring was completed, students used white tempera and a small white sponge to "hop" paint their rabbits. Constant reminders to "hop" with their sponge were given during this time. Once the paint had dried, pink poms and googly eyes were added to complete the picture. These turned out really cute and are so much more appropriate as we look forward to the arrival of Spring! A larger white pom could be added to enhance the tail as well.


Subscribe to:
Posts (Atom)