 |
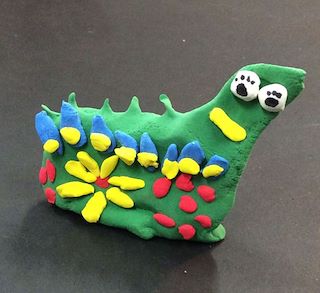
| Student Work - Flower Monster |
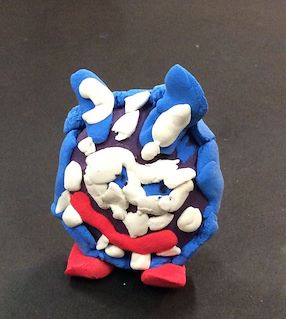 |
| Student Work - So many teeth! |
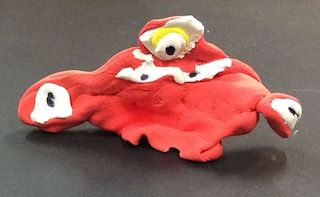 |
| Student Work - Sooo many eyes! |
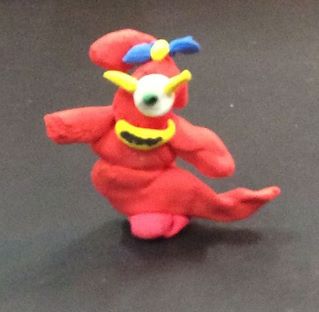 |
| Student Work - Monster with a Bow |
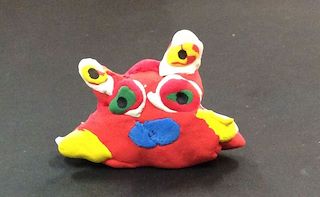 |
| Student Work - Orange monster |
|
| Student Work - Flower Monster |
|
| Student Work - So many teeth! |
|
| Student Work - Sooo many eyes! |
|
| Student Work - Monster with a Bow |
|
| Student Work - Orange monster |
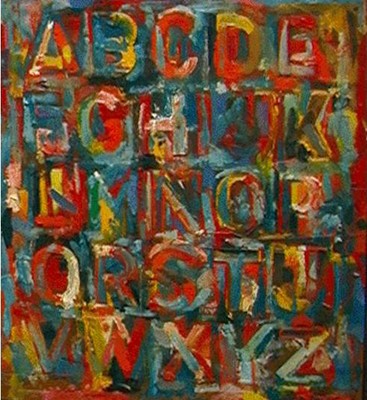 |
| "Alphabet" by Jasper Johns was the piece used for inspiration. |
 At a recent professional day experience, our group shared ideas for printmaking. One of my colleagues shared a variation of this project. She had planned the project as a color mixing experience for Kinders. With a twist, I introduced it to 5th grade students who totally enjoyed the color review and the opportunity to add individualized touches to their work.
 Week one student were given tempera colors in the primaries and instructed to paint all the colors of the color wheel. They were further told they could not mix colors on their pallets but instead had to mix right on the painting surface. There were not specific instructions as to how the finished work should appear, only that it should be non-representational.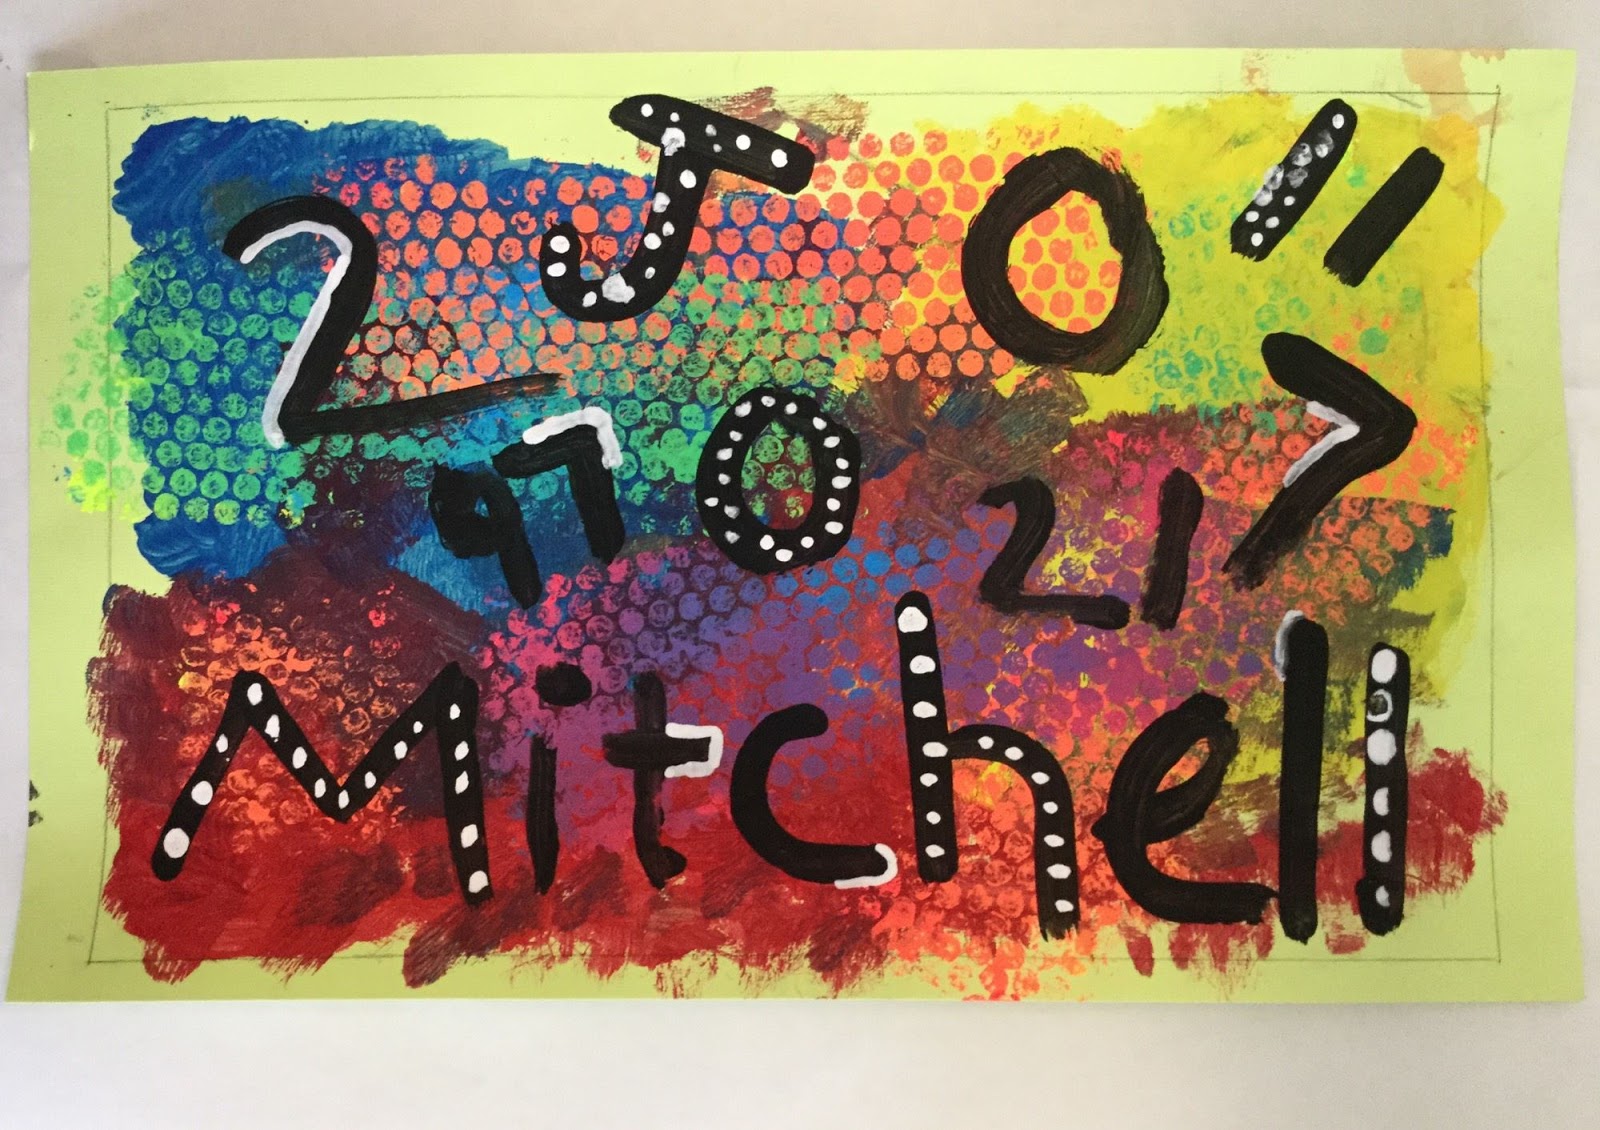
 Week two students used tempera in the fluorescent primary colors to mix secondary colors and print using bubble wrap. They did the mixing right on the bubble wrap. Very messy, but they all seems to really enjoy the bubble mixing process. (Paint one primary on each end of a strip of bubble, fold and rub the two ends together to mix.) At this step, they reviewed show colors "work" off one another and were reminded that complementary colors seem to "pop" when used together. Personal choices were made as to where to place the different color prints. As they completed this step, drawing paper was used along with any left over paint to practice painting letters and numbers using a flat paint brush.
  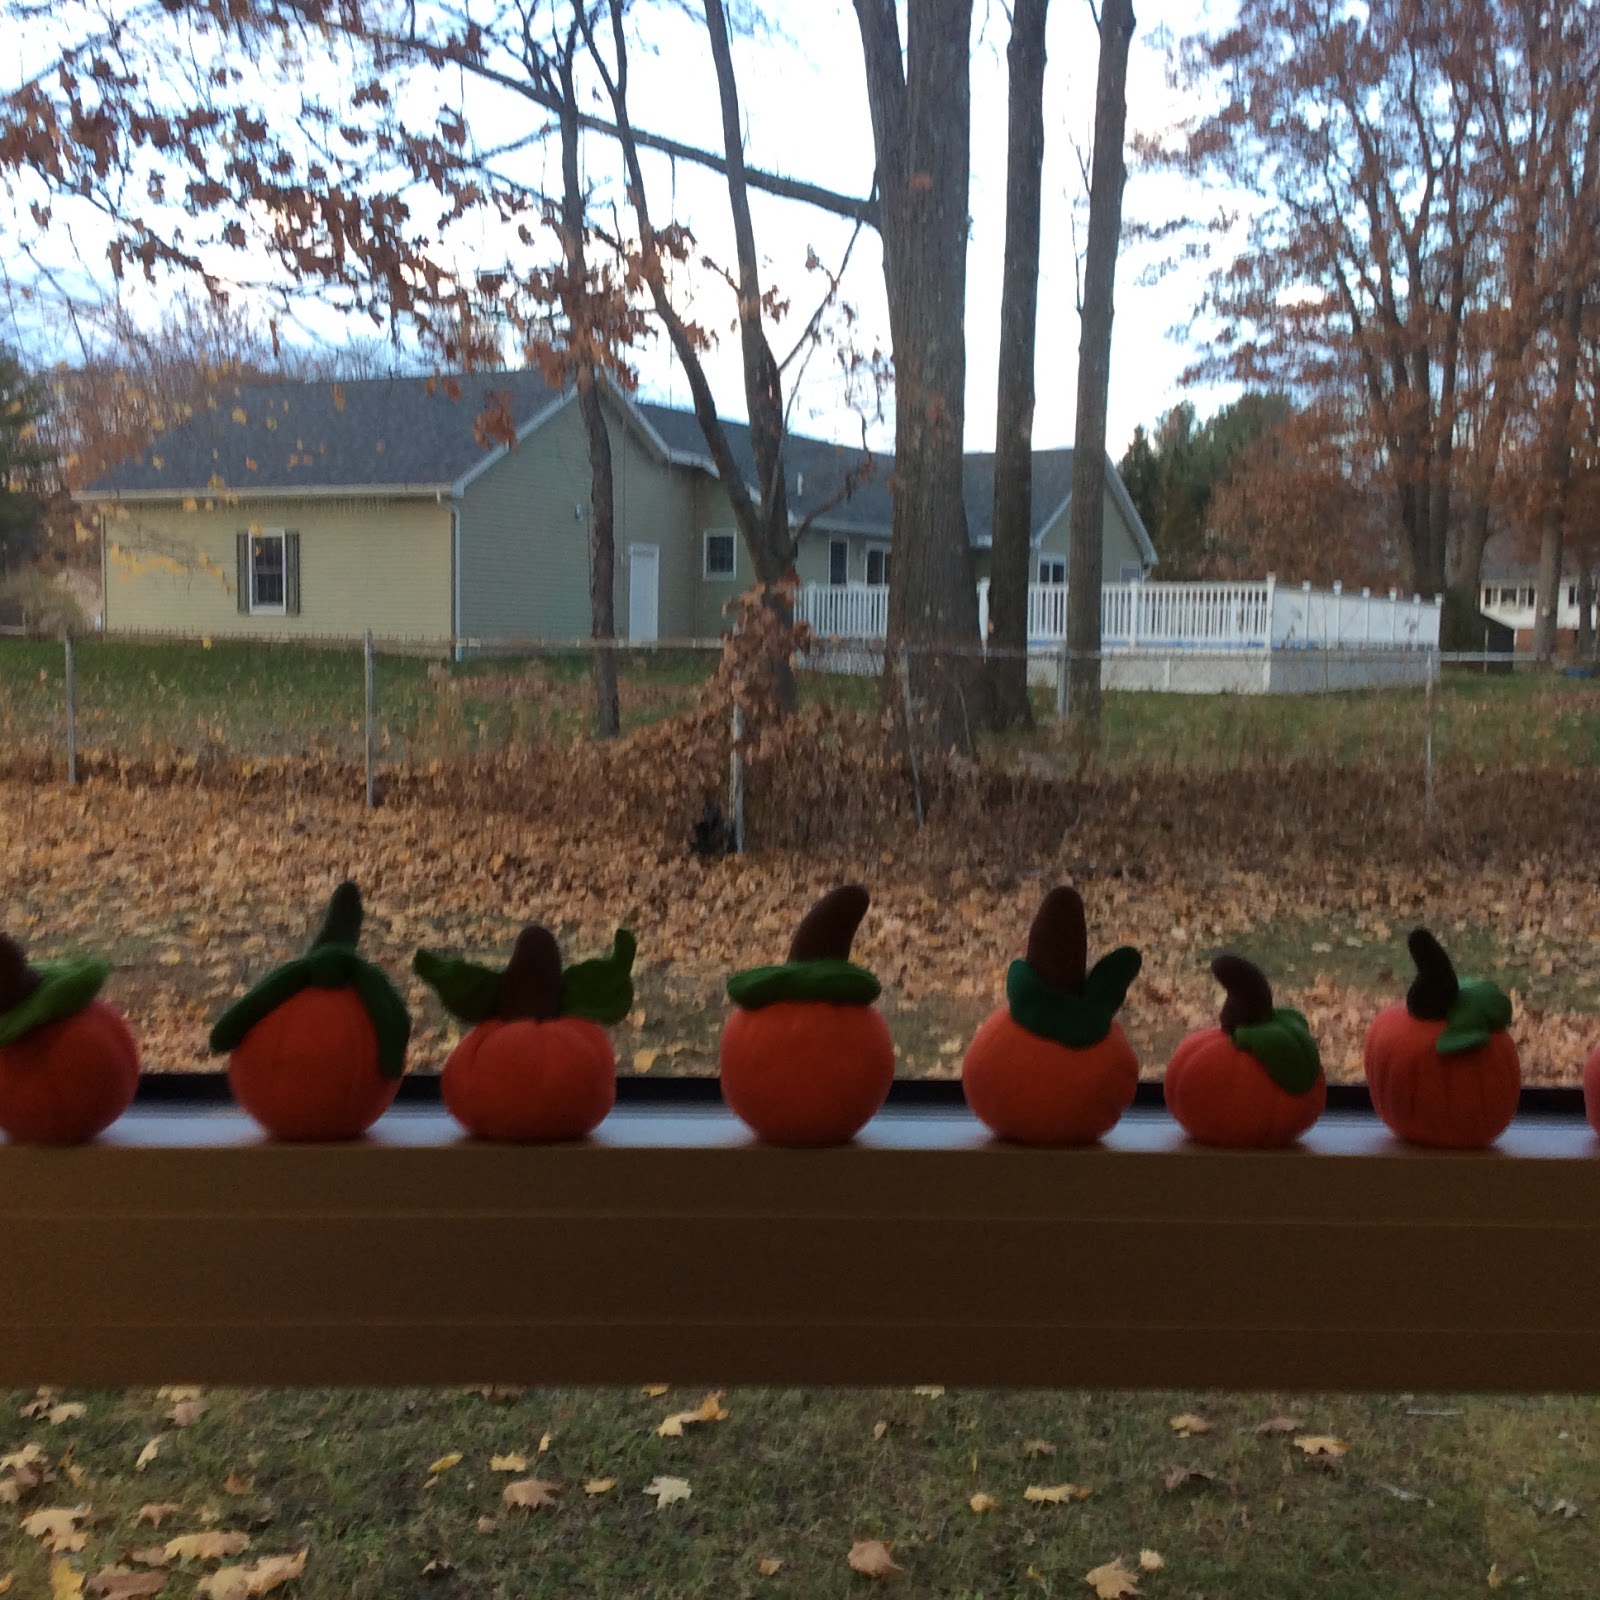 |
| Color Mixing Pumpkins |
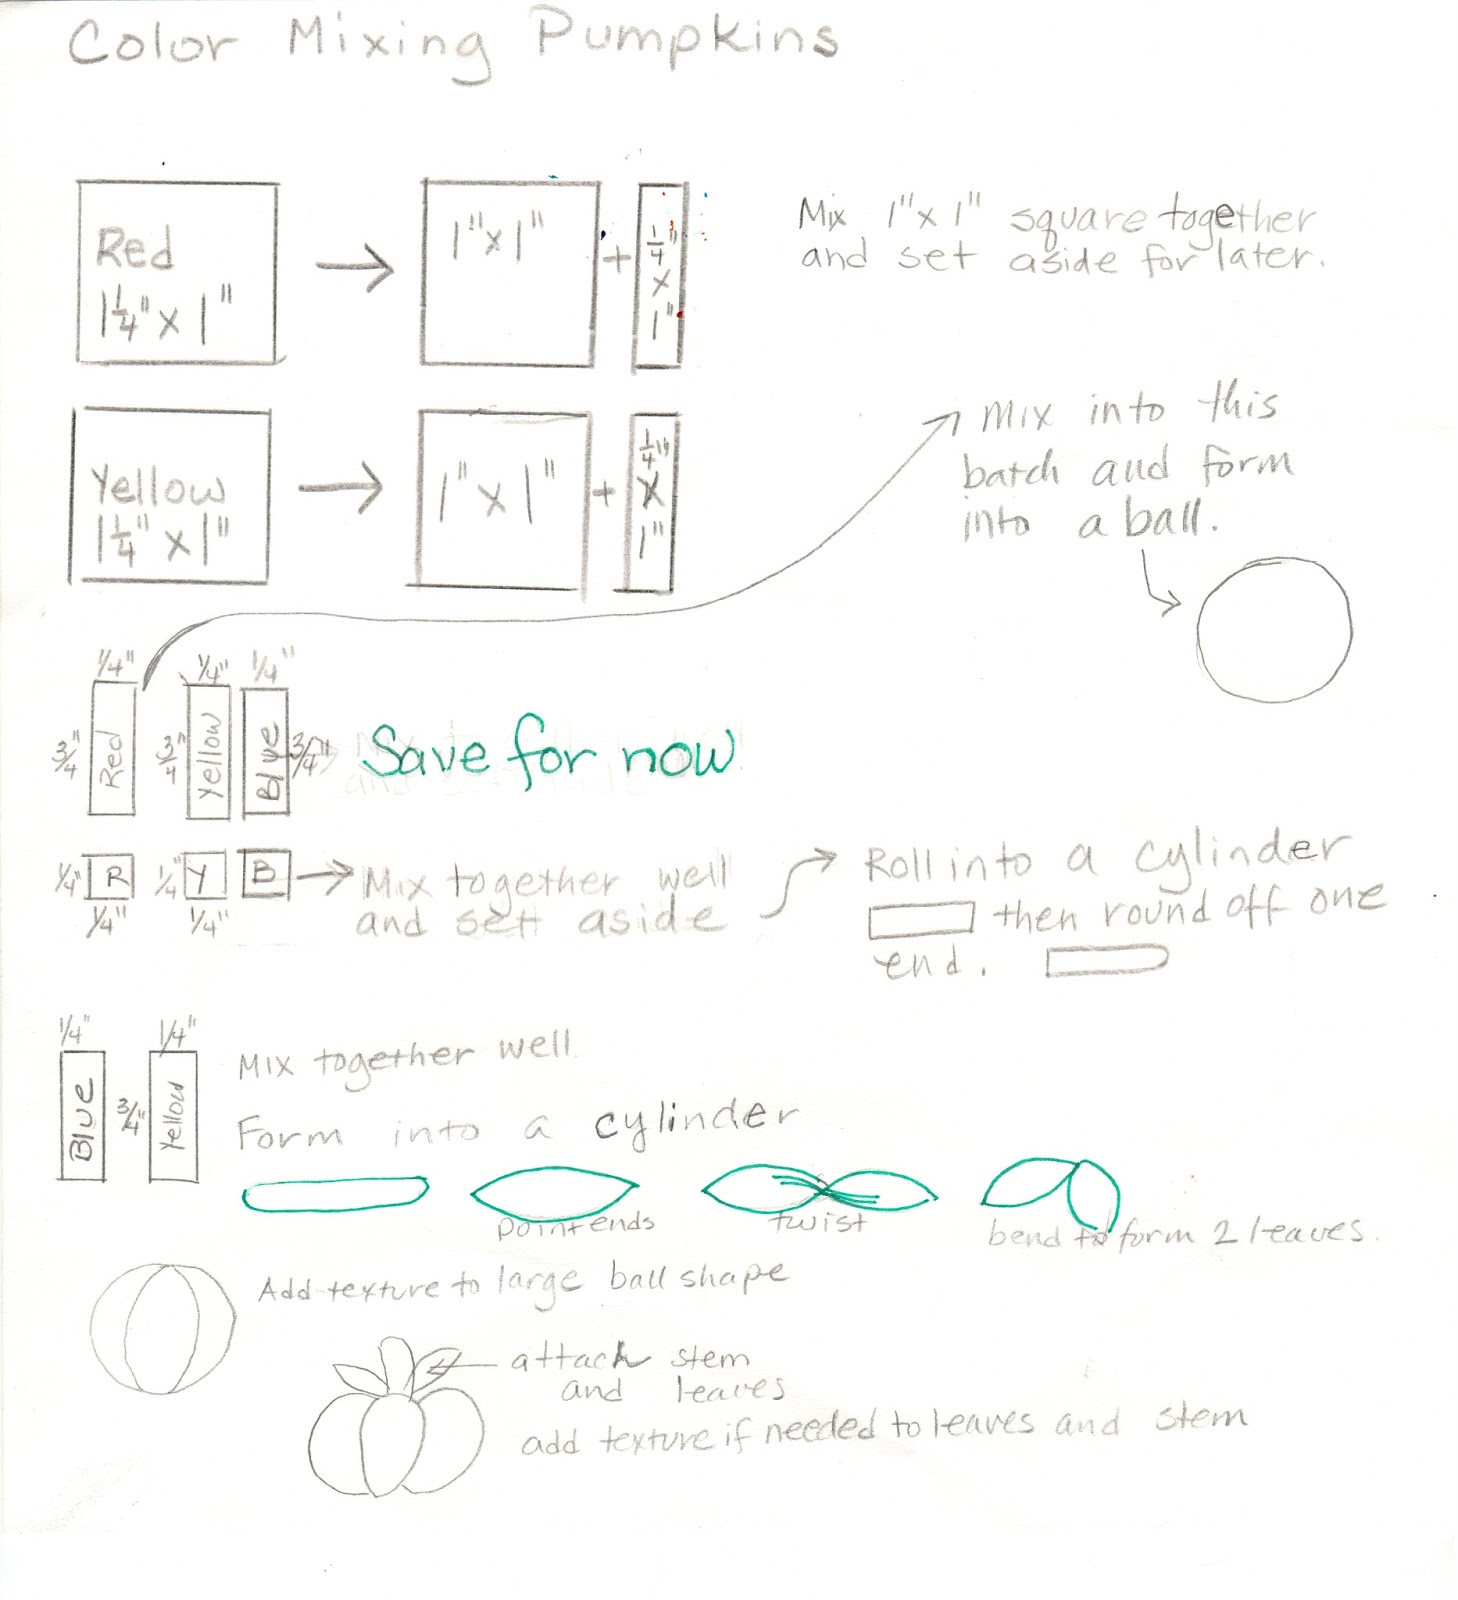 I have done this project with my 2nd grade students for a number of years but felt I wasn't making the strong Math connections that I wanted. I was motivated to create a template for the project where students could more closely be involved in the measuring of the clay to make clearer connections. Here is the template I created. I made enough copies so each child would have their own and ran them through the laminator. It can be used like a place mat to actually do the work on.
 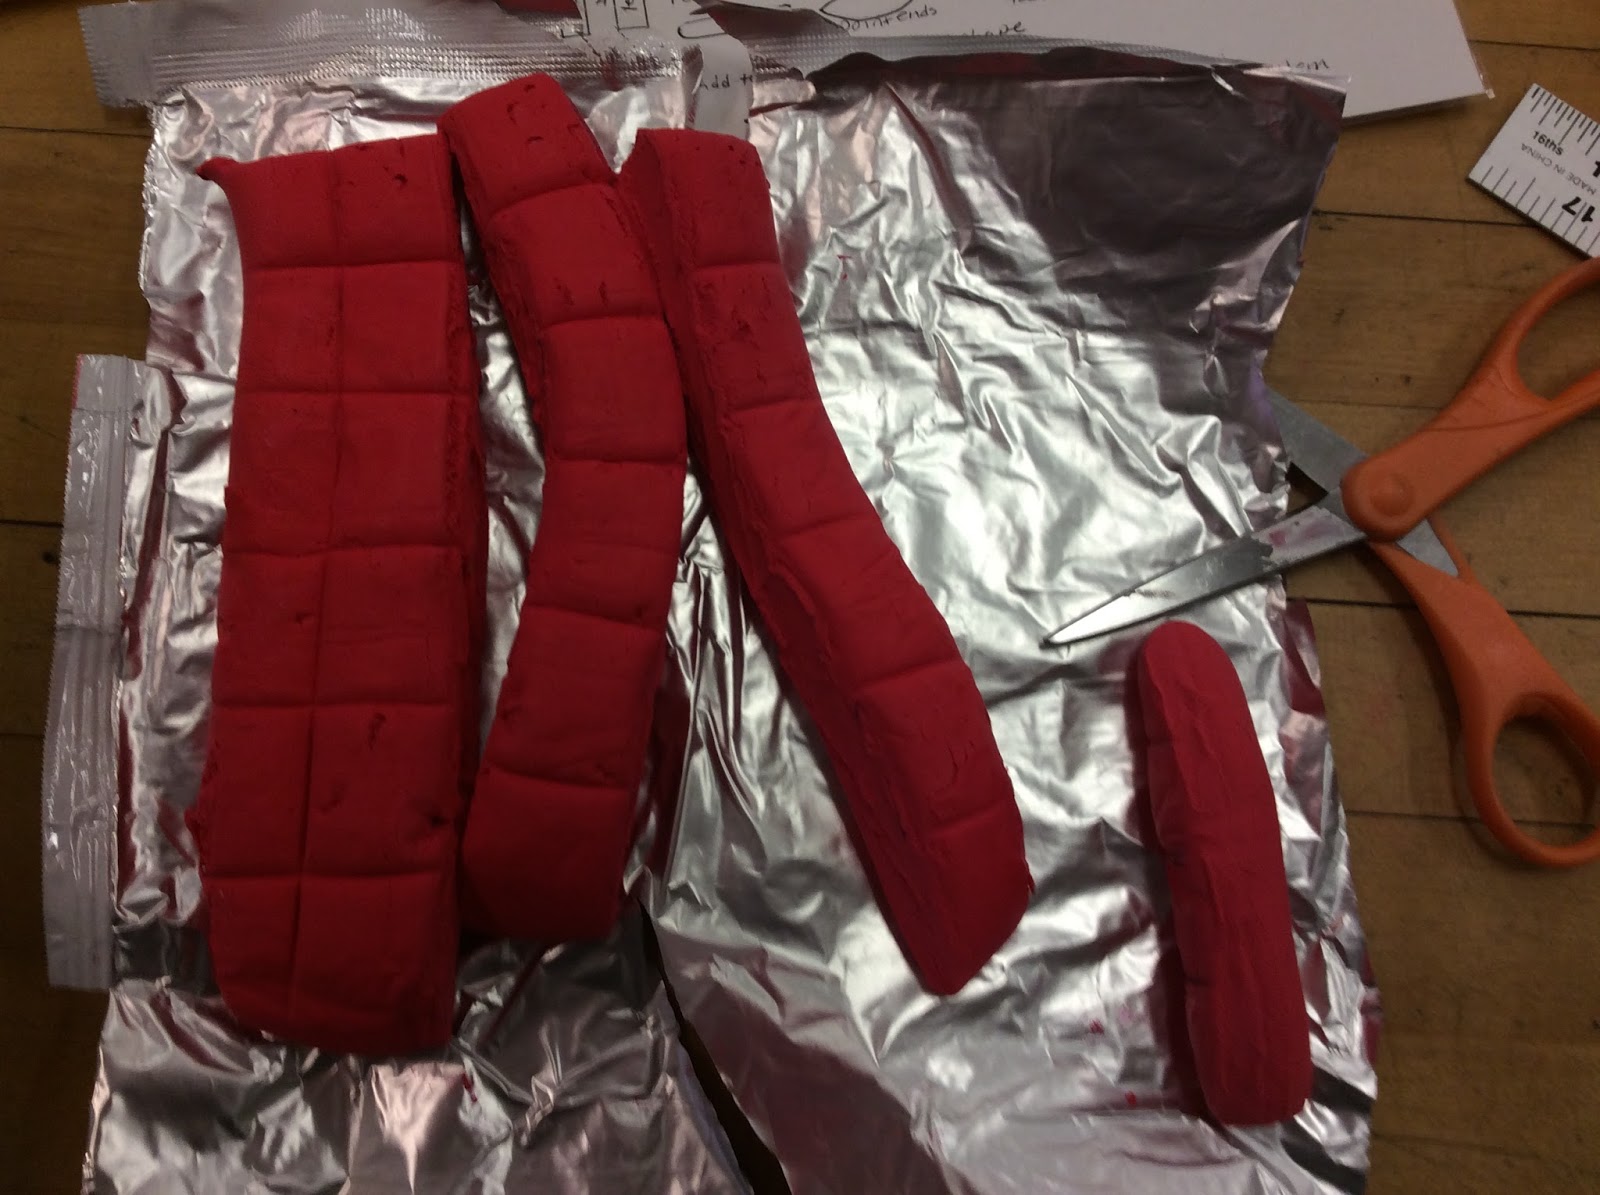 |
| I use scissors to cut the individual pieces. |
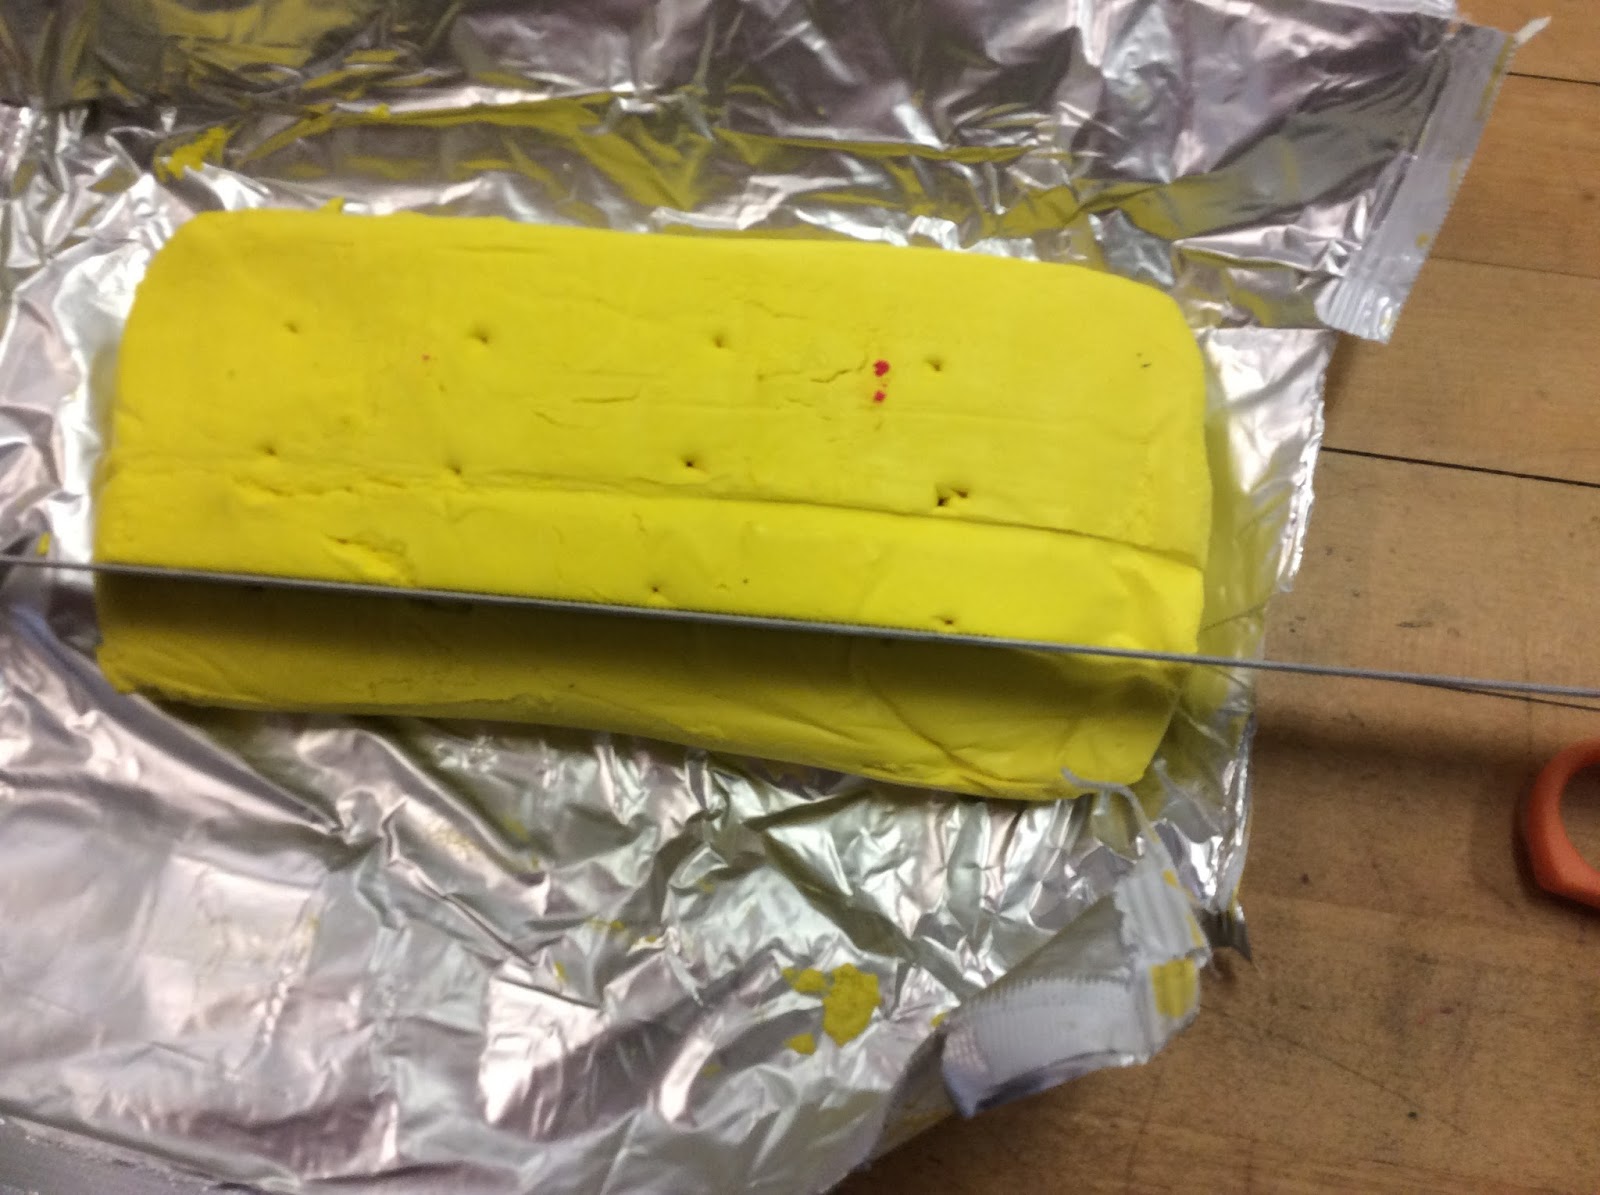 |
| Measure off pieces and mark in the clay |
 |
| Use a ruler to connect the marks |
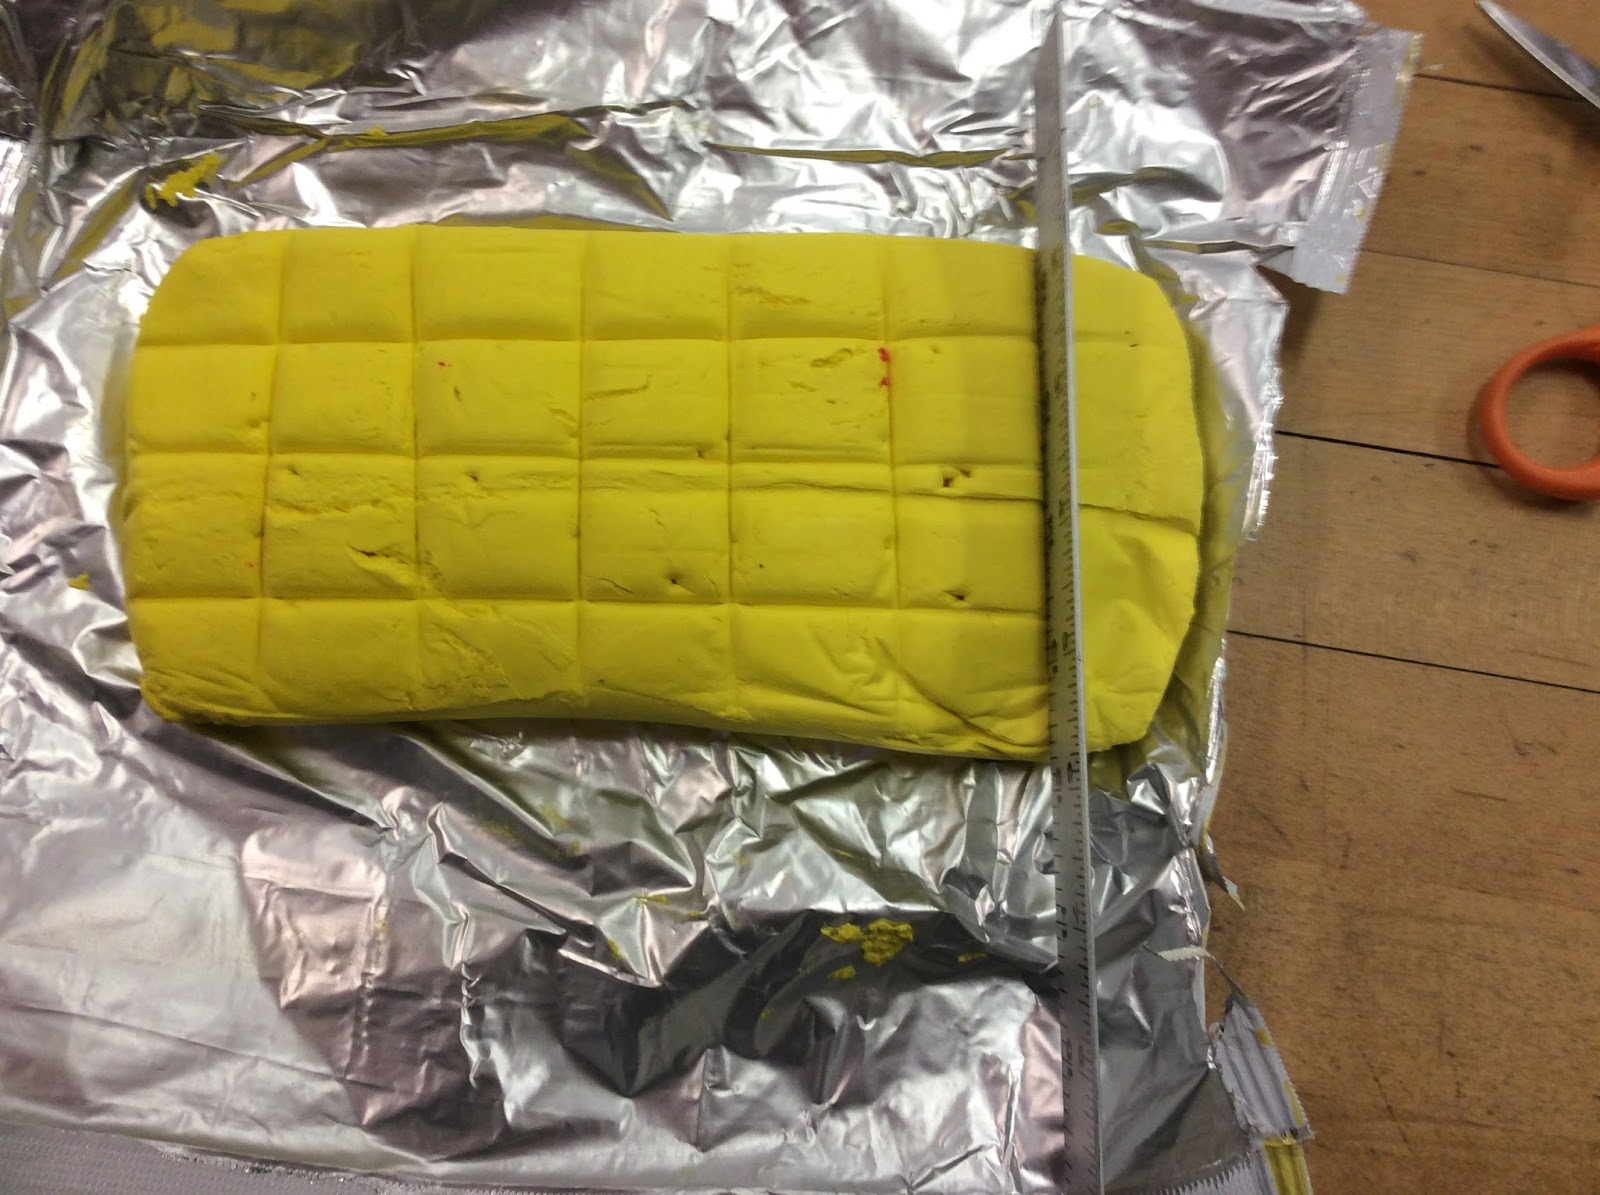 |
| I used the side of the ruler to connect the dots and mark the cutting lines |
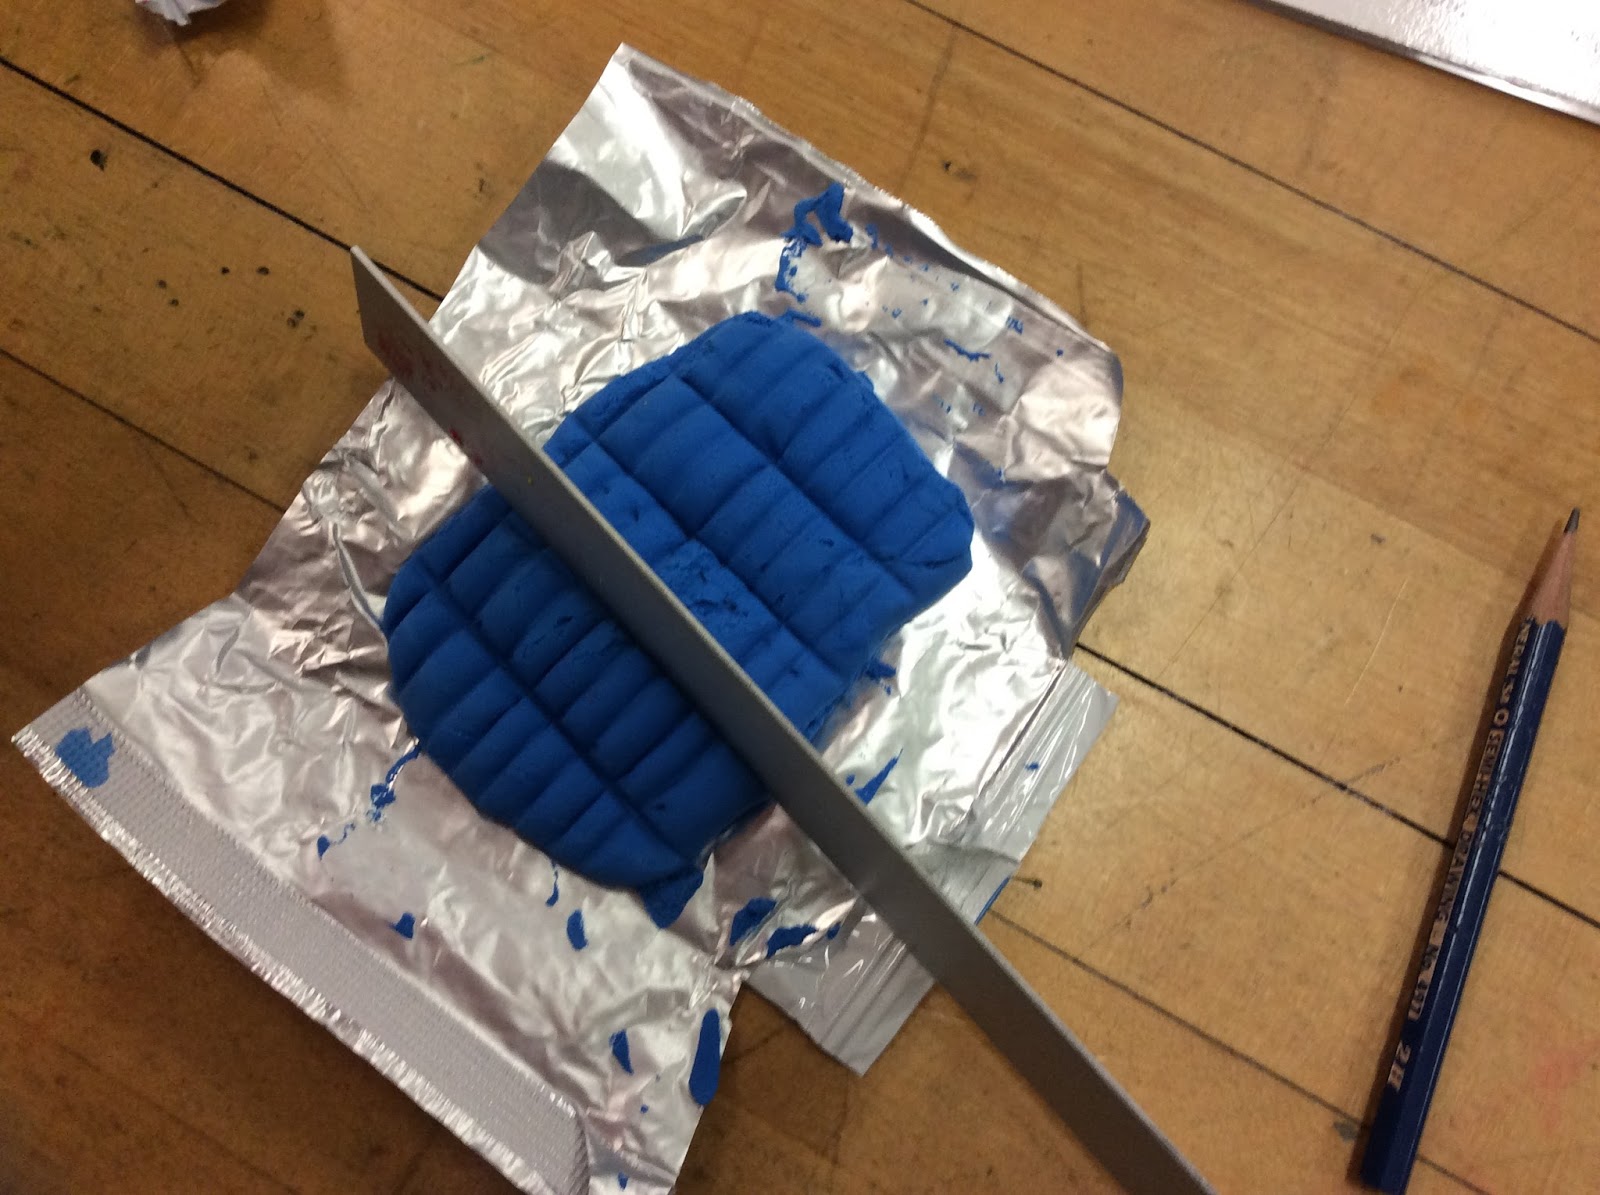 |
| Blue pieces are much smaller |
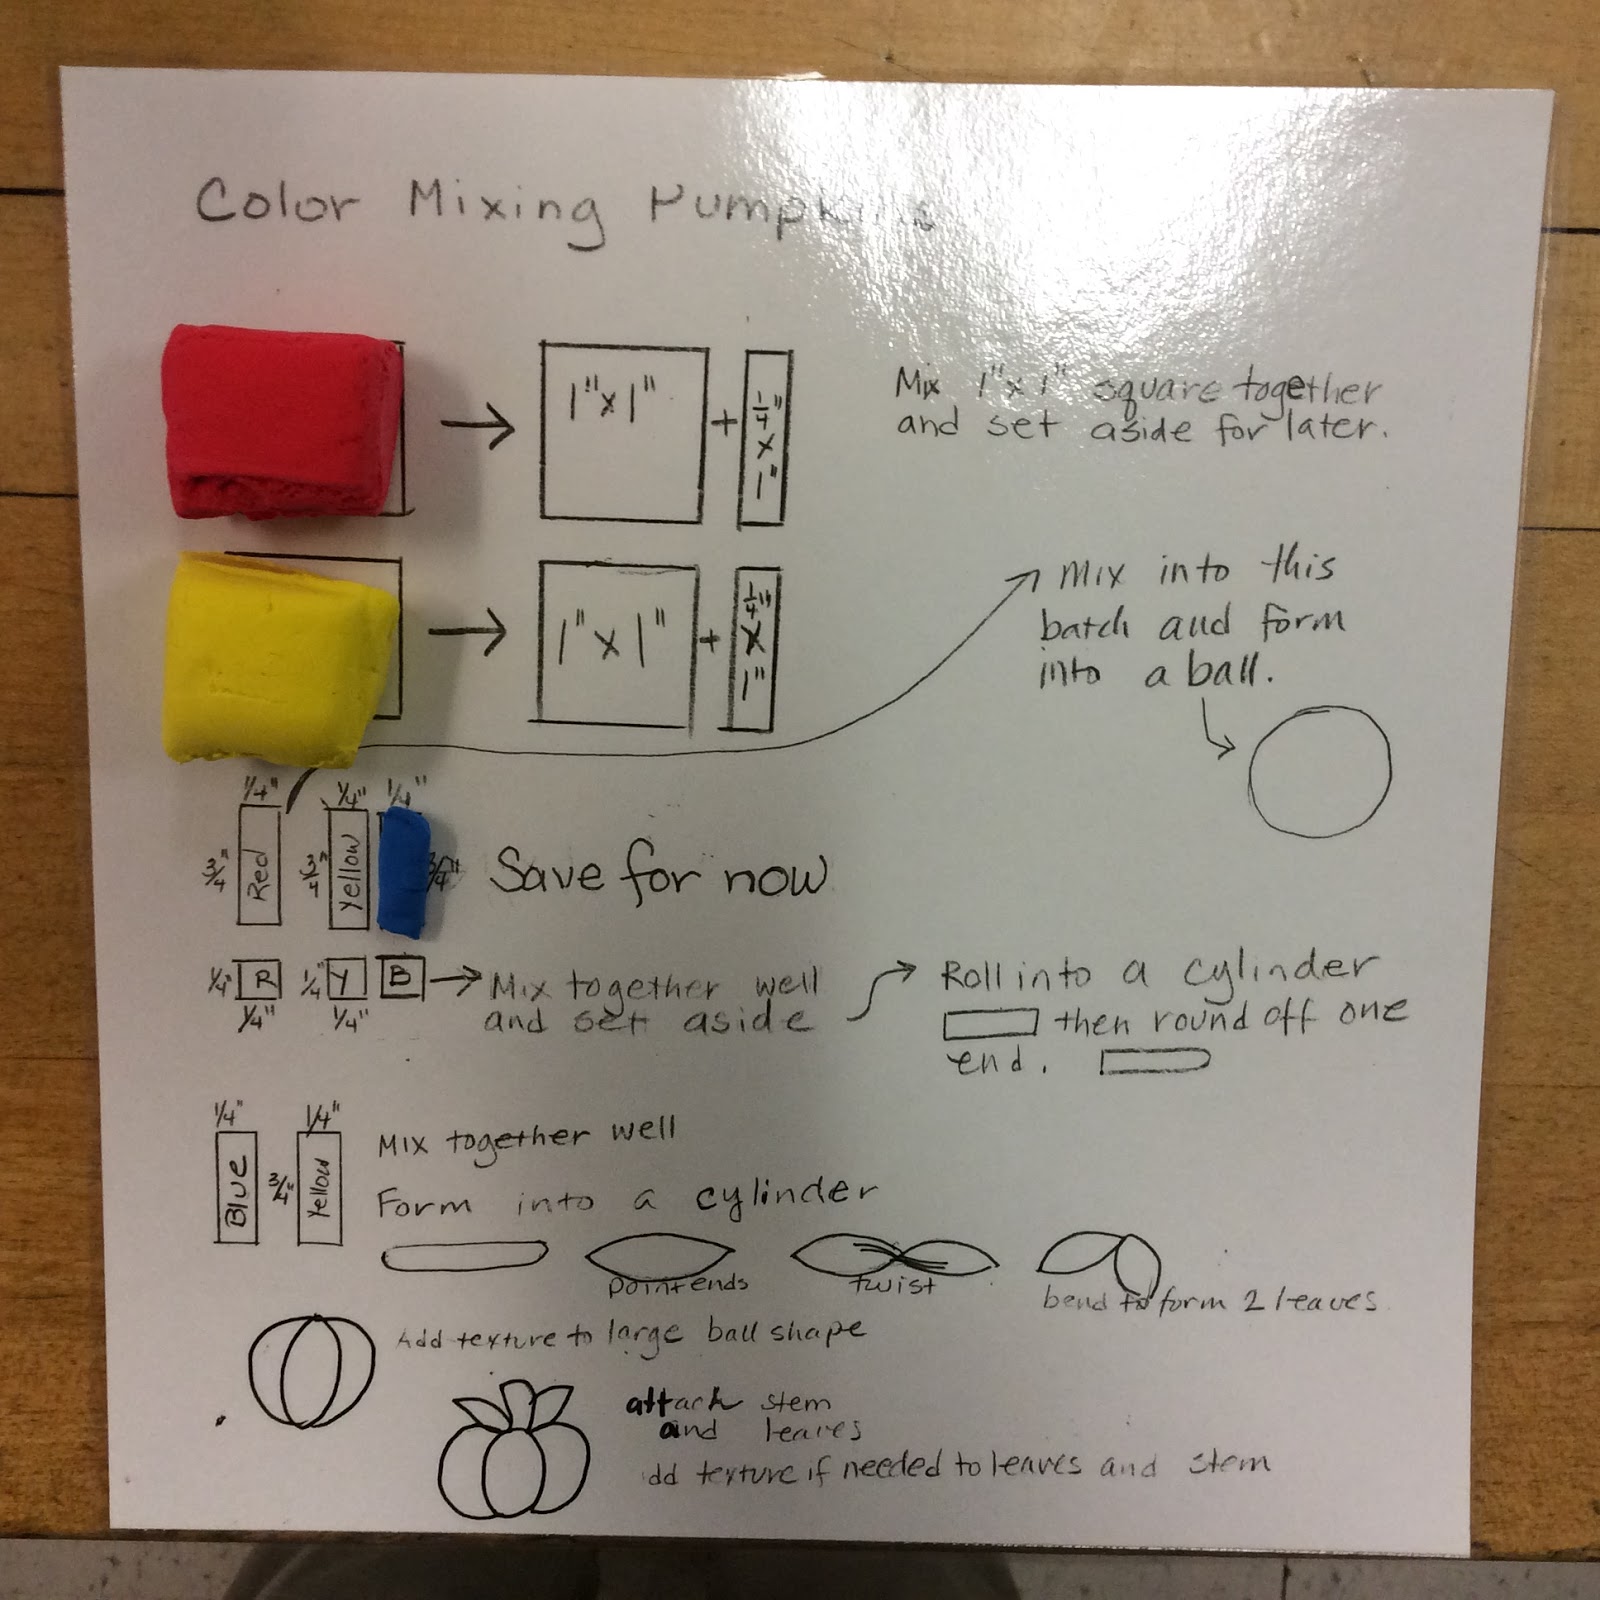 |
| The place mat ready to begin |
 |
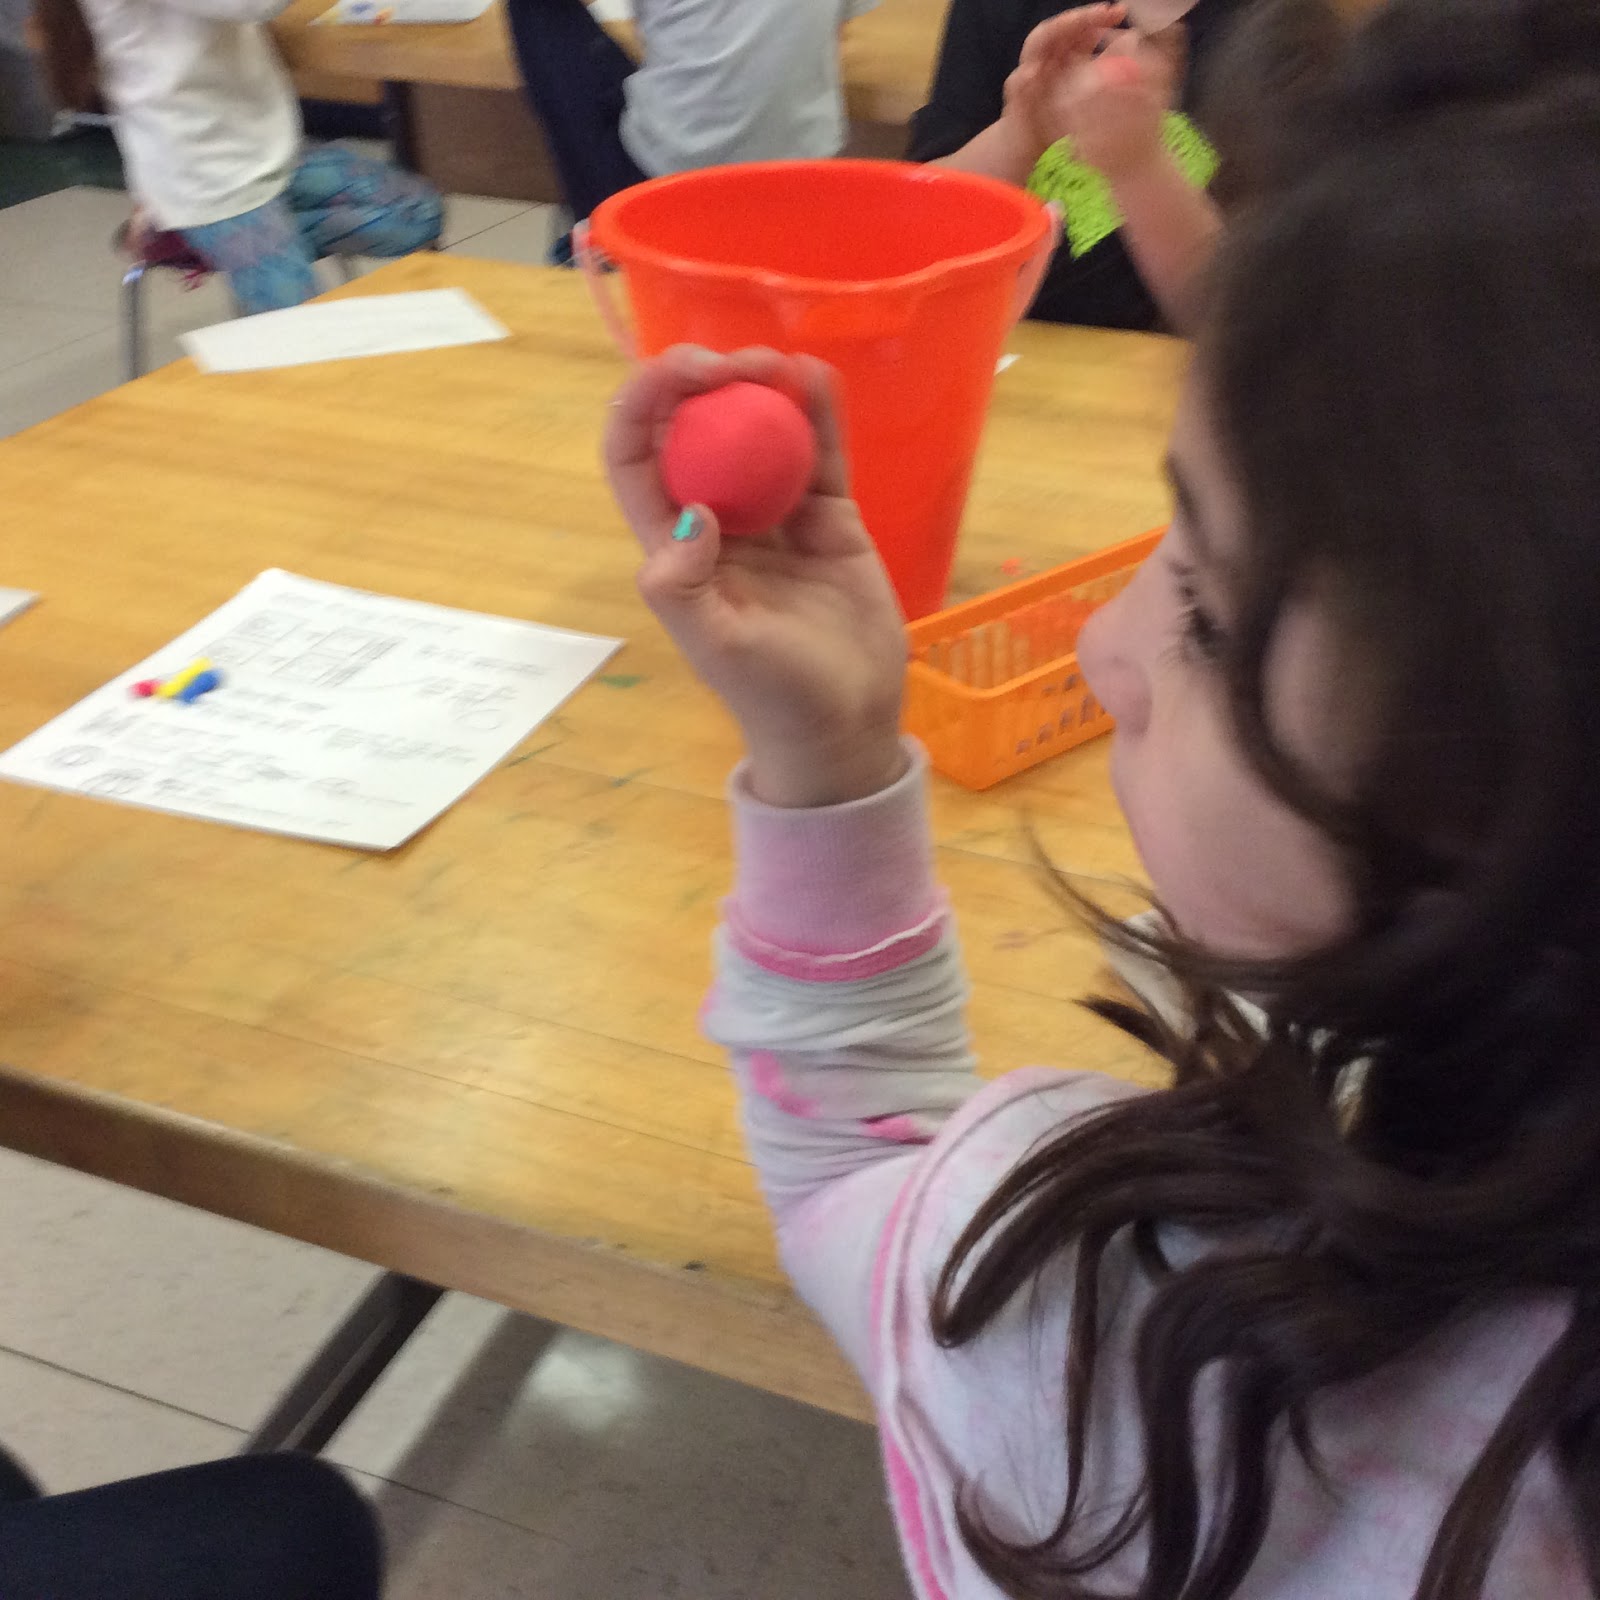
| First step, mix red and yellow 1" pieces together. Add in an extra piece of red that measured 3/4" x 1/4". This gave a red-orange color for the pumpkin. |
 |
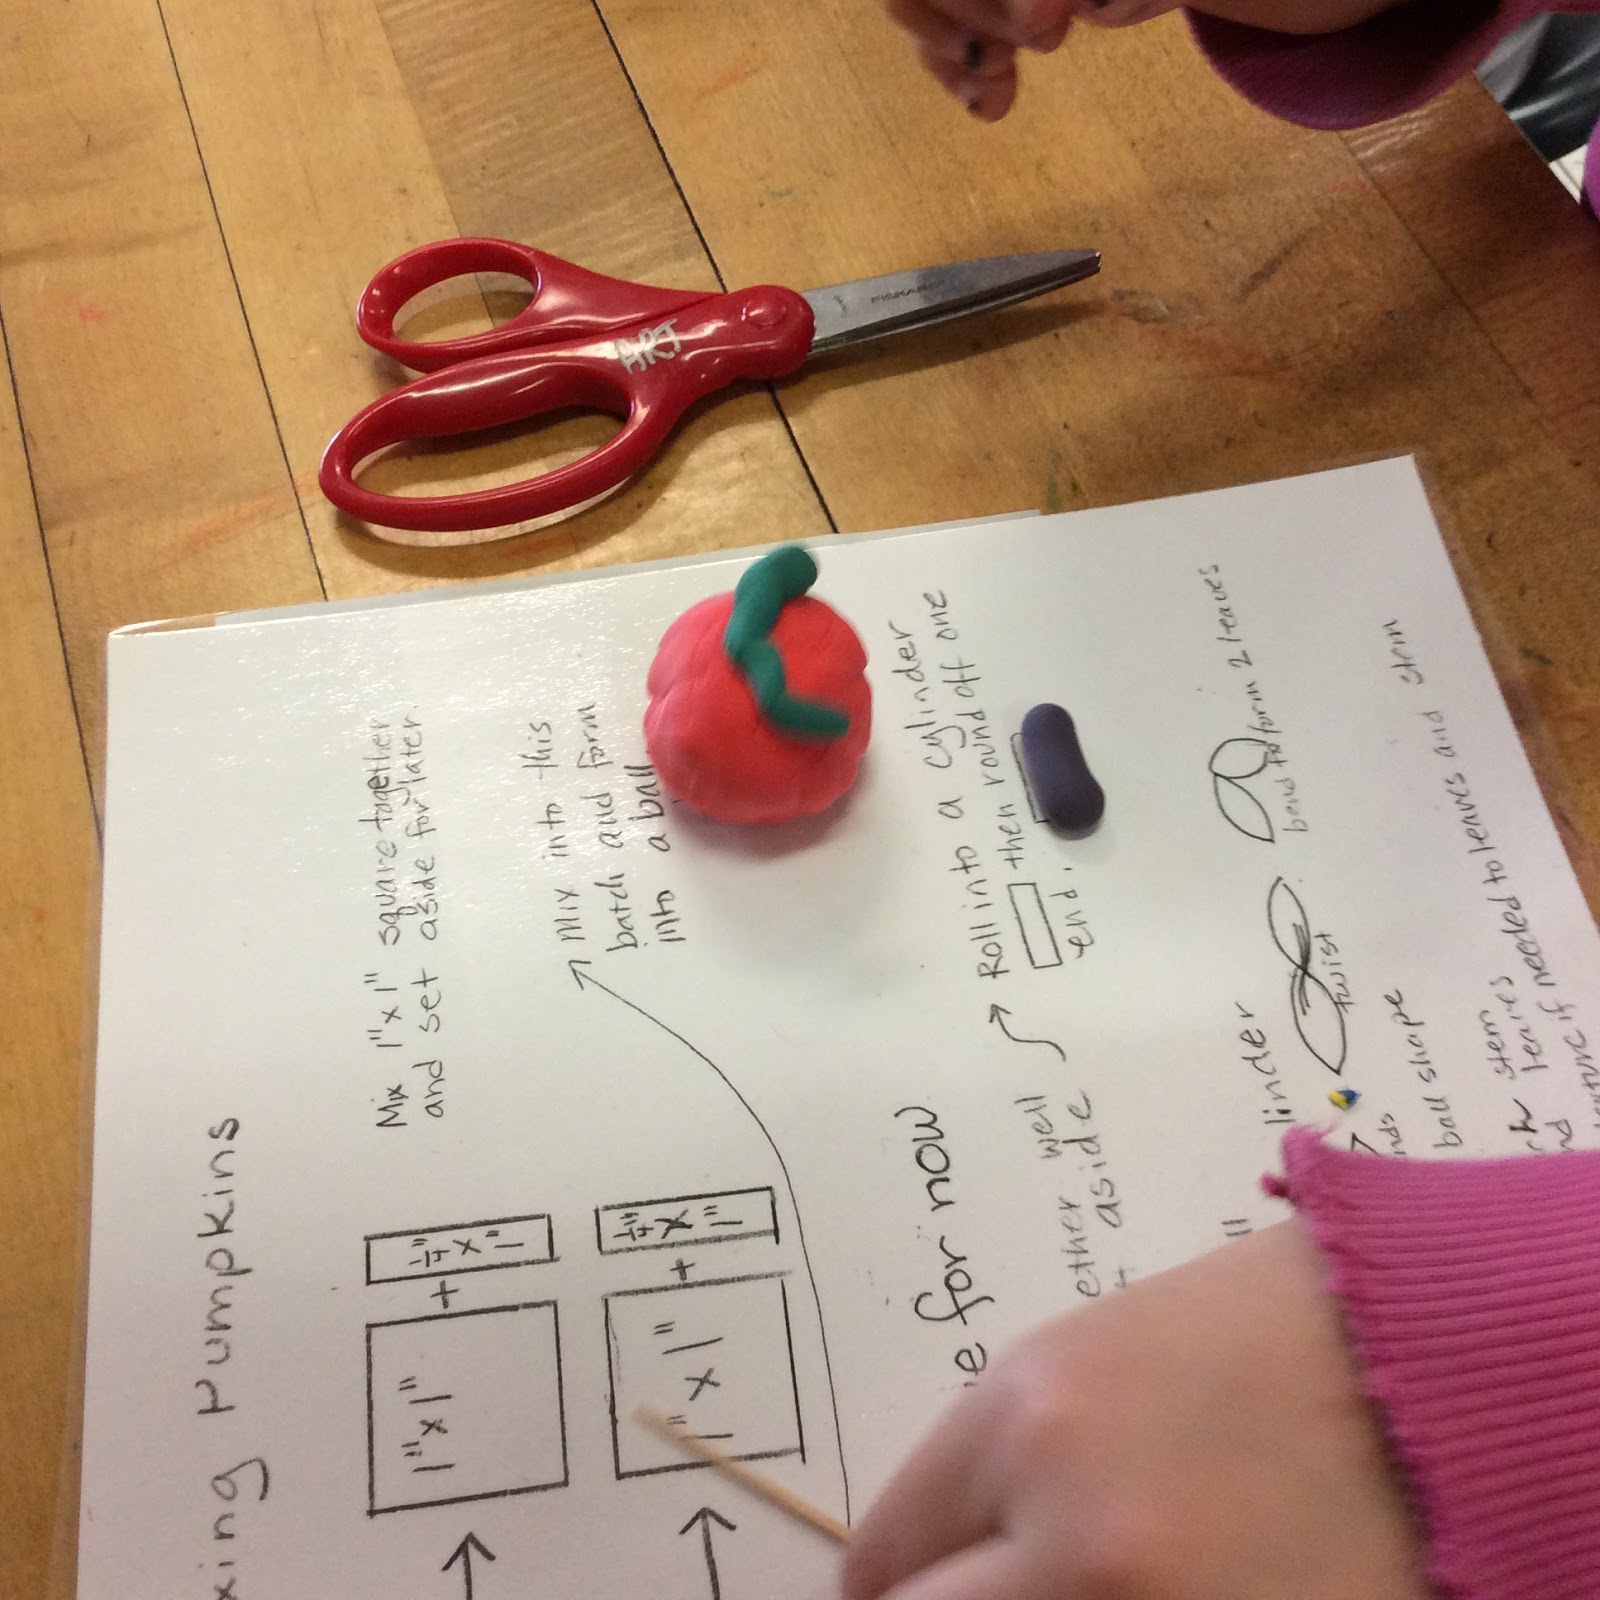 |
| Next the brown for the stem was formed by mixing the very small pieces of yellow, red, and brown. 1/4" x 1/4" The 3/4" by 1/4" yellow and blue were mixed to make the leaves. |
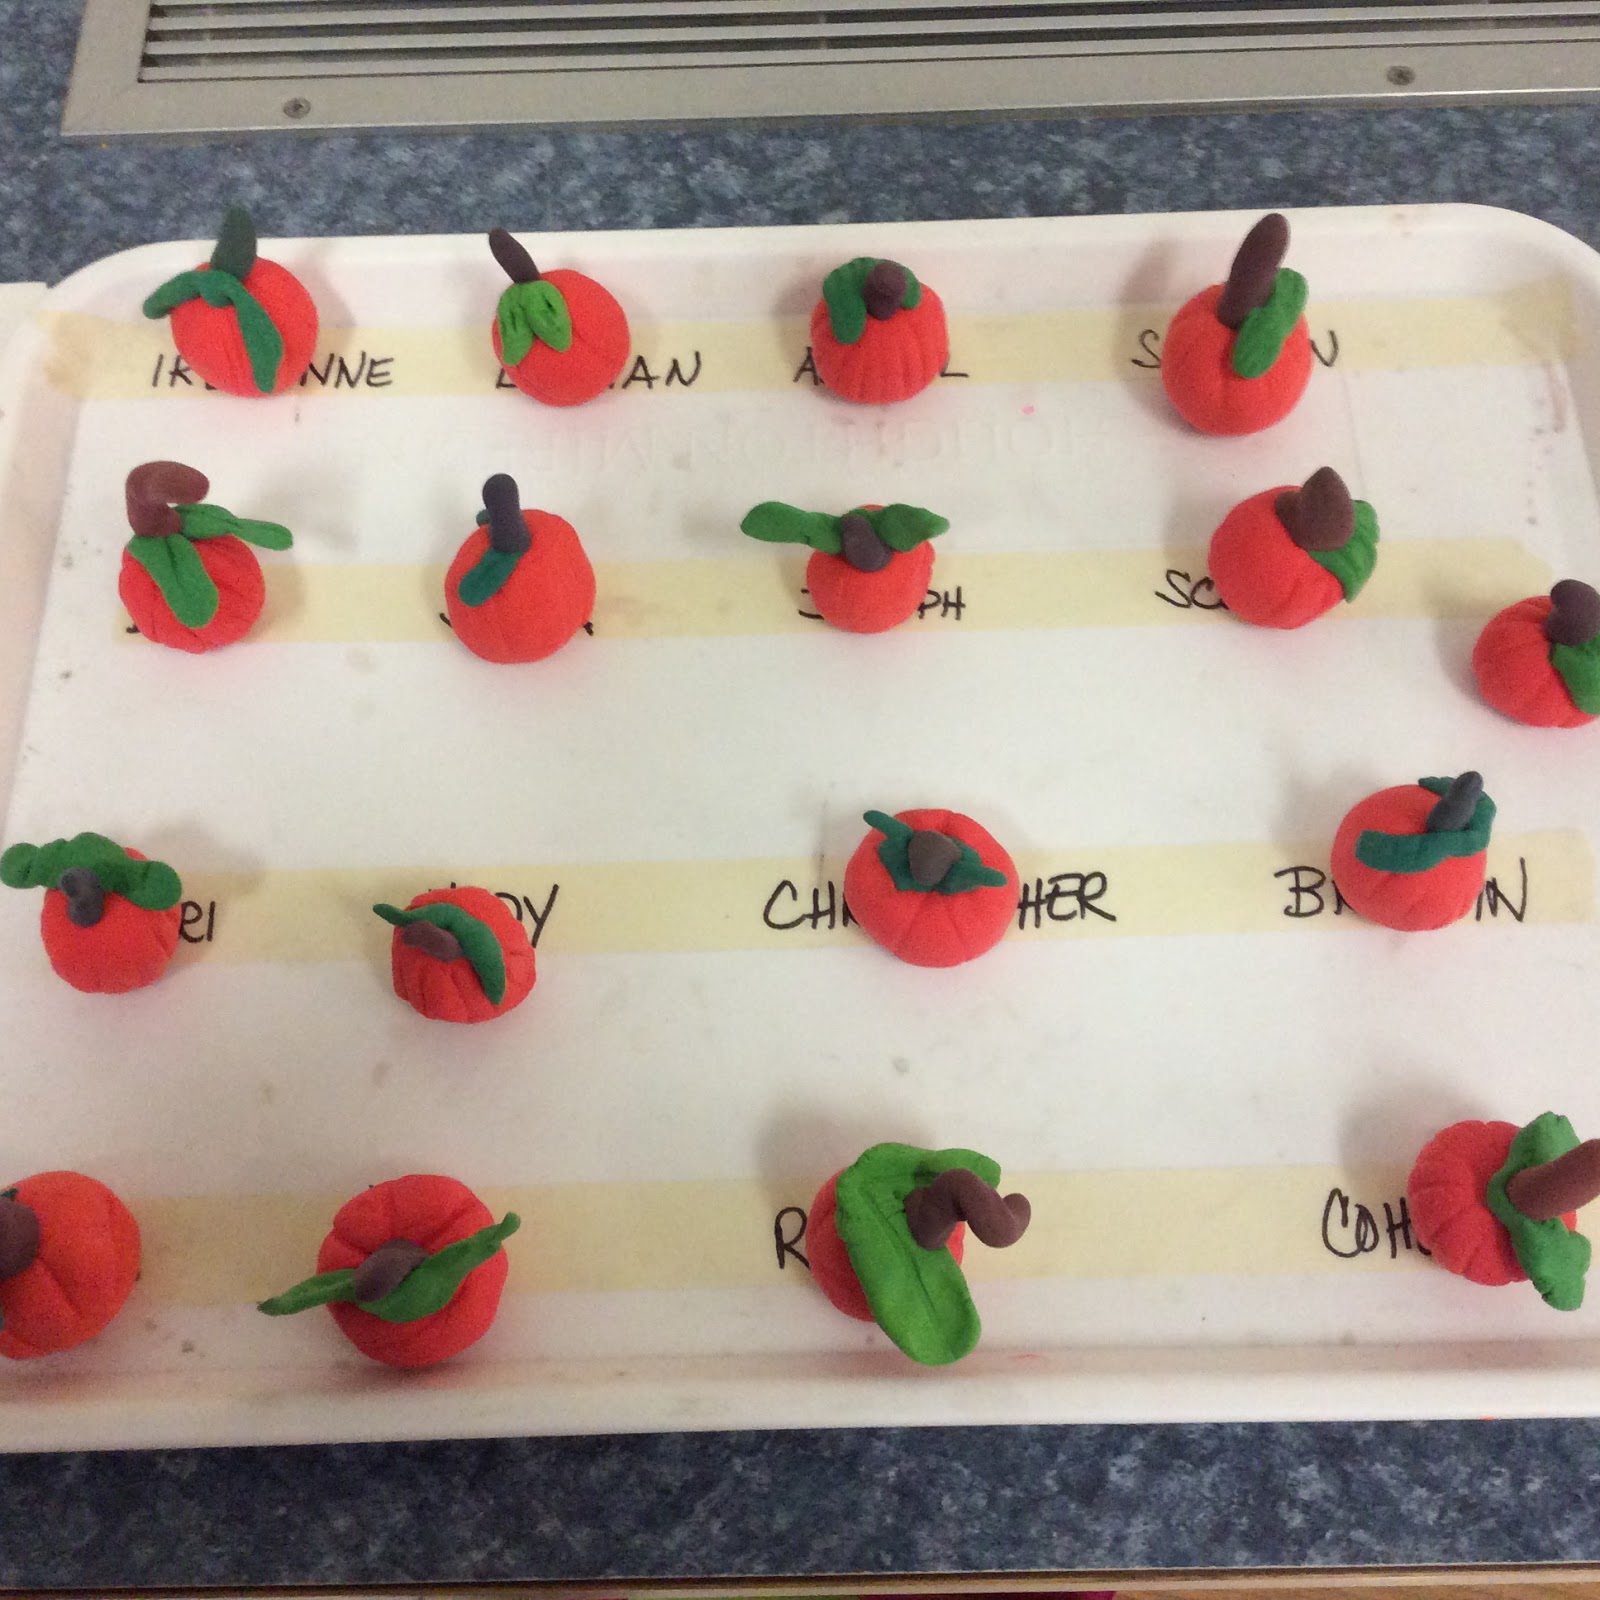 |
| Placed on a tray with student's names until they are dry enough to write on the bottom with a sharpie |
 |
| Student Project |
 |
| Student Project |
 We just completed our first week of school, 2 1/2 days with the students and we are off and running with projects for International Dot Day. My teaching focus for this year will be writing artist statements using great artistic vocabulary and connecting and understanding the Elements of Art. My older classes experienced a few AHa moments as we reviewed the elements of art and reflected on how our art making projects had incorporated multiple elements throughout their years. The students caught on as they began to remind me of their favorite projects and what they had done to represent the various elements. The big one was Form and the realization their clay projects from previous years were classified as forms. I planned to have each grade connect to the elements in a conscience way with their "Dot" compositions. The one on the left is from a fourth grade student. The assignment was to demonstrate space in their composition. We review past concepts of placement on the page, overlap and size to show space. The small works (4" x 4 1/2) were then framed in a swirly frame as in the book "The Dot" by by Peter H. Reynolds.
 I will share other projects as they are completed. Fifth grade students are being challenged to create a composition that will reflect three of the Elements. They will then write an artist statement defending their choices and explaining why they chose the Elements. Third grade students are creating a dot based on something they might have experienced during the summer based on the dot shape. I was particularly amused by some of the ideas they came up with for their dot. I will share when they are completed, you must see the ferris wheel! Second graders have turned their dot into a symmetrical image reflecting positive and negative spaces as they practiced effective use of scissors. First grade classes have analyzed color mixing, some by creating a dot only colored with the primary colors and others by designing an original color wheel. They used the primary colors to mix the secondary colors on the wheel. I am hoping to have bulletin boards full of dots by September 15th for International Dot Day and prior to Meet the Teacher night.
 |
| A good example of the orange, green and brown from mixing the colors |
 |
| This student didn't quite color enough to produce a rich color finish |
 |
| Ruby's pumpkin with multiple stems |
 |
| David's Pumpkin with long stem |
 |
| Codey's pumpkin with cylinder stem |
 |
| Emma's pumpkin with stretched stem |
 |
| 1st grade "Dots" in the dry rack |

 |
| A few dry 1st grade dots |
 |
| 2nd grade symmetrical dots |

