 |
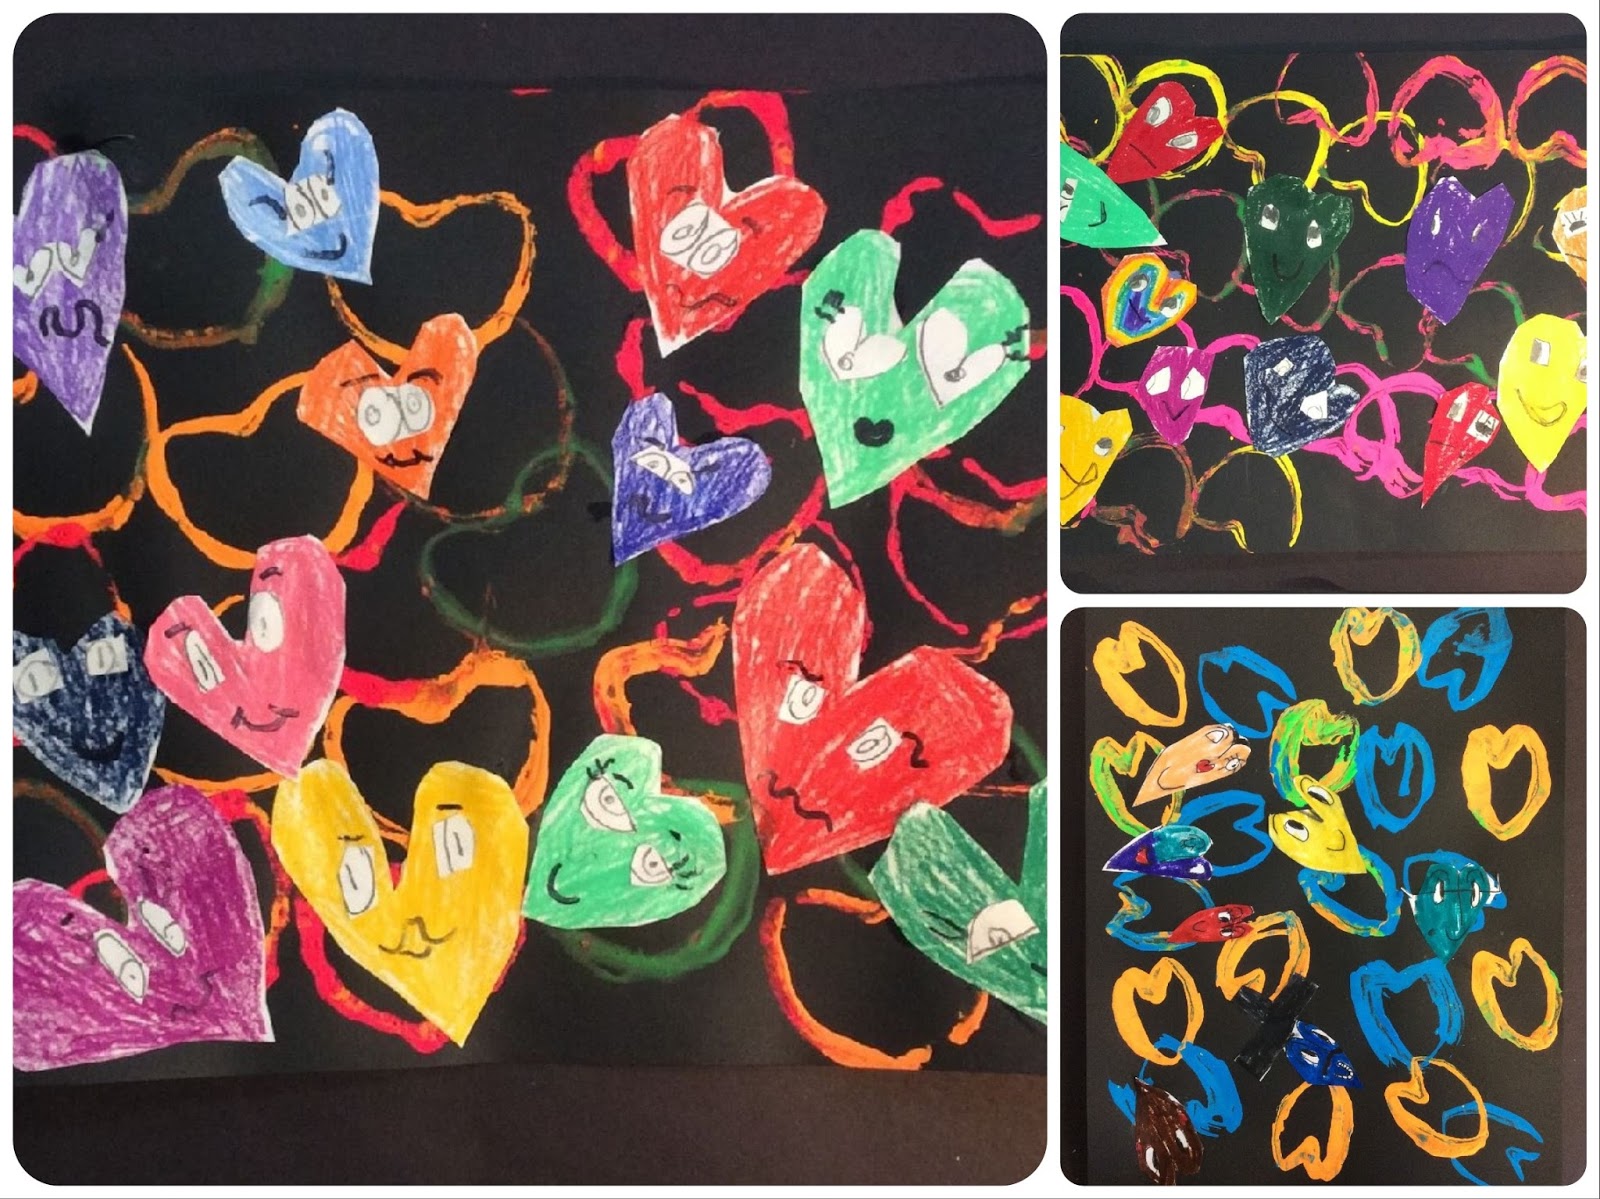
| student work |
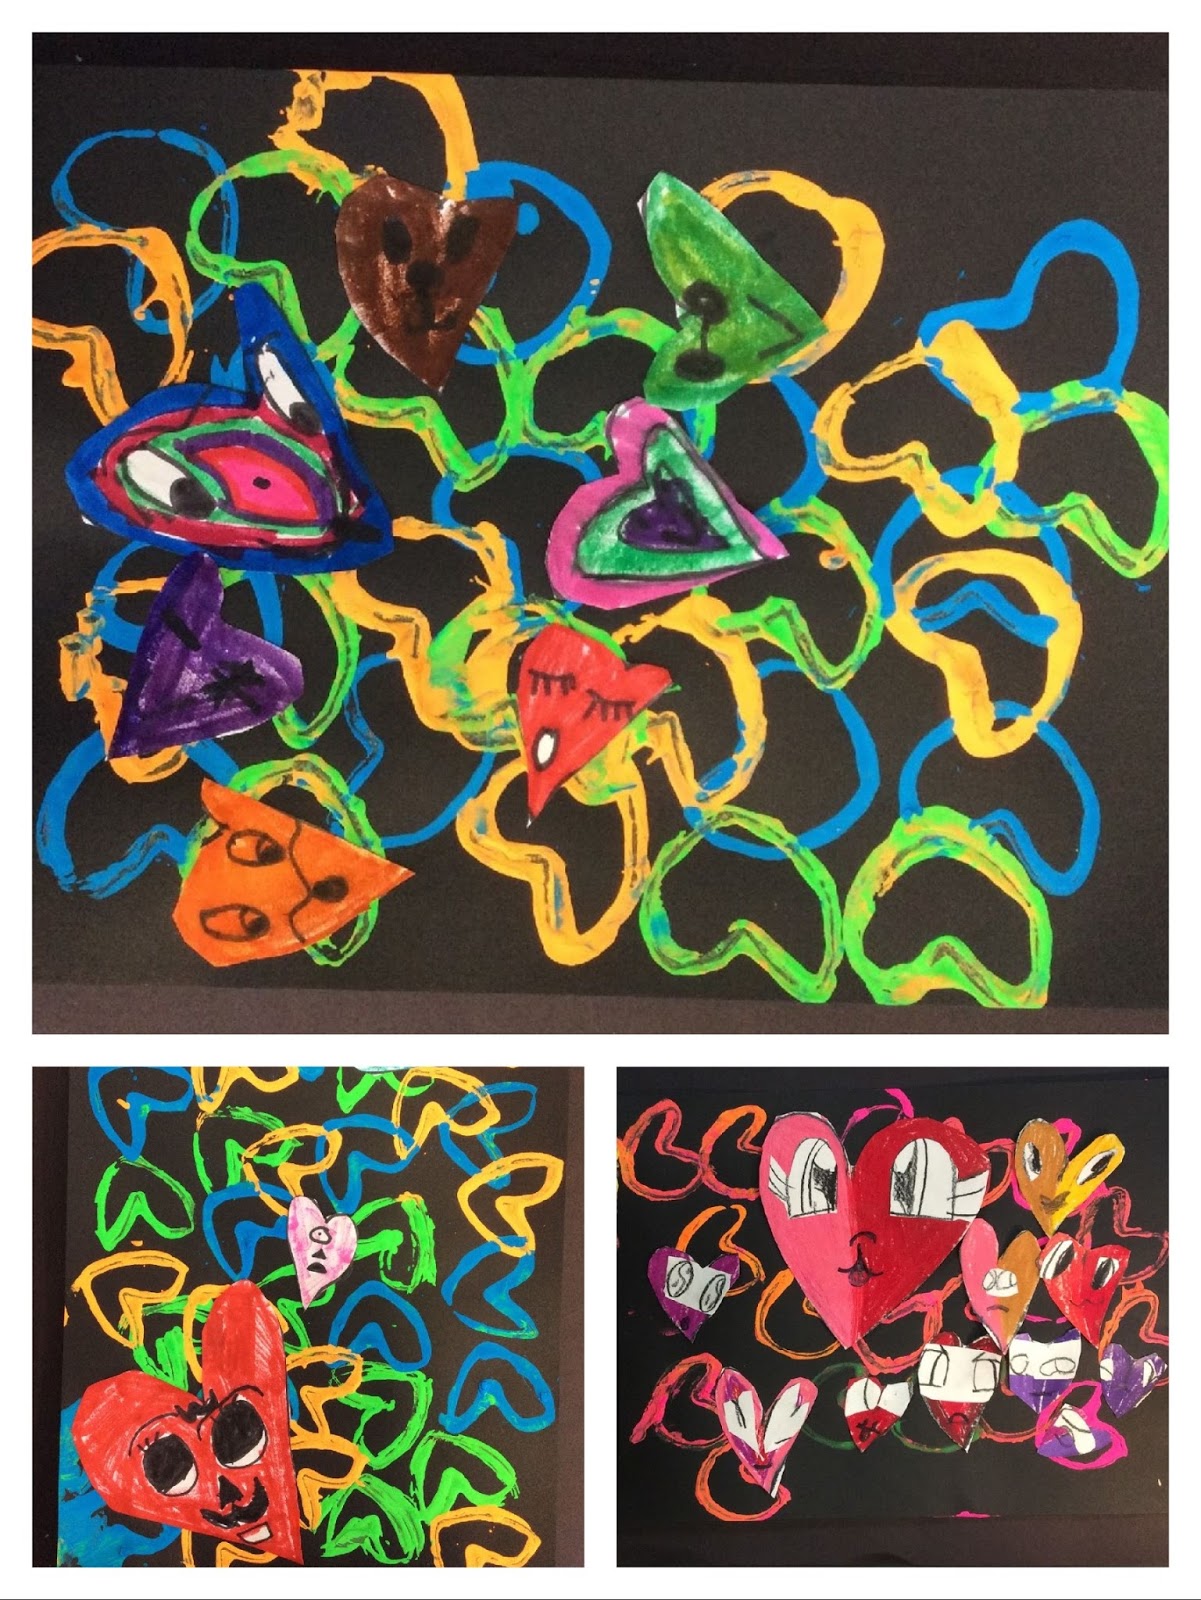 |
| student work |
|
| student work |
|
| student work |
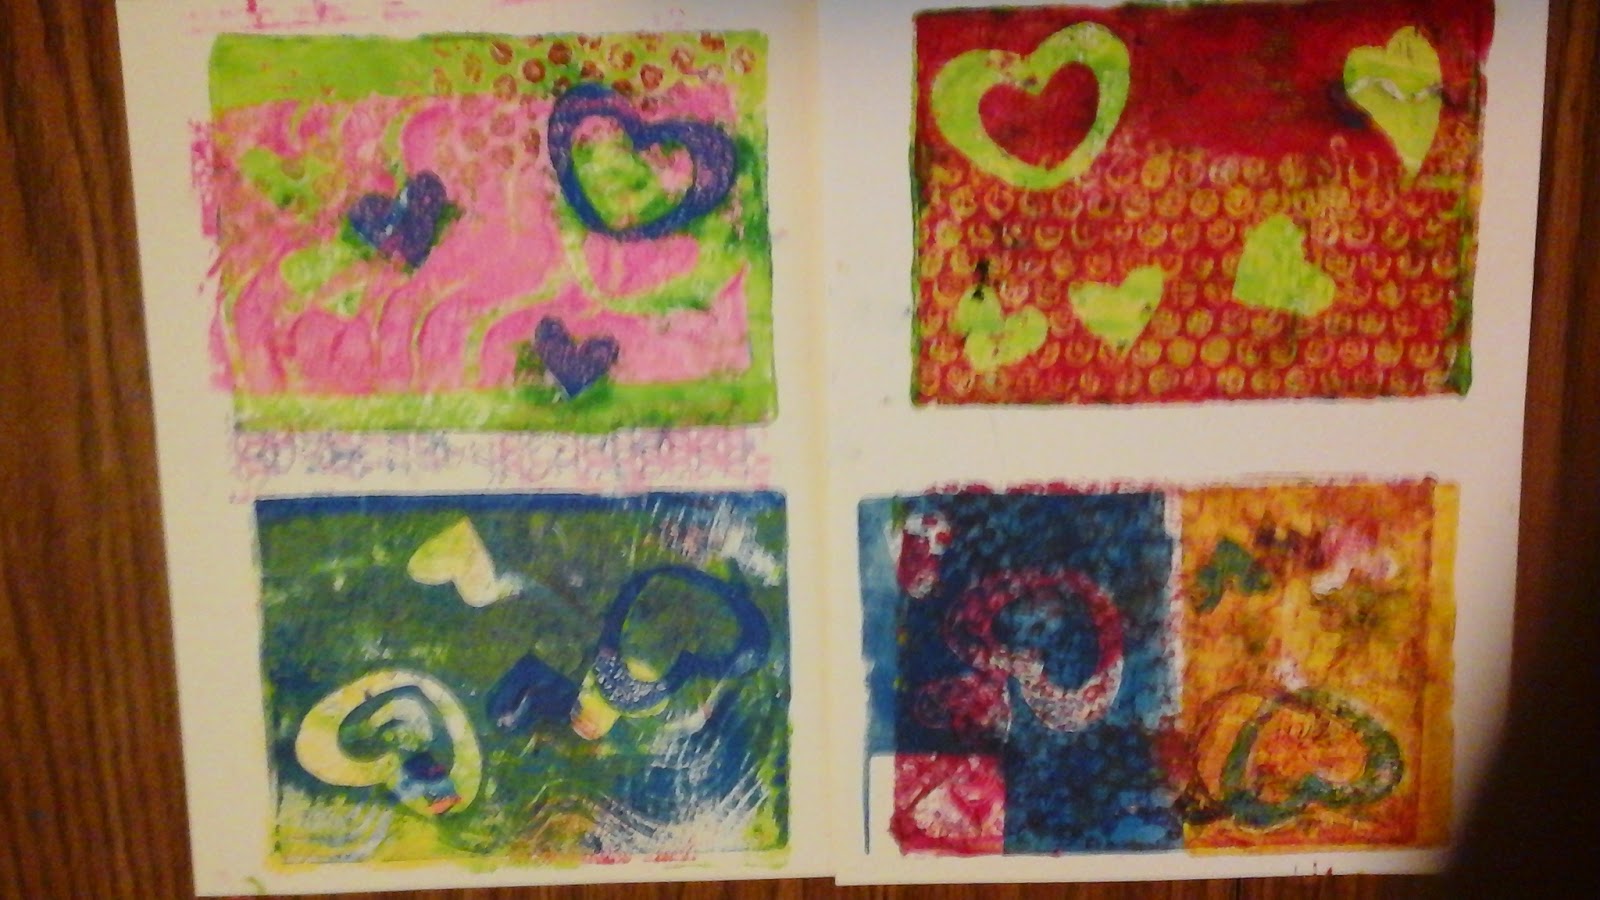
 As a follow up to my post on Payon Watercolor Crayon printing here. I wanted to post a few photos of a group at work. This was such a successful way to do mono-printing because the students really felt successful. Not to mention the positive that they were also able to print ghost prints in some instances. We were using Kutz it and Payons with newsprint. The only down side is that the Payons do stain the Kutz it but that does not effect future prints. So here my kids are having a blast! You could have heard a pin drop except for the delightful exclamations over successful prints!! This was a terrific activity for the last day before a holiday break.


 .
.


 |
| First you drop the colors into the water tank |
 |
| More color |
 | ||||
A more color. I think I added 5-6 different colors.
 
More swirling and then I made sure I like what I had done.

The silk has to be held taunt as it is placed onto of the ink bath.

Here is my scarf removed from the ink bath and completely printed. It is shades of purple and blue.
After a multiple day process of drying, resting, irons, and washing, it will be ready to wear, hang on the wall
or use as a table runner. This was a really fun process, very similar to shaving cream batik. I loved it
and can't wait to wear my new scarf when I am back to school!
|
 |
| Not so good prints |
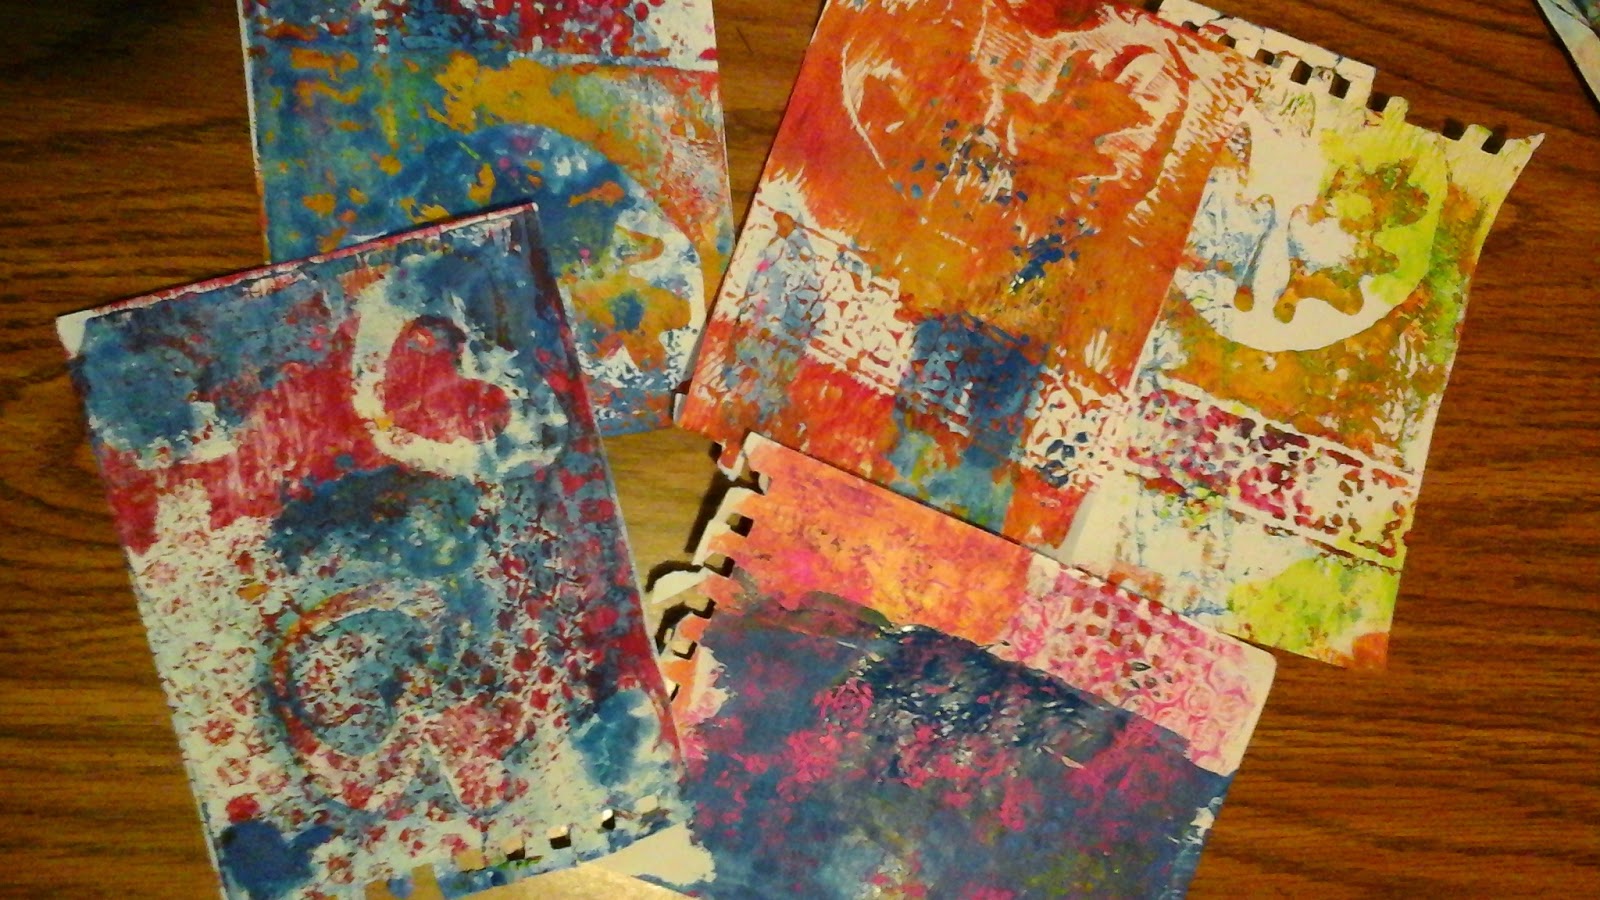
.jpg) To begin, yesterday was a fabulous day, I posted myself in front of the big screen to view the AOE Winter on-line convention. I can't think of a better way to spend my day than being connected with fellow art teachers from all around the world, getting inspired and well, uh, educated. It's the next best thing to actually attending one of those face-to-face conventions like the one coming up in New Orleans in March. One day I'll be able to do that, too. Many weeks back I ordered a Gelli Plate. I kept reading about them, viewing all these wonderful instructional videos and seeing some amazing prints so I just wanted to give one a try myself. I ordered the 5 x 7 size and I am happy with my choice. Upon it's arrival I immediately opened the package, read all the directions and sealed it back up leaving it to sit on the side table in my living room where it has been for weeks. But today, inspired by all the wonderful of yesterday, I gathered up all of my tools and miscellaneous gadgets that might work for texture and headed to the kitchen table to finally try out that Gelli plate. After a few refresher videos to refocus on the process I began to "play". And, yes, it really does feel a lot like play. First I attempted just inking the plate using printing ink. Some of my ink has been around for awhile and either was too cold from being stored in the basement or was about to dry out because I really struggled with spreading it. I used bubble wrap, a onion bag, and some stencils I found in a craft drawer to see how I might do with masking. Quickly I discovered that I had jumped ahead of myself and I should be making my foundation prints using only color. I think I learn best from my mistakes, it sticks with me longer and as we all really know "There are no mistakes in Art only opportunities for creativity"! I eventually got the hang of the multiple layers of printing and masking to produce some of the effects I had seen in the videos. Oh, and thanks to the Sargent paints in my AOE swag box, I was able to make some really effective prints using acrylic paint. I did like the way the paint moved on the plate much better than the inks. I don't truly know if it was because the paints were fresher or if paint is really an easier medium to use this way. The yellow paint also stained my plate but it didn't add residue to subsequent prints so no bother. I read that it would come off with mild soap and water but it wasn't that bad of a stain and I didn't attempt to clean it. What was a surprise was that the plate picked up the ink from the newspaper I had laid out to protect my work surface. It does not appear to come off but again did not transfer to the prints. I had moved the plate off of the plastic surface I had it on to wipe up some ink and it was only on the paper a second...lesson learned. Clean up was very easy. I enjoyed attempting to pull as many ghost prints off of the plate as possible so there was not much ink or paint left on the plate to clean up. I can't wait to gather up some more stencils and other items to use for mask and try it all again. I do want to make sure I have a wider variety of colors available for the next round of printing.
To begin, yesterday was a fabulous day, I posted myself in front of the big screen to view the AOE Winter on-line convention. I can't think of a better way to spend my day than being connected with fellow art teachers from all around the world, getting inspired and well, uh, educated. It's the next best thing to actually attending one of those face-to-face conventions like the one coming up in New Orleans in March. One day I'll be able to do that, too. Many weeks back I ordered a Gelli Plate. I kept reading about them, viewing all these wonderful instructional videos and seeing some amazing prints so I just wanted to give one a try myself. I ordered the 5 x 7 size and I am happy with my choice. Upon it's arrival I immediately opened the package, read all the directions and sealed it back up leaving it to sit on the side table in my living room where it has been for weeks. But today, inspired by all the wonderful of yesterday, I gathered up all of my tools and miscellaneous gadgets that might work for texture and headed to the kitchen table to finally try out that Gelli plate. After a few refresher videos to refocus on the process I began to "play". And, yes, it really does feel a lot like play. First I attempted just inking the plate using printing ink. Some of my ink has been around for awhile and either was too cold from being stored in the basement or was about to dry out because I really struggled with spreading it. I used bubble wrap, a onion bag, and some stencils I found in a craft drawer to see how I might do with masking. Quickly I discovered that I had jumped ahead of myself and I should be making my foundation prints using only color. I think I learn best from my mistakes, it sticks with me longer and as we all really know "There are no mistakes in Art only opportunities for creativity"! I eventually got the hang of the multiple layers of printing and masking to produce some of the effects I had seen in the videos. Oh, and thanks to the Sargent paints in my AOE swag box, I was able to make some really effective prints using acrylic paint. I did like the way the paint moved on the plate much better than the inks. I don't truly know if it was because the paints were fresher or if paint is really an easier medium to use this way. The yellow paint also stained my plate but it didn't add residue to subsequent prints so no bother. I read that it would come off with mild soap and water but it wasn't that bad of a stain and I didn't attempt to clean it. What was a surprise was that the plate picked up the ink from the newspaper I had laid out to protect my work surface. It does not appear to come off but again did not transfer to the prints. I had moved the plate off of the plastic surface I had it on to wipe up some ink and it was only on the paper a second...lesson learned. Clean up was very easy. I enjoyed attempting to pull as many ghost prints off of the plate as possible so there was not much ink or paint left on the plate to clean up. I can't wait to gather up some more stencils and other items to use for mask and try it all again. I do want to make sure I have a wider variety of colors available for the next round of printing.  |
| Work in progress |
 |
| Used for Ghost Prints |
 |
| Used for Negative Prints |
 |
| Even the paper used to clean the brayer looks interesting |
 |
| Starting to get the hang of it. |

 As a part of my November Month of Printmaking, 2nd grades created these really cool mono prints. I loved their reactions when they discovered the image appear as if it were reflected in water. A few students grabbed paper and continued to do their own additional compositions with more of a seasonal theme. It's so much fun as well as rewarding when a lesson really goes over well. This one will stay in my list of curriculum regulars.


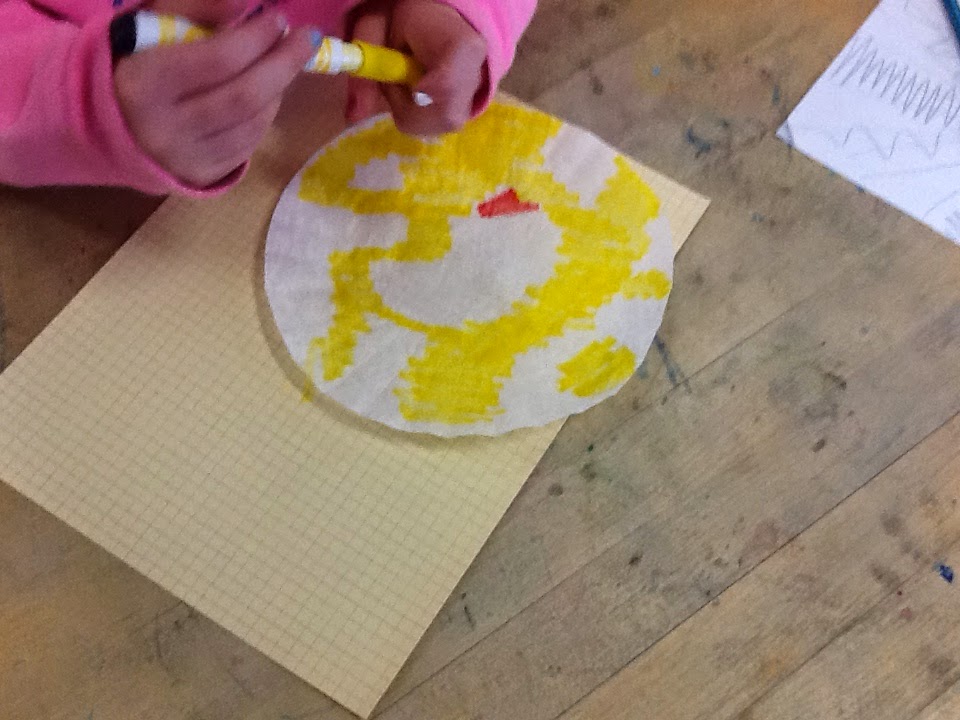

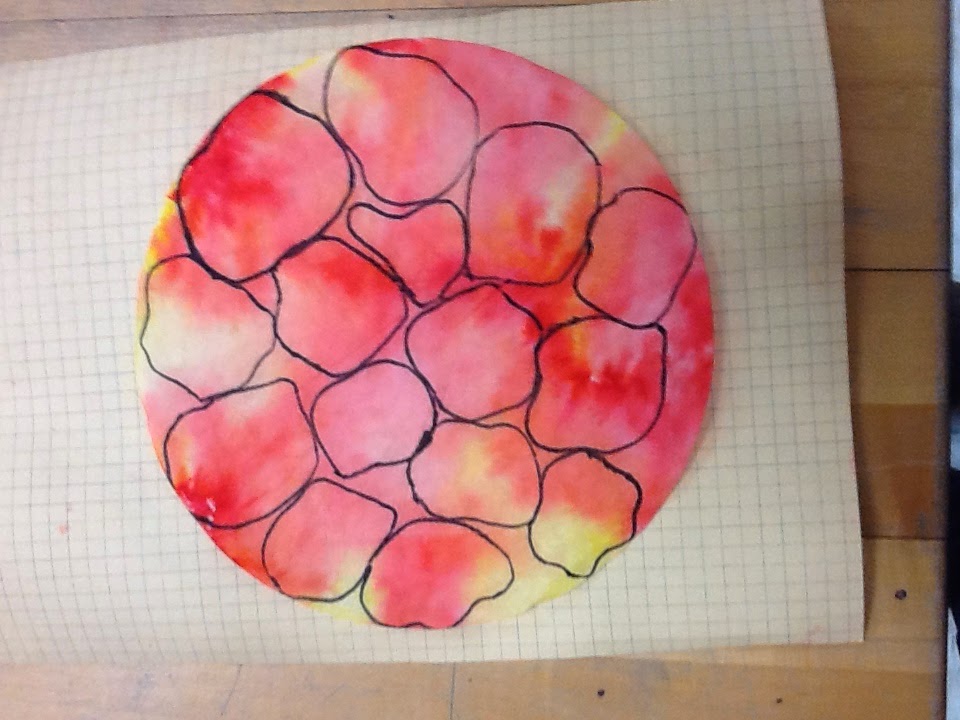

 All of my fourth grade students created snowflake prints back before the holidays. I wrote about the process here in December. One class was still working on a previous lesson and missed out on the printing. It is a really fun project and the students all seem to really enjoy it. With that in mind, I began thinking about a snowflake cutting book on my bookshelf that featured valentines. My book was written by Robert Kelly. I can't locate it on Amazon but here is a similar book by Kelly. I selected several patterns and ran copies for the students to chose from. I like the style of this book because each pattern has folding instructions attached at the top of the page. Week one they cut valentine snowflakes and week two we printed on red and pink paper using red and white tempera paints. I wanted to share a few of the beautiful snowflakes they completed with you.


