Showing posts with label printmaking. Show all posts

Saturday, December 1, 2018

In November - We Print


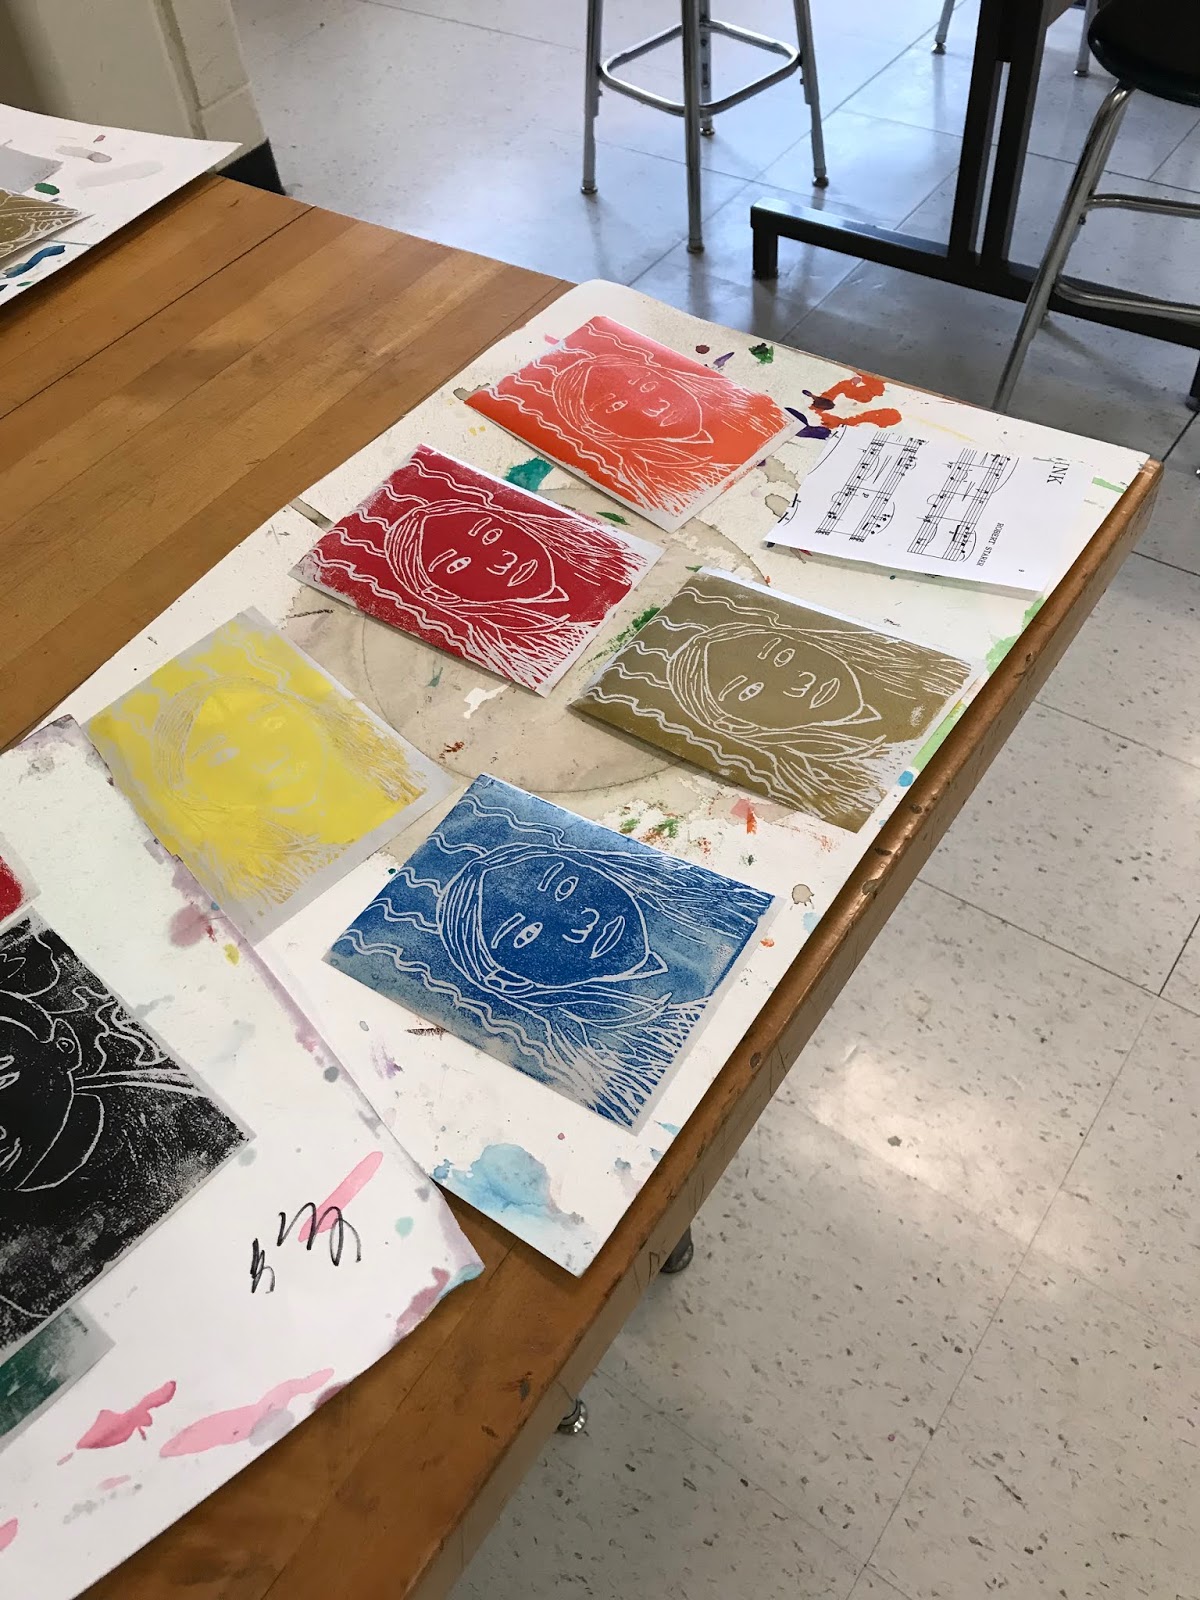
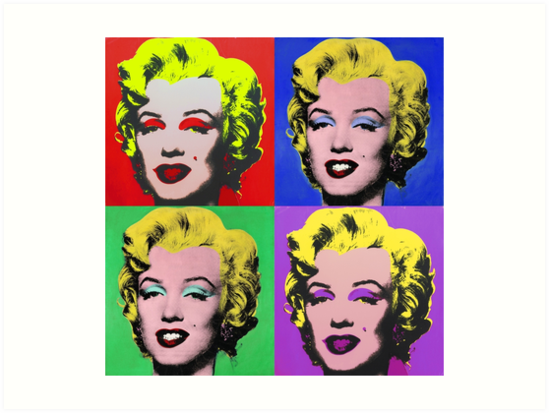
 My November curriculum is focused on printing making across all grade levels.  Fifth graders focus on the work of Andy Warhol and his attempt to fame through using the images of famous people.

Such as the one above of Marilyn Monroe.  I have approached this project in a couple of ways over the years.   Some years I pull student photos from their Power School accounts so we are using their class photo for the year.  When I plan ahead well, I take a photo of each child during class time a week or two before we begin the project.  This year I planned and took photos which were sized to a 4 1/2 x 6 for transferring onto foam to use as a printing plate.  Here are some images of the process.
Inking the plate at a central work table

Organizing to keep our paper clean for printing


The process

.


Student Work
Student Work
Student Work
Student Work

Monday, February 20, 2017

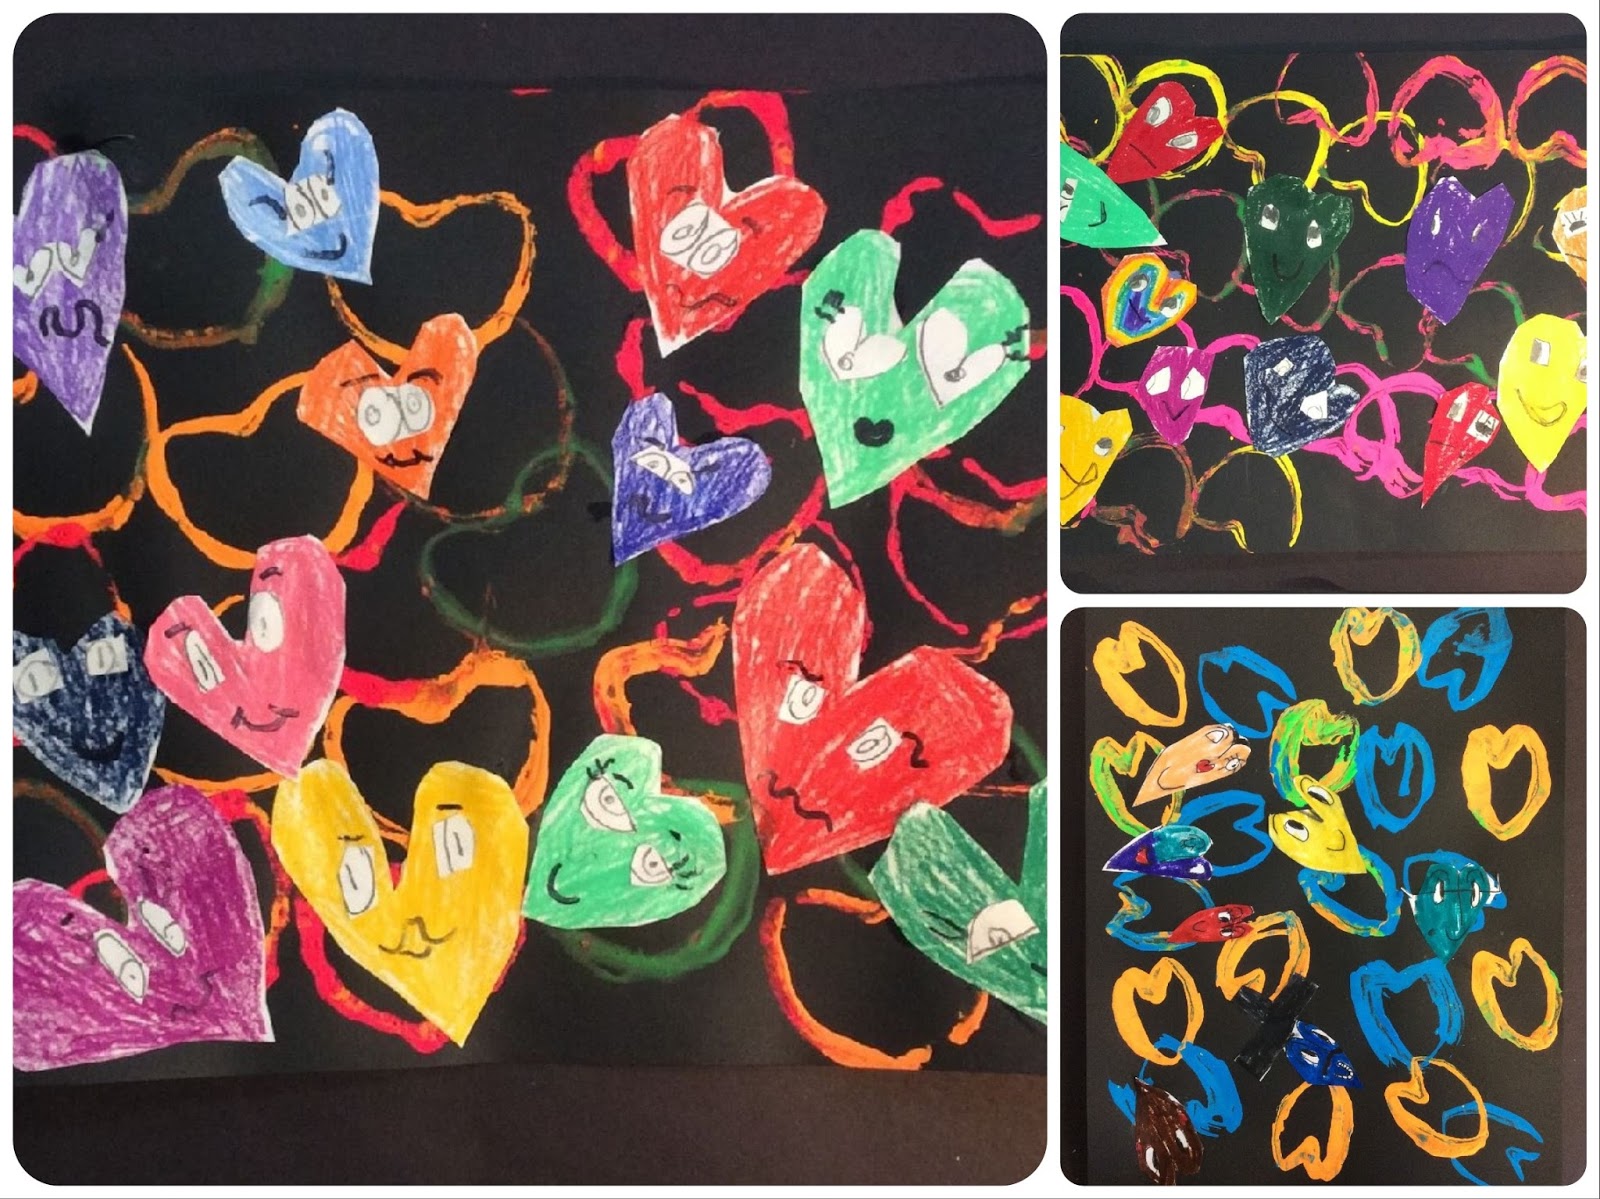
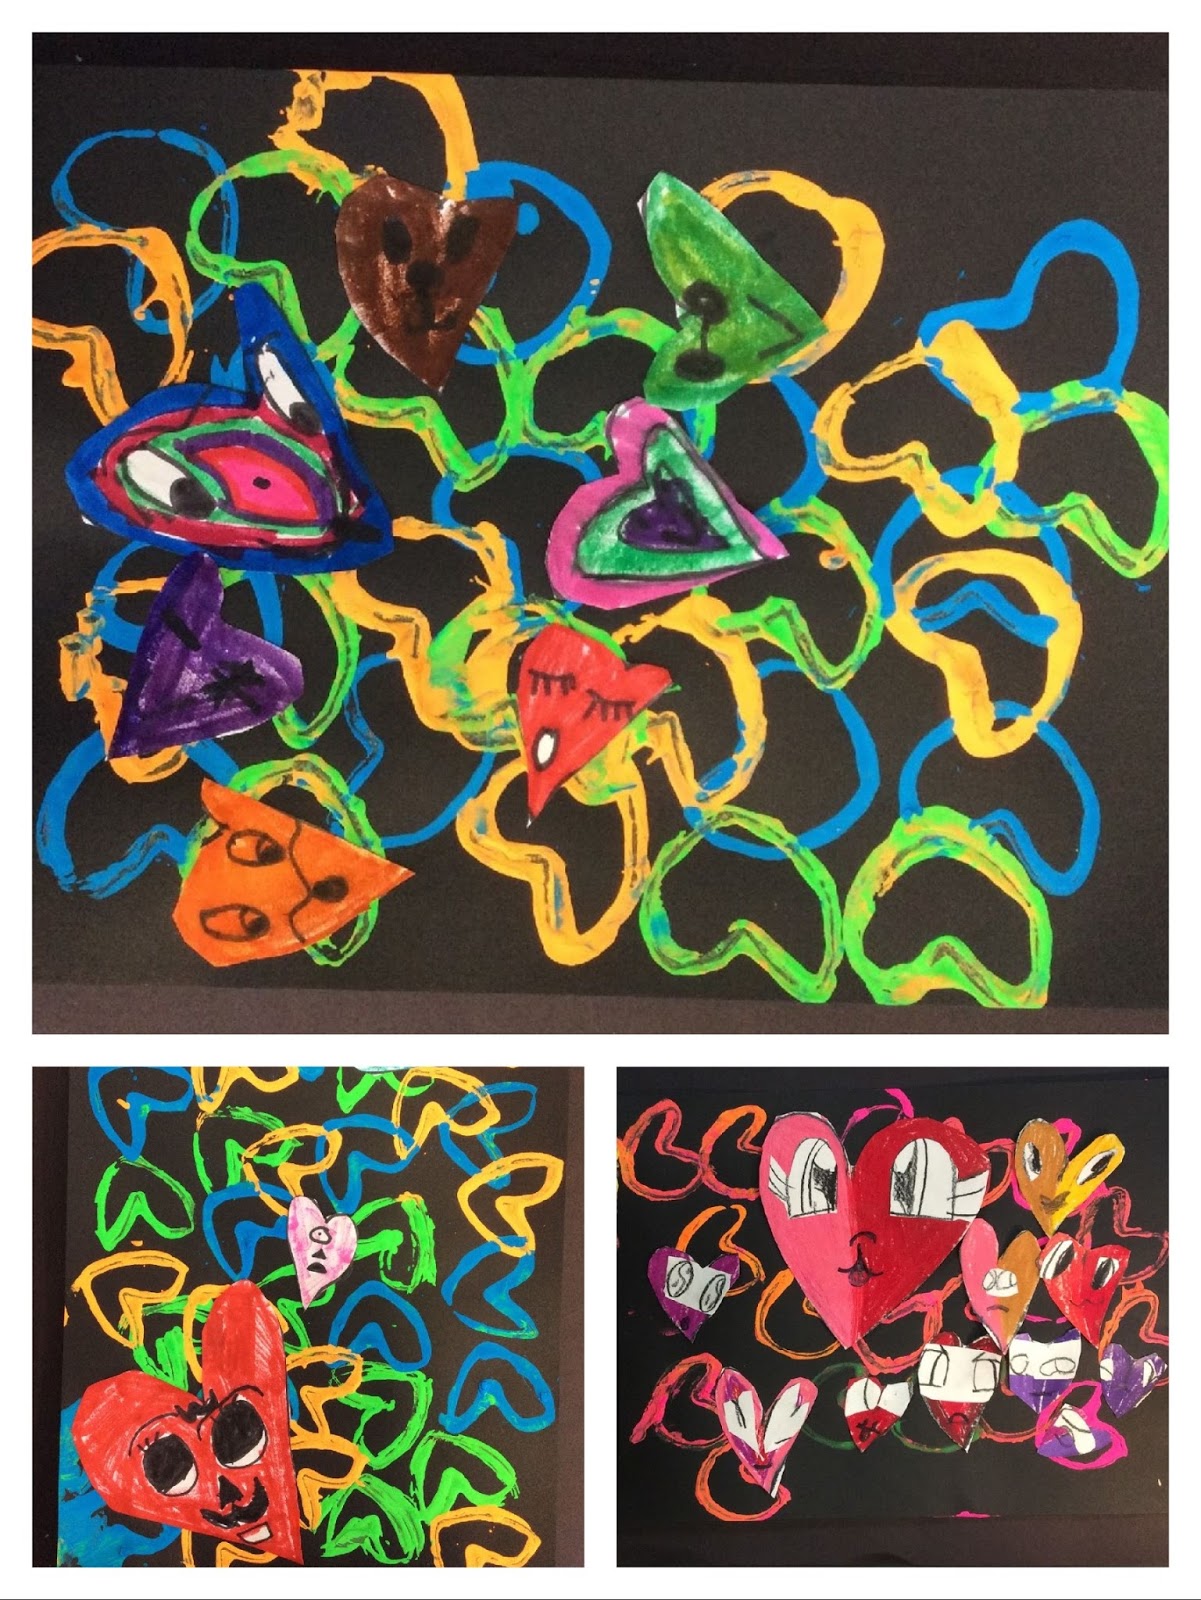
Chris Uphues borrowed from Cassie Stephens

student work
 When I spotted this project on Cassie Stephen's blog I knew I had to do it with one of my students.  We were exploring printmaking and I knew printing hearts with TP rolls would be a big hit.  My students also enjoyed learning about a practicing artist and viewing some of his work.  The project took about three weeks, a bit longer than I anticipated but happily most were completed prior to February break.
student work

Wednesday, November 25, 2015

Mono printing continued

As a follow up to my post on Payon Watercolor Crayon printing here.  I wanted to post a few photos of a group at work.  This was such a successful way to do mono-printing because the students really felt successful.  Not to mention the positive that they were also able to print ghost prints in some instances.  We were using Kutz it and Payons with newsprint.  The only down side is that the Payons do stain the Kutz it but that does not effect future prints.  So here my kids are having a blast!  You could have heard a pin drop except for the delightful exclamations over successful prints!!  This was a terrific activity for the last day before a holiday break.


Tuesday, November 11, 2014

Printing and Poppy Flowers

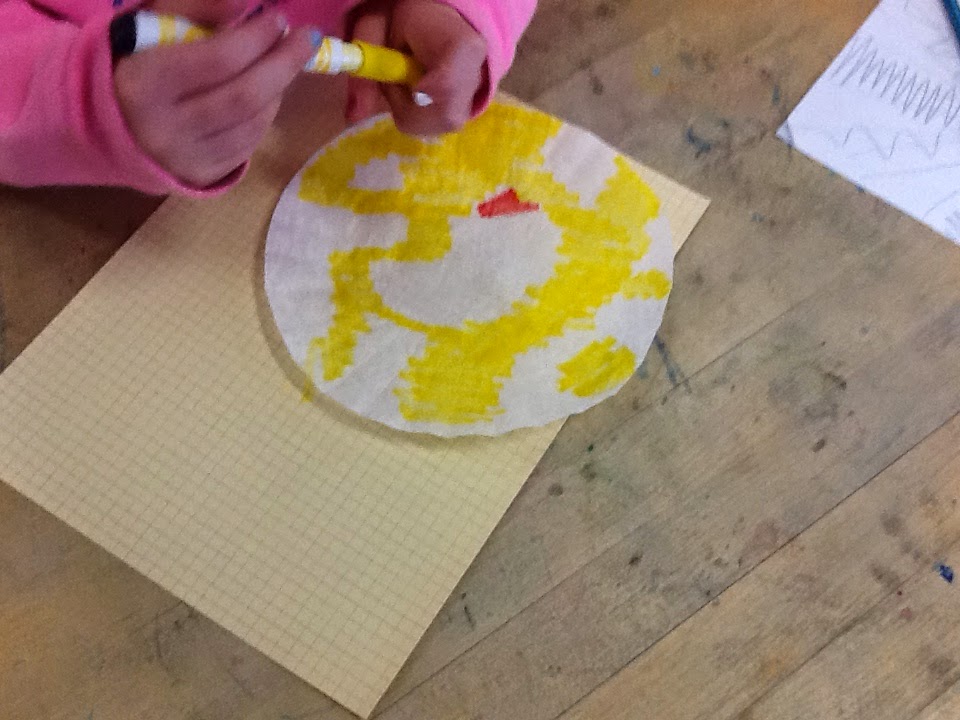
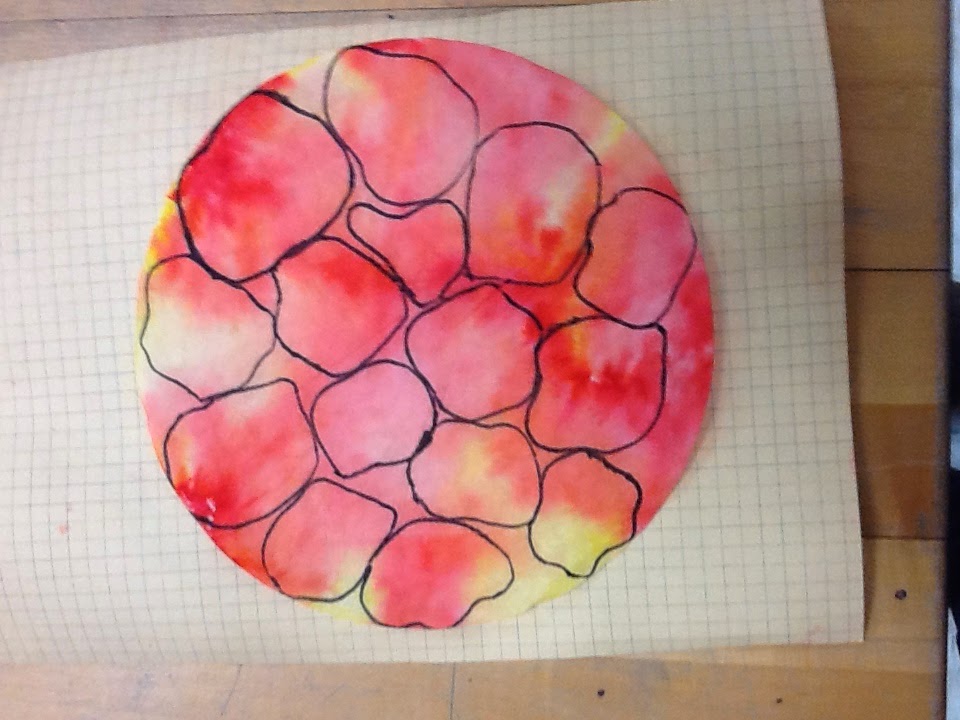
November is printmaking month in the art room.  With the younger grades the projects are usually mono-prints with collographs and relief prints for the older grades.  I am a person that requires experiment and change and am bored teaching the same lesson over and over.  This year was time for change so I began perusing the internet and pinterest for new ideas and ways to teach printmaking.  I found a really cute monster project here that used a marker and coffee filter print.  I like the method but didn't want to do monsters.  With Veteran's Day coming up, I thought of poppy flowers.  In my research, I discovered that poppy flowers are only associated with Memorial Day not Veteran's Day but the project was born regardless.  Here are some visual steps to creating the finished printing and collage project.


Begin by ironing the filters to flatten, then have students add color with yellow and red to the filter.
Spray the filter with water which has been placed on a sheet of white paper.  Place a 2nd paper on top and rub to transfer the inks to the papers.  This is the printing process.  You can iron them to rush the drying process or leave them to dry on your dry rack for week two.  Next the students used some scrap greeting cards to create organic shapes to trace to create the petals of the poppy flowers.  These were traced on the filter and printed papers.
I had students to draw grass and stems on a dampened sheet of 9x12 paper to create a field for the flowers.  I chose to dampen the paper so the watercolors would run to mimic the color patterns of the prints.  Poppy flowers  have 4-6 petals; shapes were chosen to create each flower.  Once flowers were in place, a black water based marker was used to dot in the centers of the flowers, accentuate some of the grass and stems and outline the flower petals.

Color pencils in shades of green can be used to add in a few buds.  This was a very successful and fun-filled lesson!
Monday, August 4, 2014

Printmaking Unleased

I jumped on board to follow the latest readings with the Artsy Book Club.  I have spent the last couple of days pulling together some materials for a few of the projects from "Printmaking Unleashed"  For starter, the projects are a lot of fun...for me.  I think I would be reluctant to try many of the procedures with my elementary students.  I started by creating some stencils using a hot glue gun.  I grabbed an old Teflon pan from the kitchen and my glue gun and started drawing.  It was a blast however,  the stencils wouldn't lift off of the old pan.  I went in search of a Teflon sheet and was not successful so purchased another Teflon baking pan and created some new stencils.  This time it worked like a breeze and the stencils were a snap to create.  Very successful procedure but I would not place hot glue guns, even the low temp ones in the hands of a classroom full of students.  I might consider it in a well supervised environment and small group for an after school program or club.  Most of the experimentation I have done, I feel the same way about.  Not for a classroom full of elementary students but manageable for a smaller group when well supervised.  I  am not finished yet and will experiment more.  I also intend to take all the methods and combine them in some way for a completed project.
 To the right you see me showing off my hot glue gun stenciled apron.  This was from the Swag of the AOE Convention back in the spring.  I used the painted paper towel method with the stencils.  I can see this being a colorful hit in the art room.  I'll try it this method again and see if I can get it to look a bit more refined and with cleaner lines.