Showing posts with label Model Magic. Show all posts

Thursday, December 5, 2019

Organic Shaped Monsters

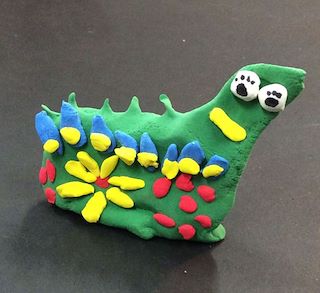
Student Work - Flower Monster
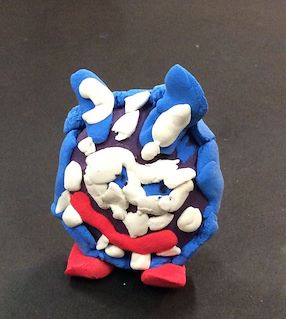
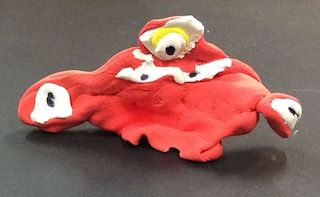
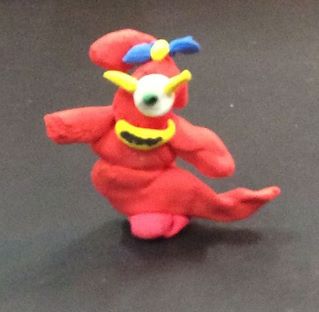
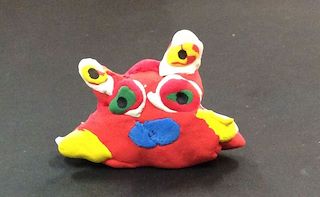
I have been trying to come up with a color mixing project for my students using model magic for a while.  I have made pumpkins for many years with 1st and 2nd grade students but wanted something else that would connect with my curriculum for students a bit older.  After a unit on Organic Shapes where students tore paper to create a shape and then turned it into a monster, (here it is) I had a light bulb go off.  What if I followed up with a sculptural project that revisited the organic shape, this time in 3D?  An so...this project was born.  It worked great to reinforce learning and the kids loved it.   My only expectations were for them to make their monster's body using a secondary color, they had to mix it using two primary colors, and that the monster's body was an organic shape. These are made with Crayola Model Magic.
Student Work - So many teeth!
Student Work - Sooo many eyes!
Here are some more of the fabulous creations by 2nd grade students.
Student Work - Monster with a Bow
Student Work - Orange monster

Wednesday, December 28, 2016

Kindergarten snowmen 2016

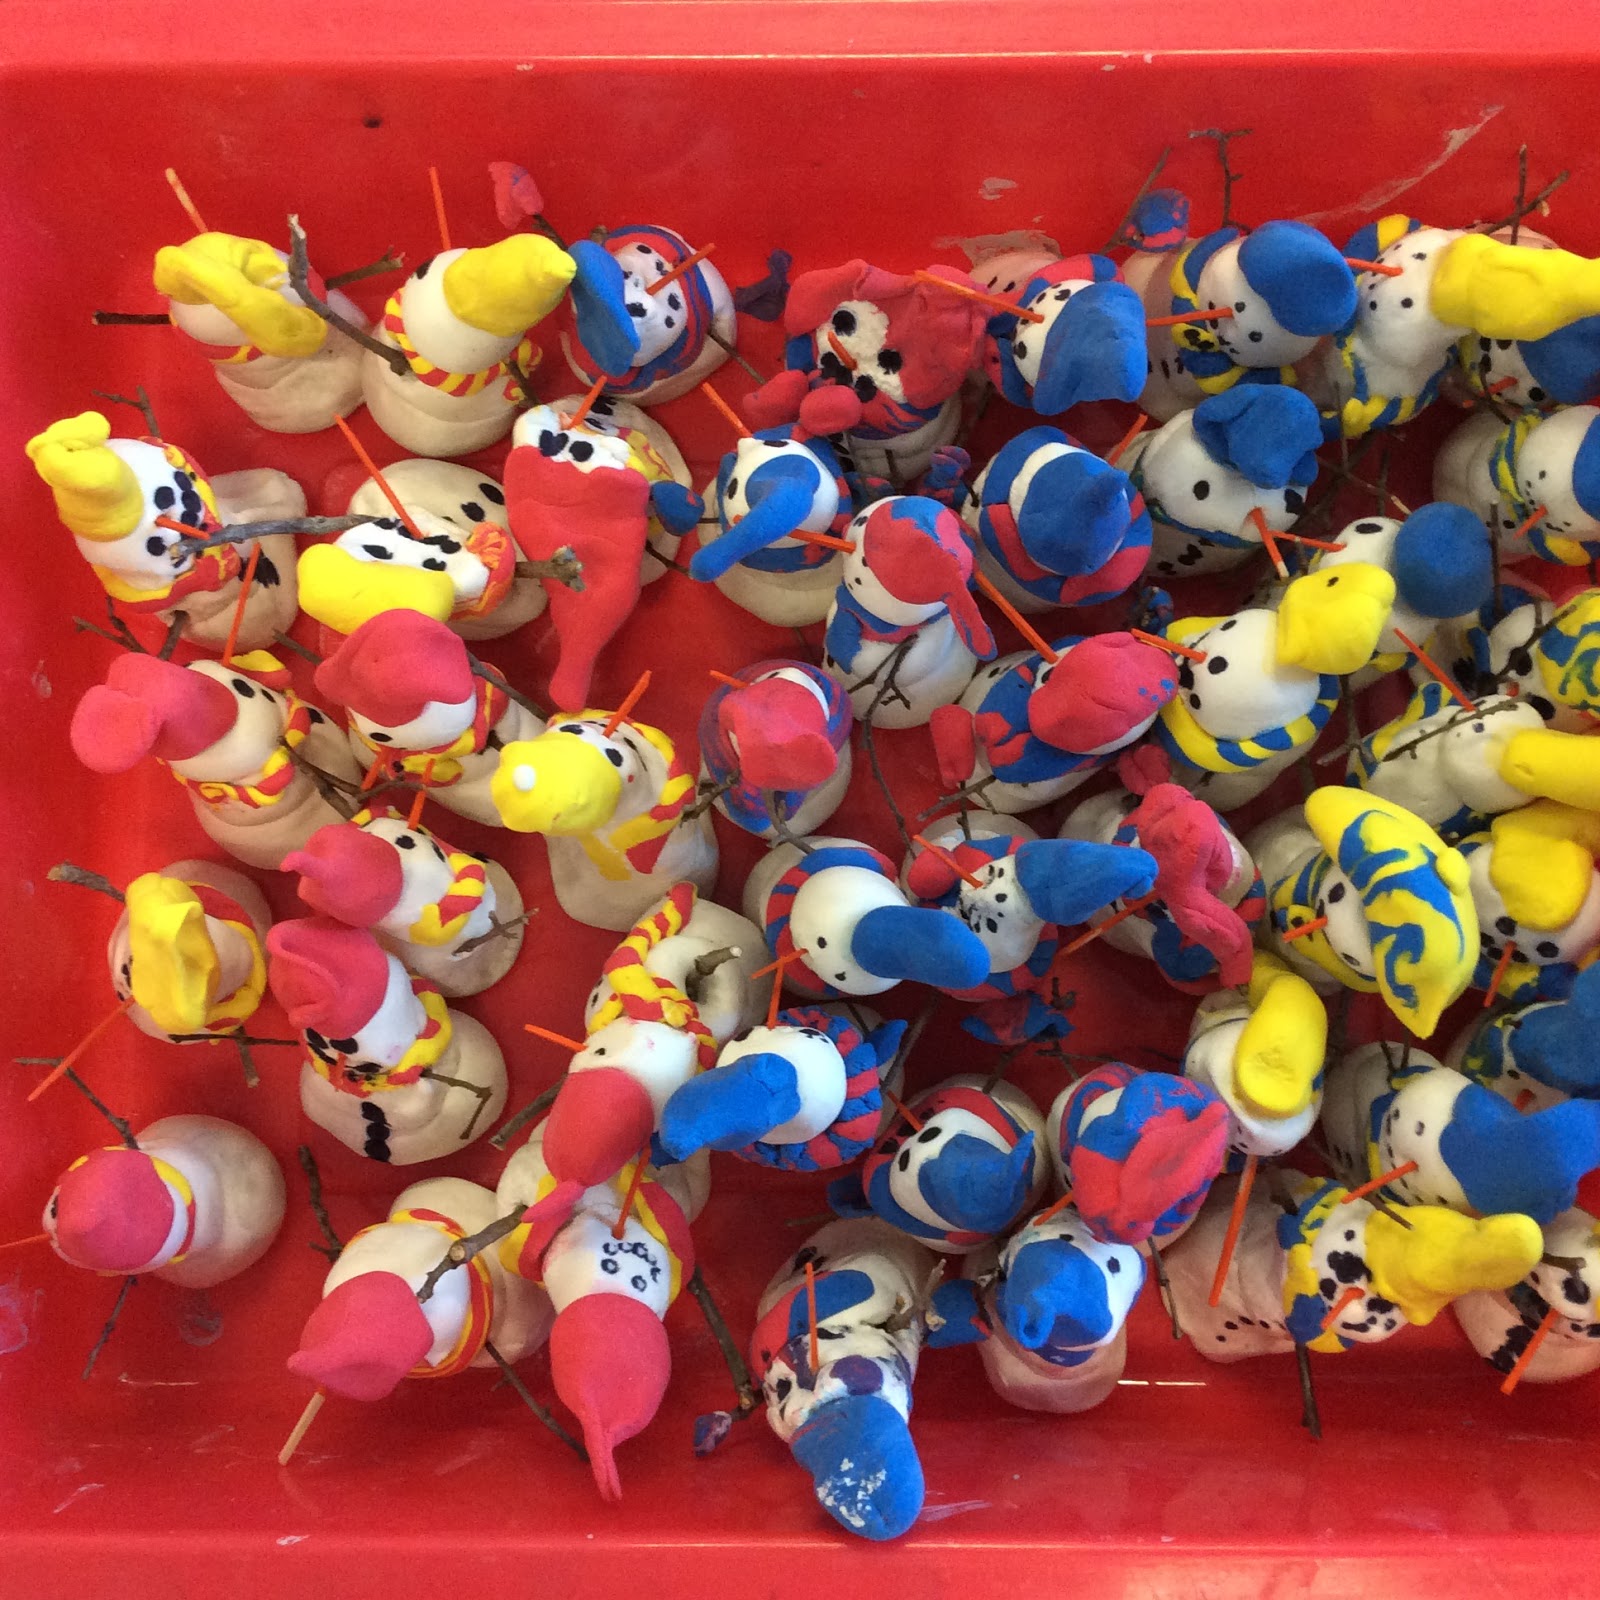
A crowd
I do this project every year with my Kinders.  I am sure I have posted it here before but had to add it again because of this picture.  The snowmen are a preface to working with clay after the first of the year.  Students practice forming spheres, cones and snakes using model magic.  The nose is formed by a tooth pick, painted orange, the arms are sticks from a bush in my yard and sharpies are used to add other details.  These are always individual and unique.  Sometimes they even appear melted and ill-shaped; just like real snowmen would.  I try to display them in the case at the front office for the weeks prior to Holiday break.  This is what they looked like when I gather them up to redistribute to the kids to take home.


Student works - they are color coded by class

Student work
Student work

Monday, November 14, 2016

3D Color Mixing Pumpkins


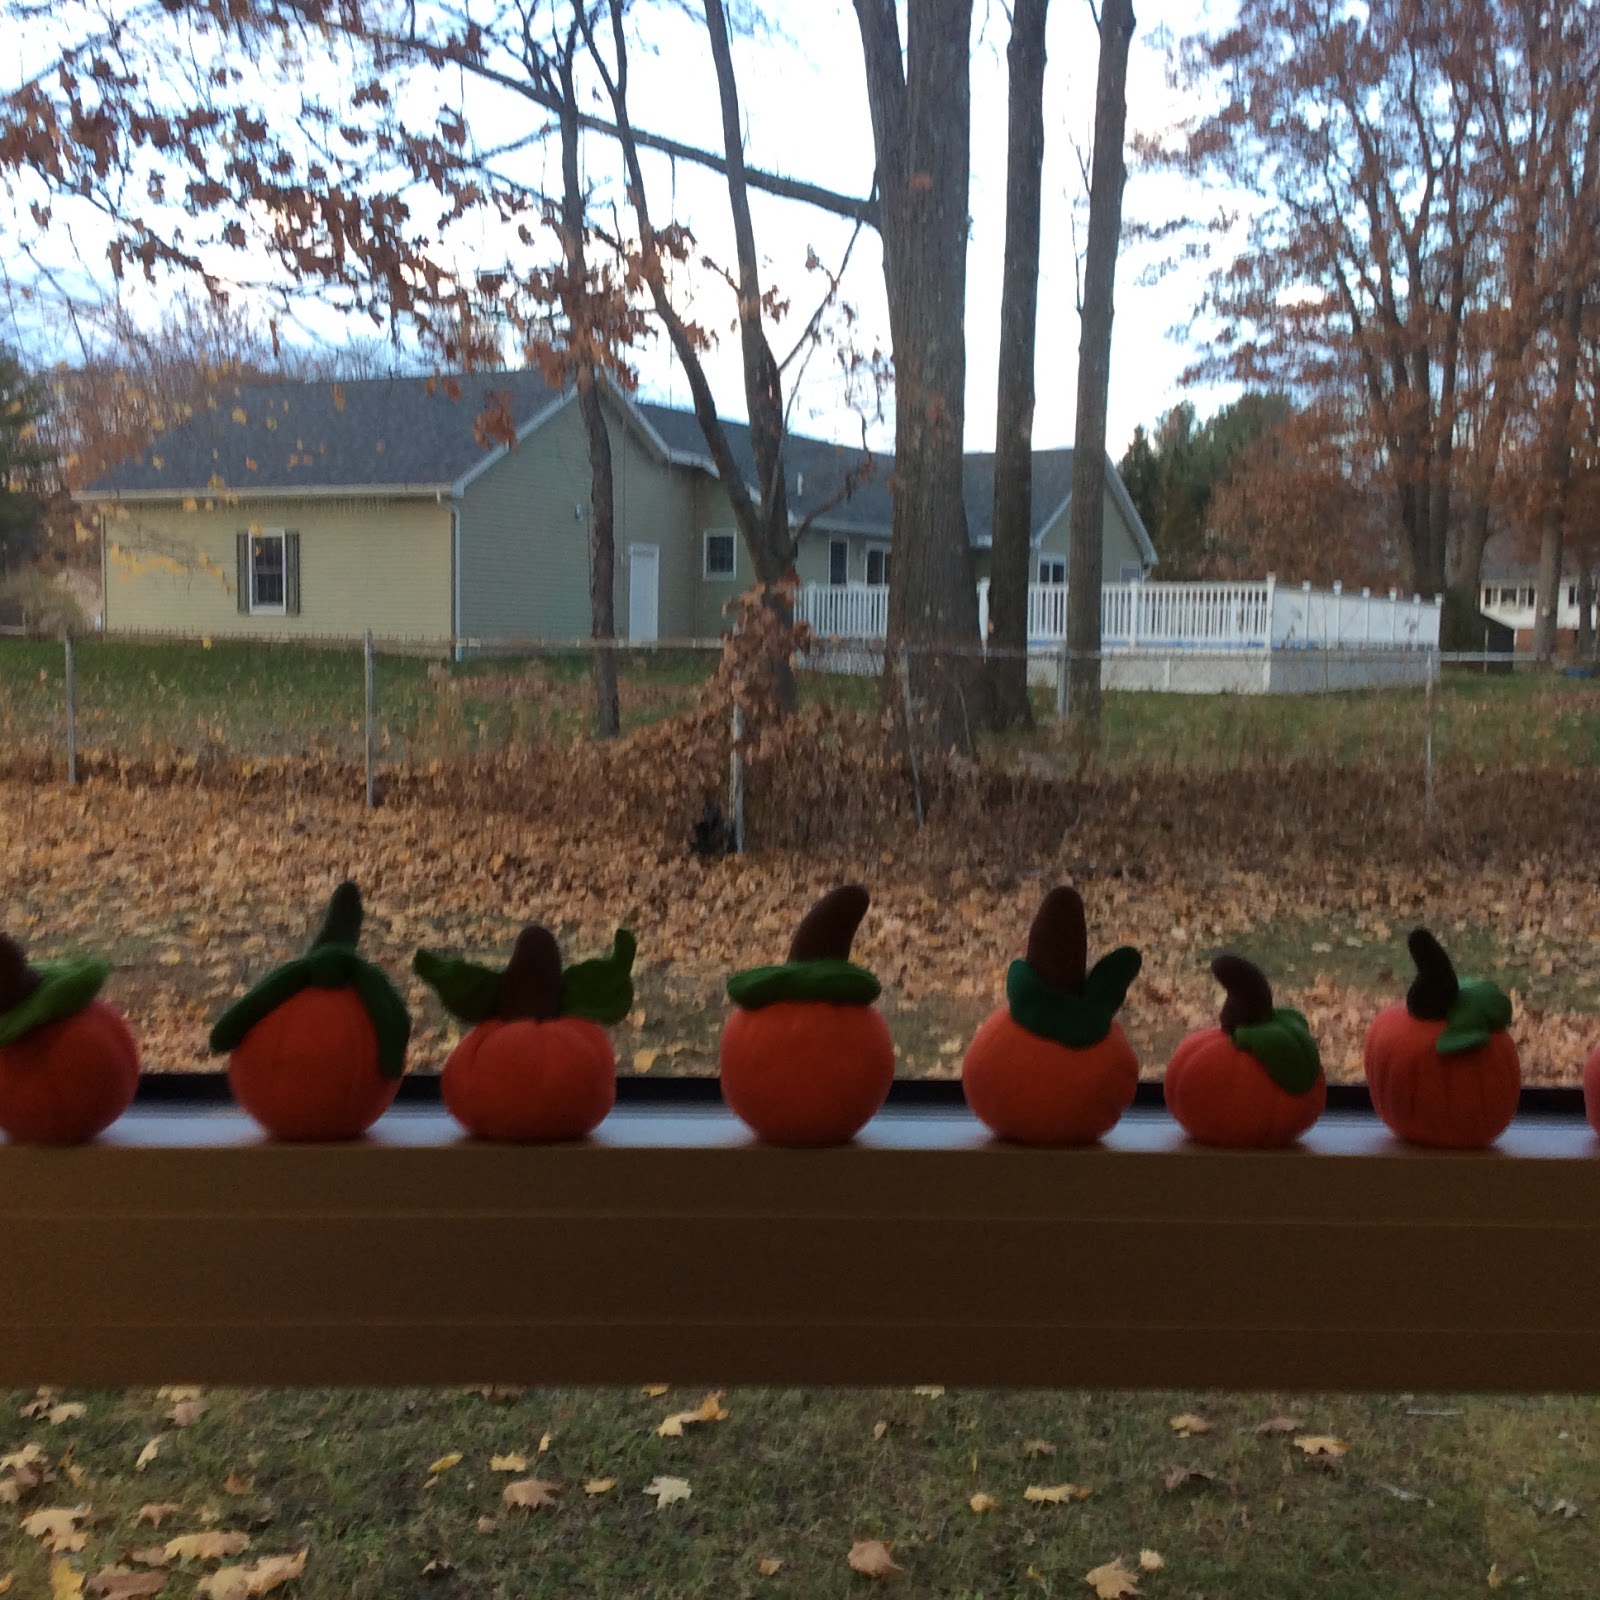
Color Mixing Pumpkins


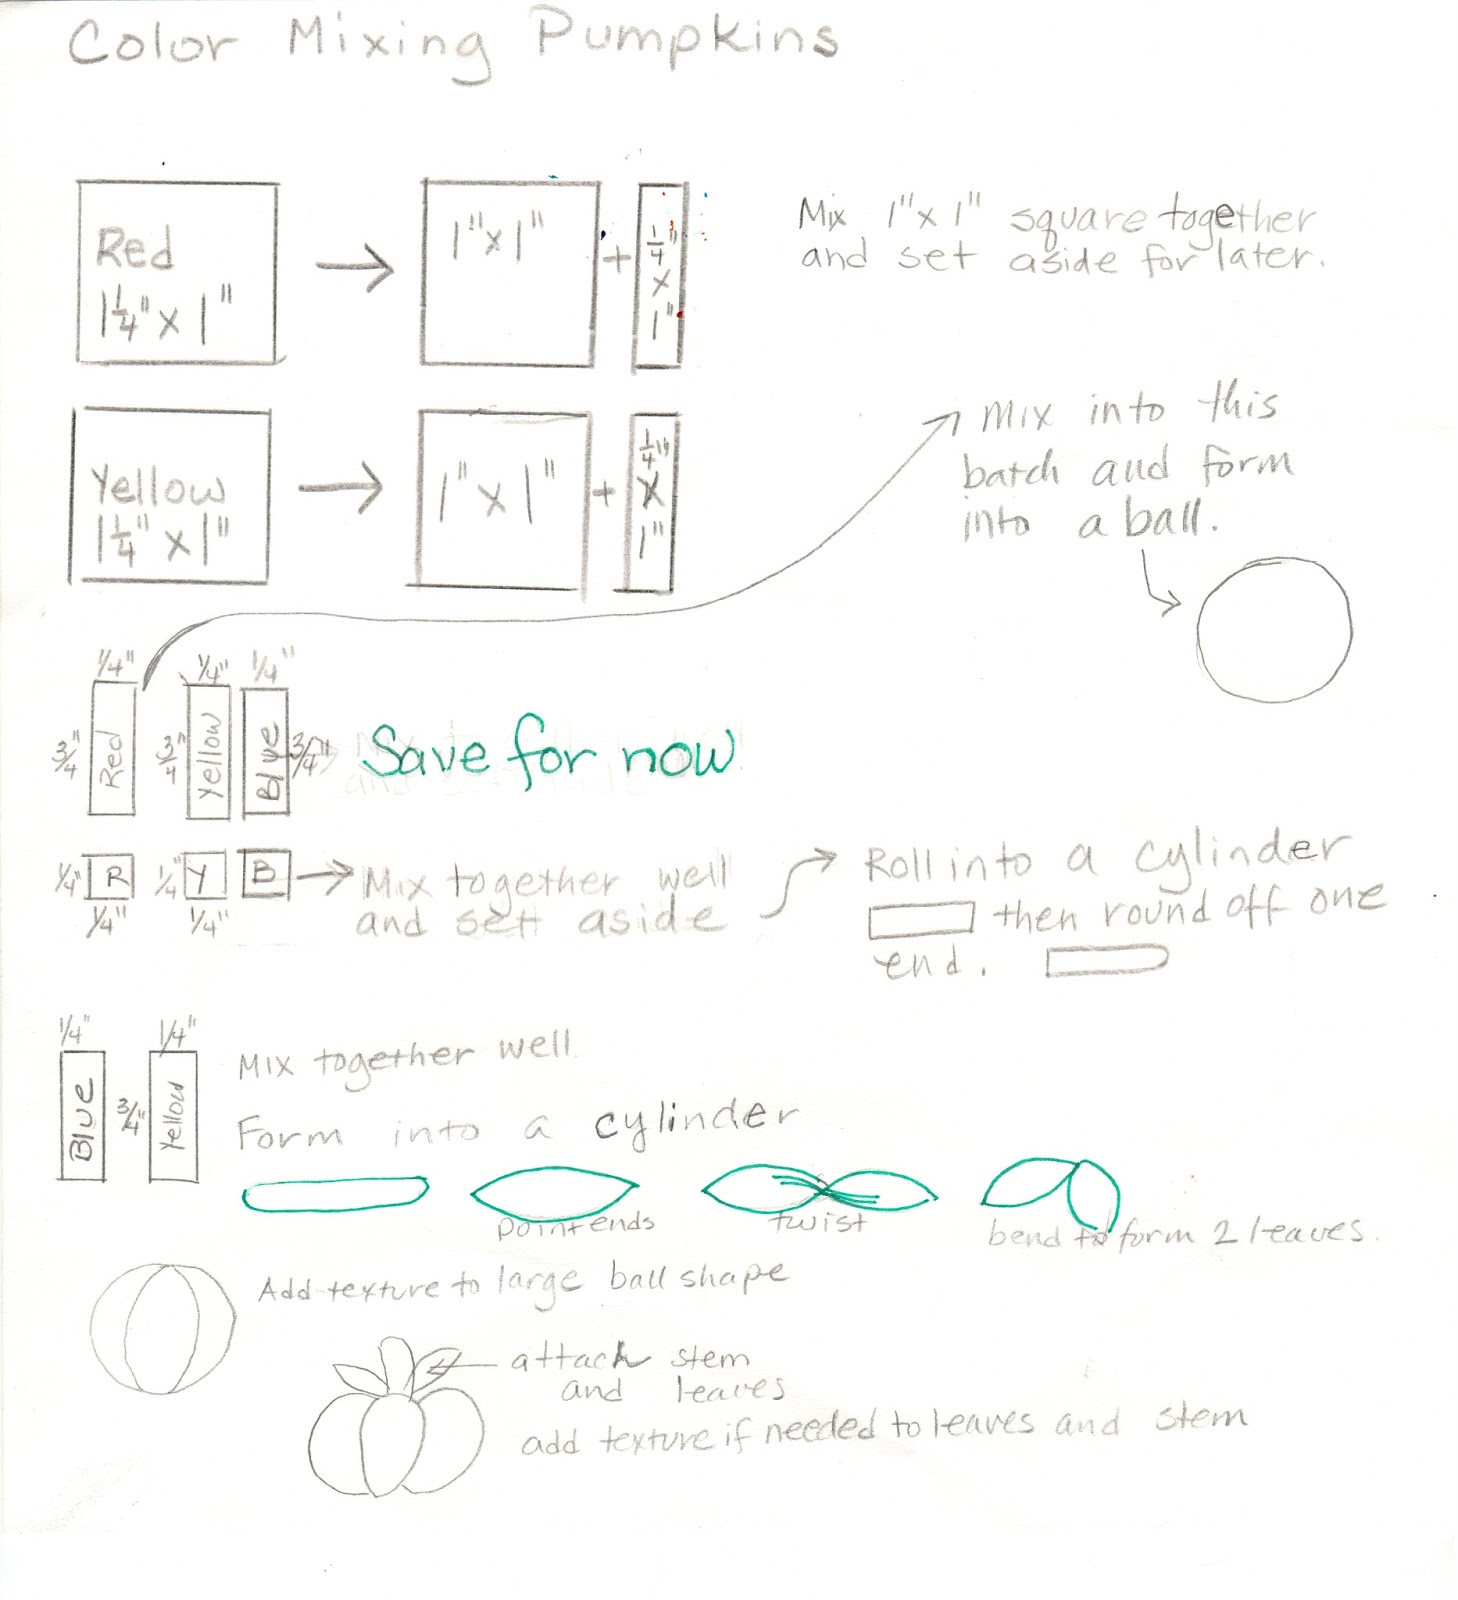
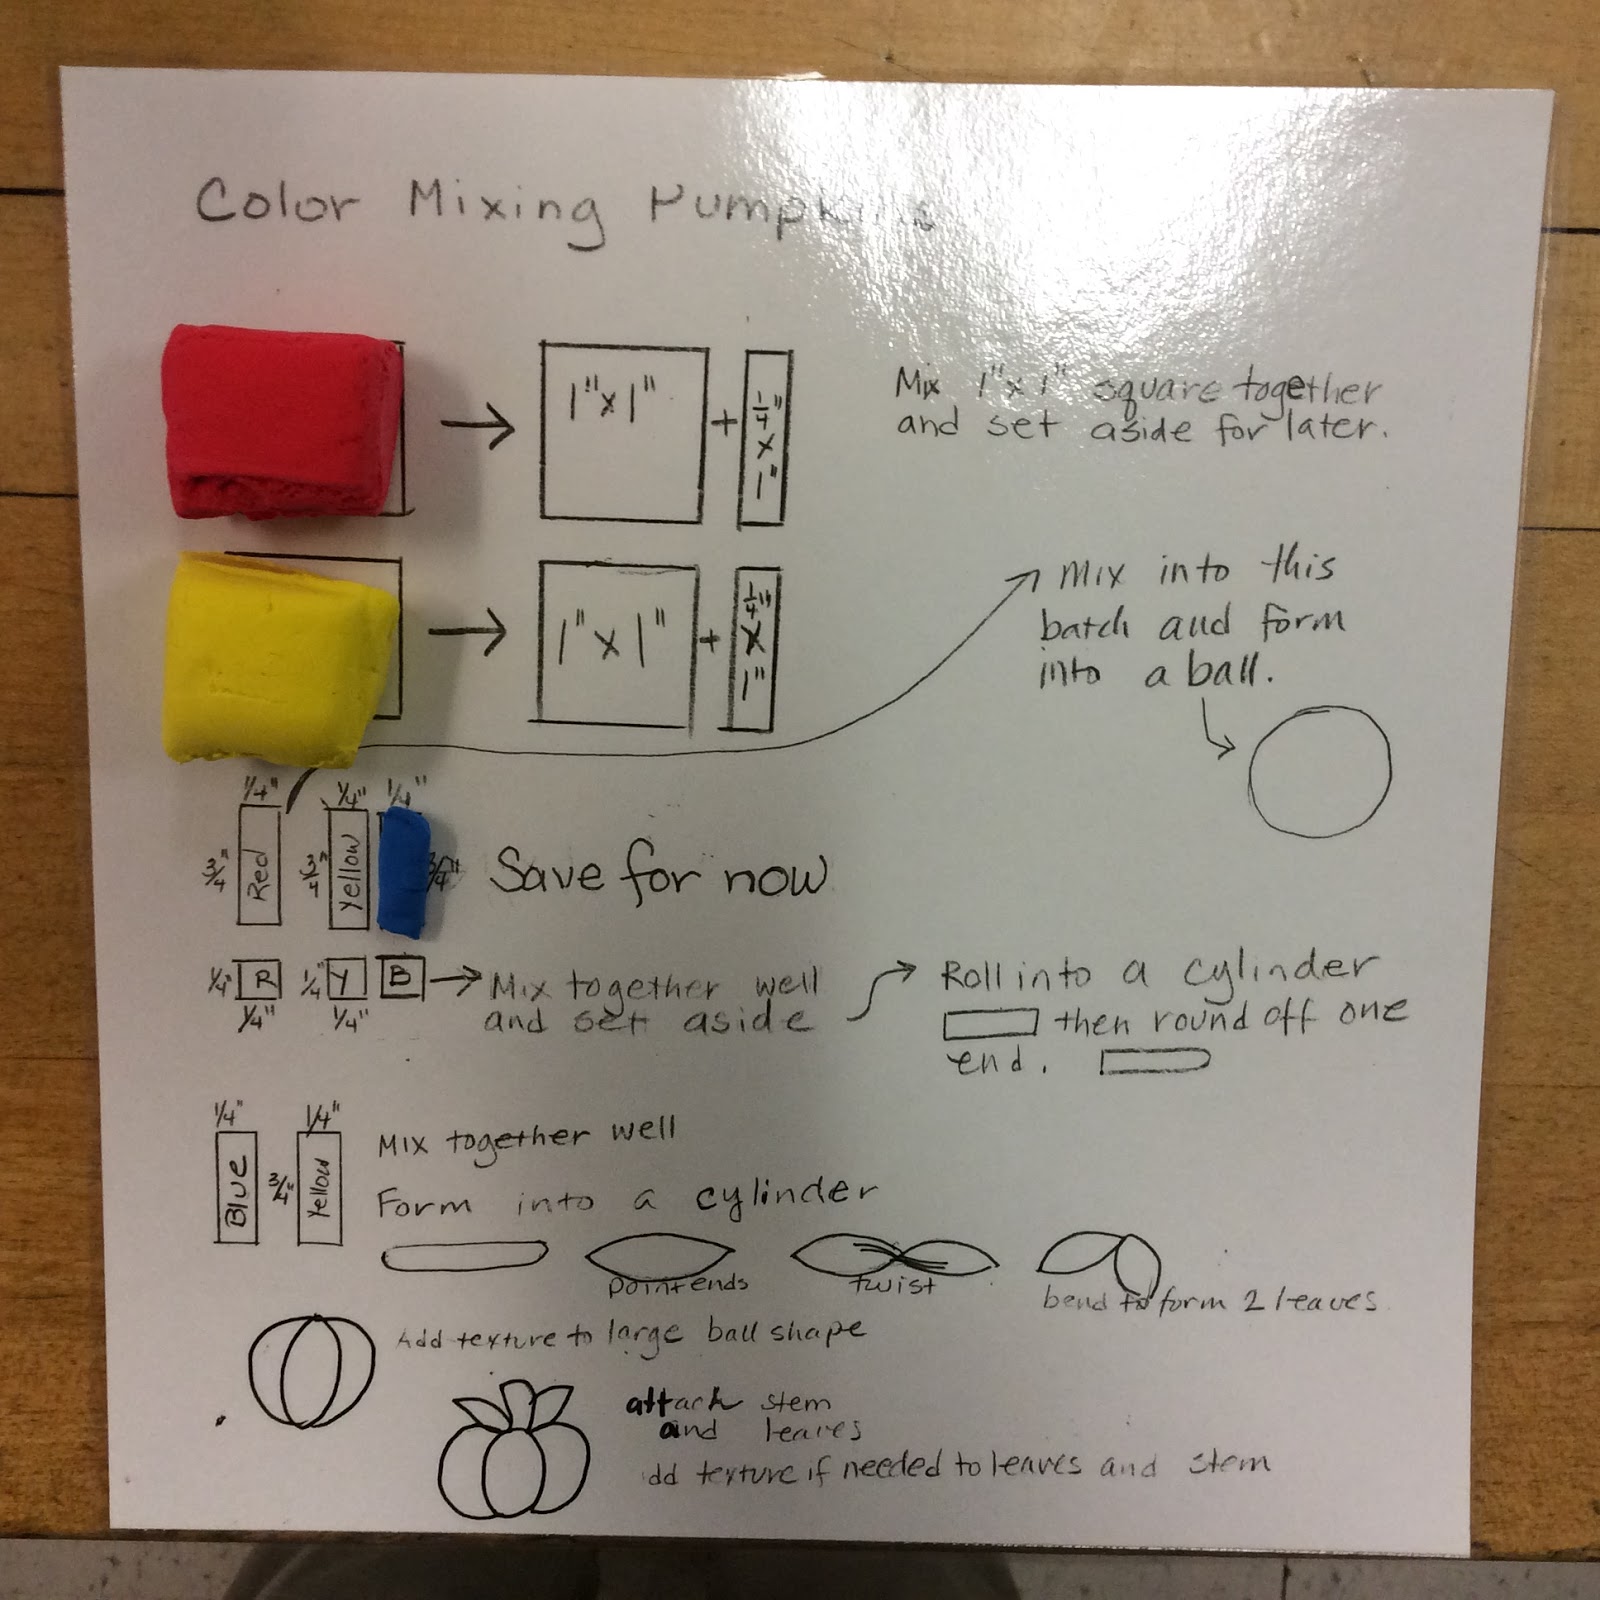
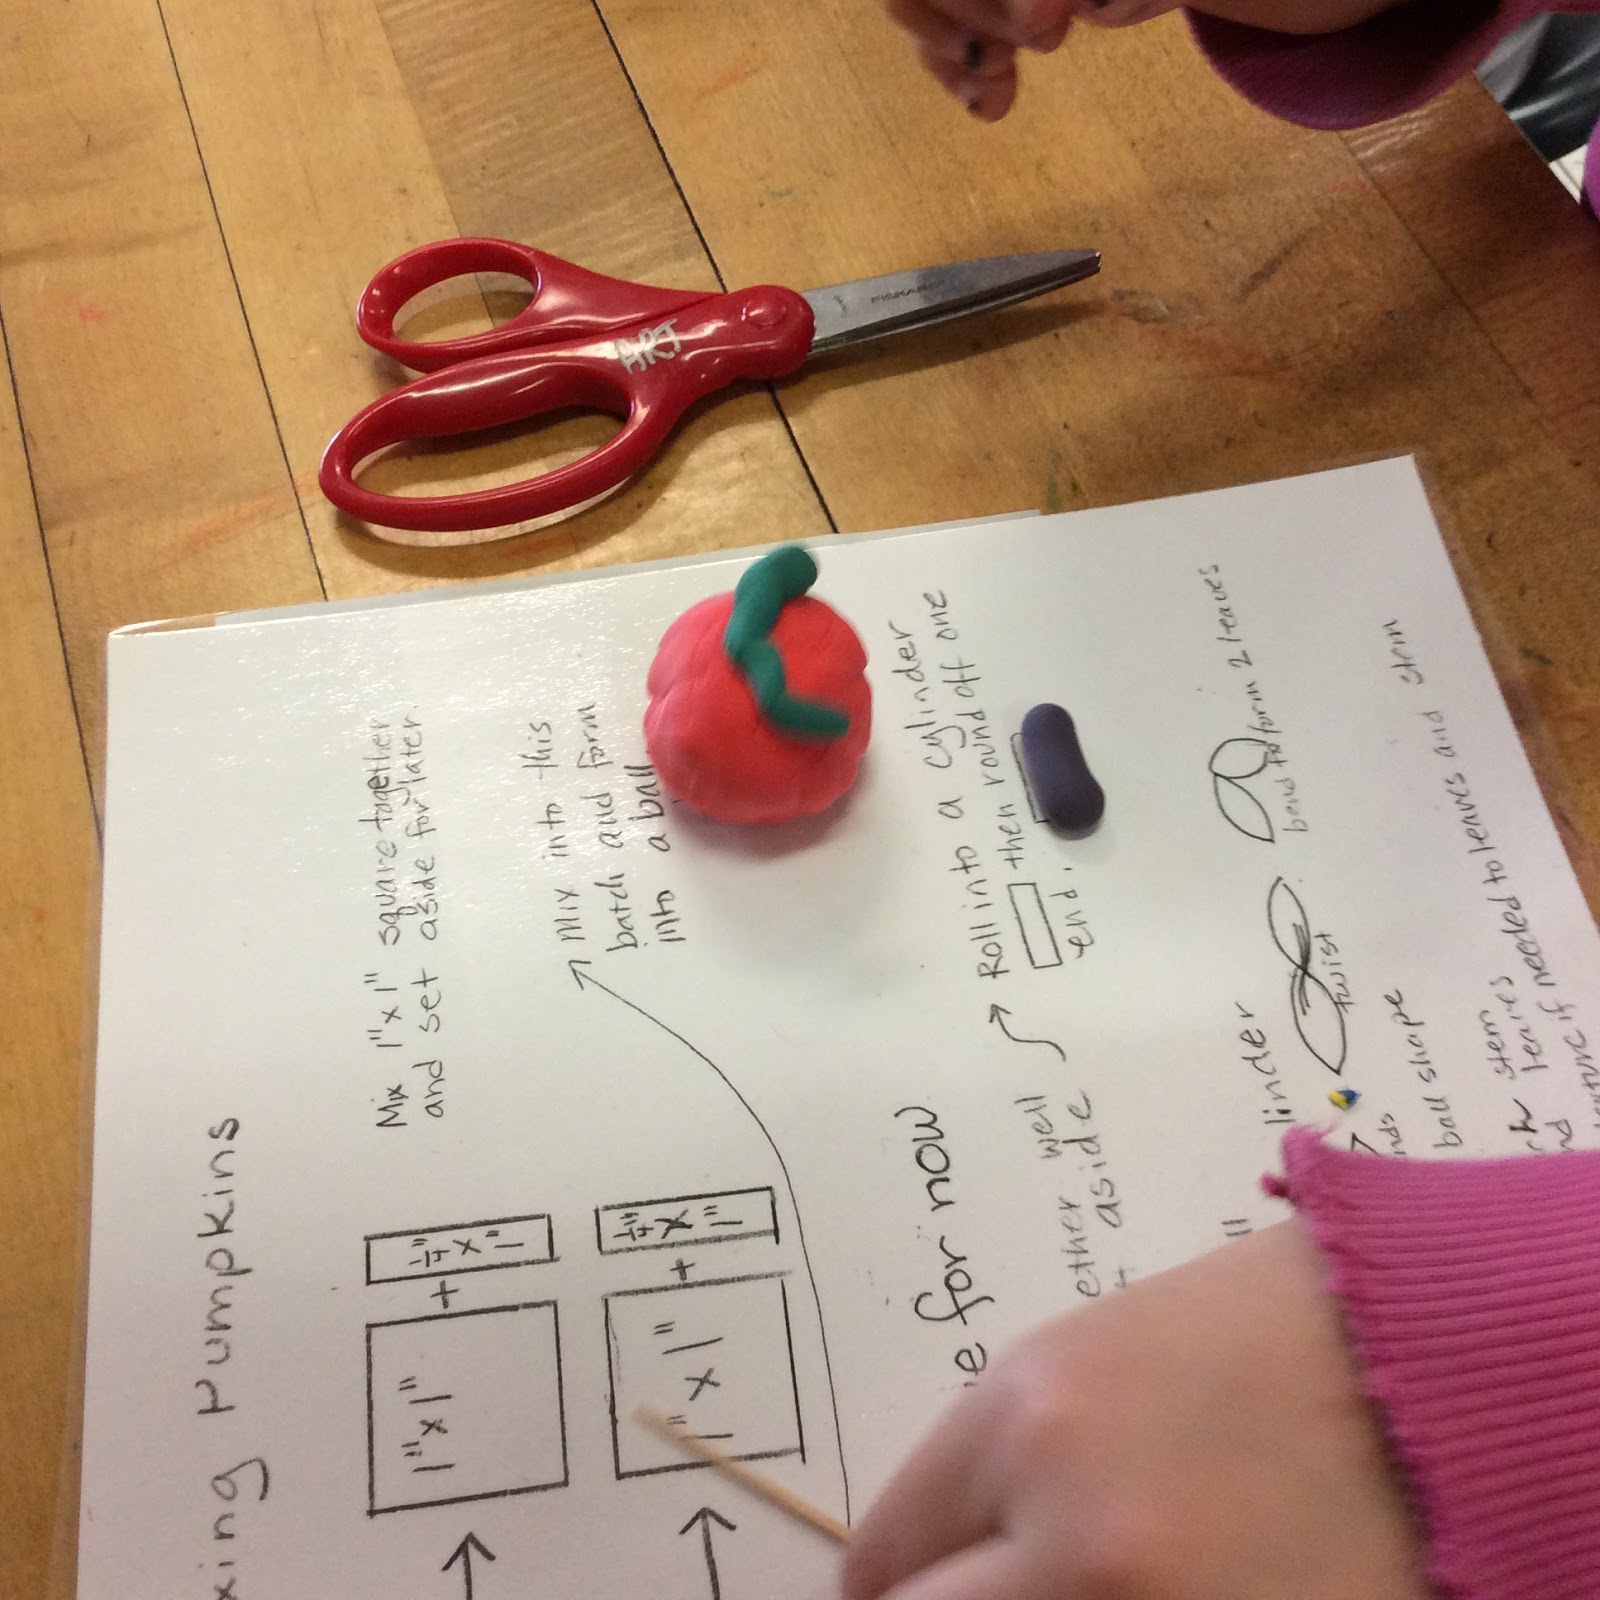
I have done this project with my 2nd grade students for a number of years but felt I wasn't making the strong Math connections that I wanted.  I was motivated to create a template for the project where students could more closely be involved in the measuring of the clay  to make clearer connections.  Here is the template I created.   I made enough copies so each child would have their own and ran them through the laminator.  It can be used like a place mat to actually do the work on.

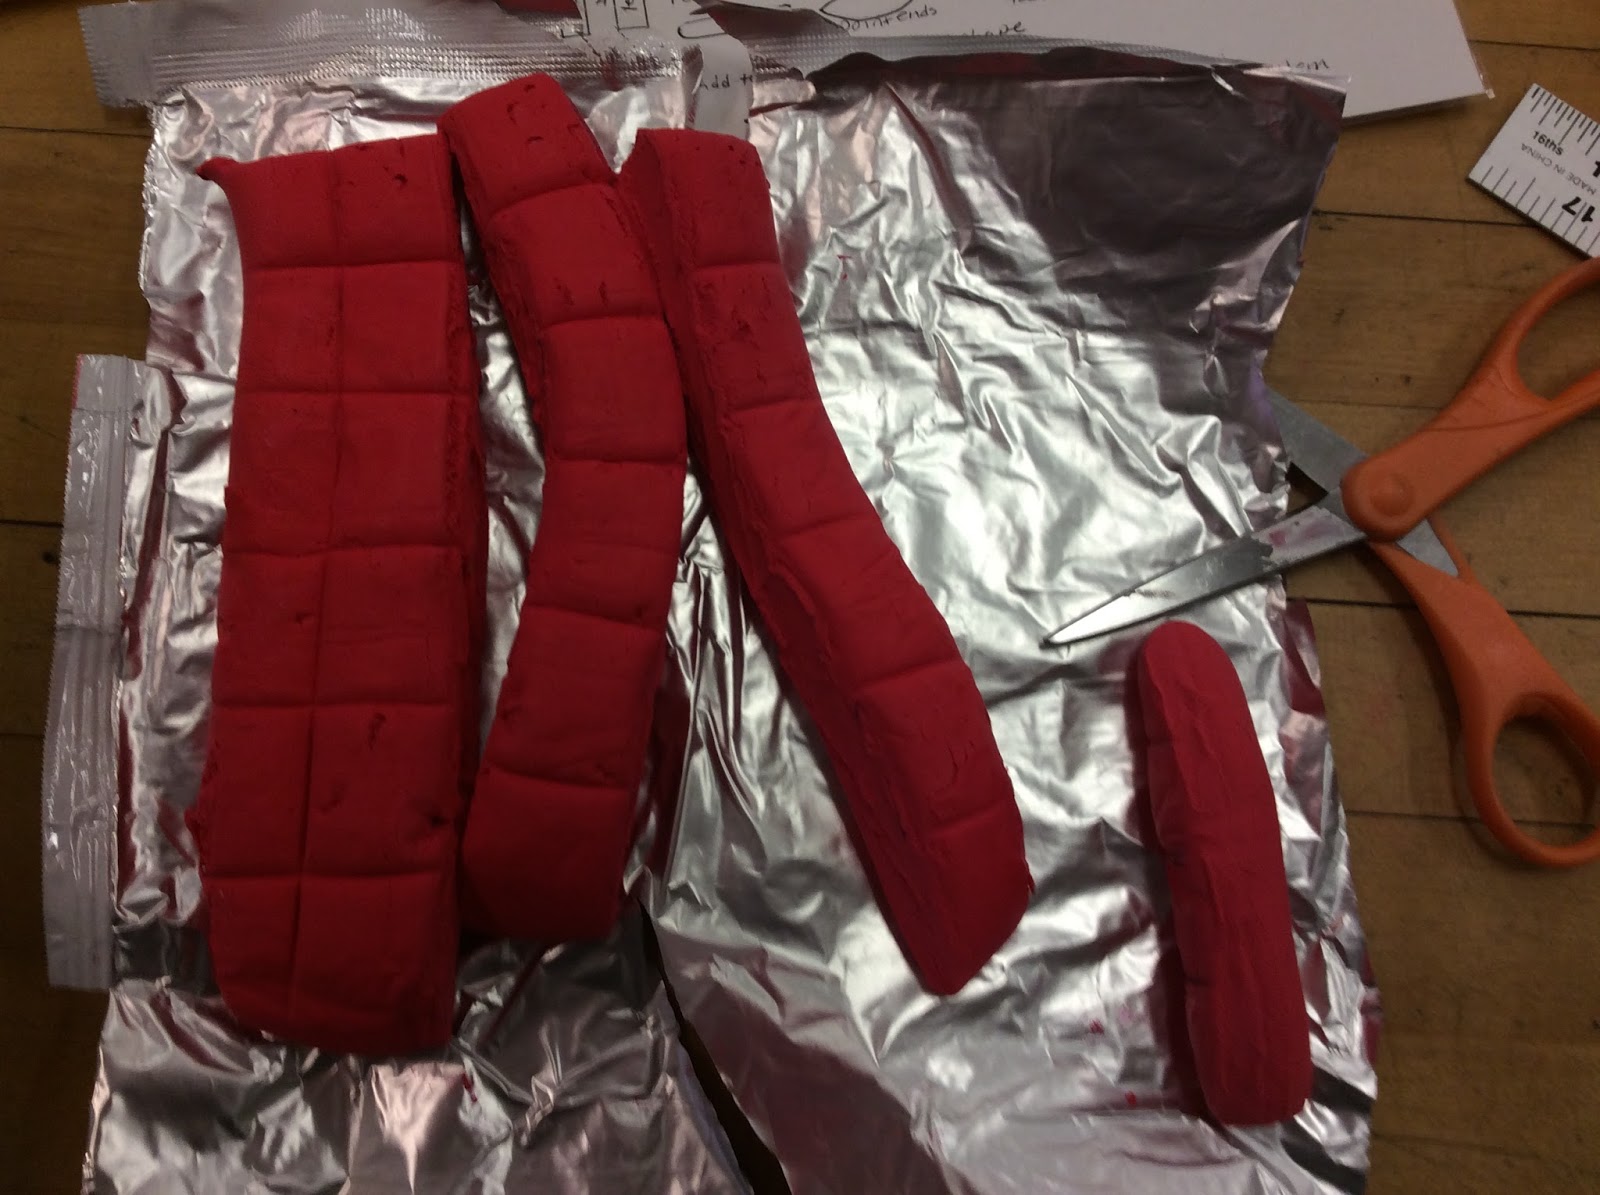
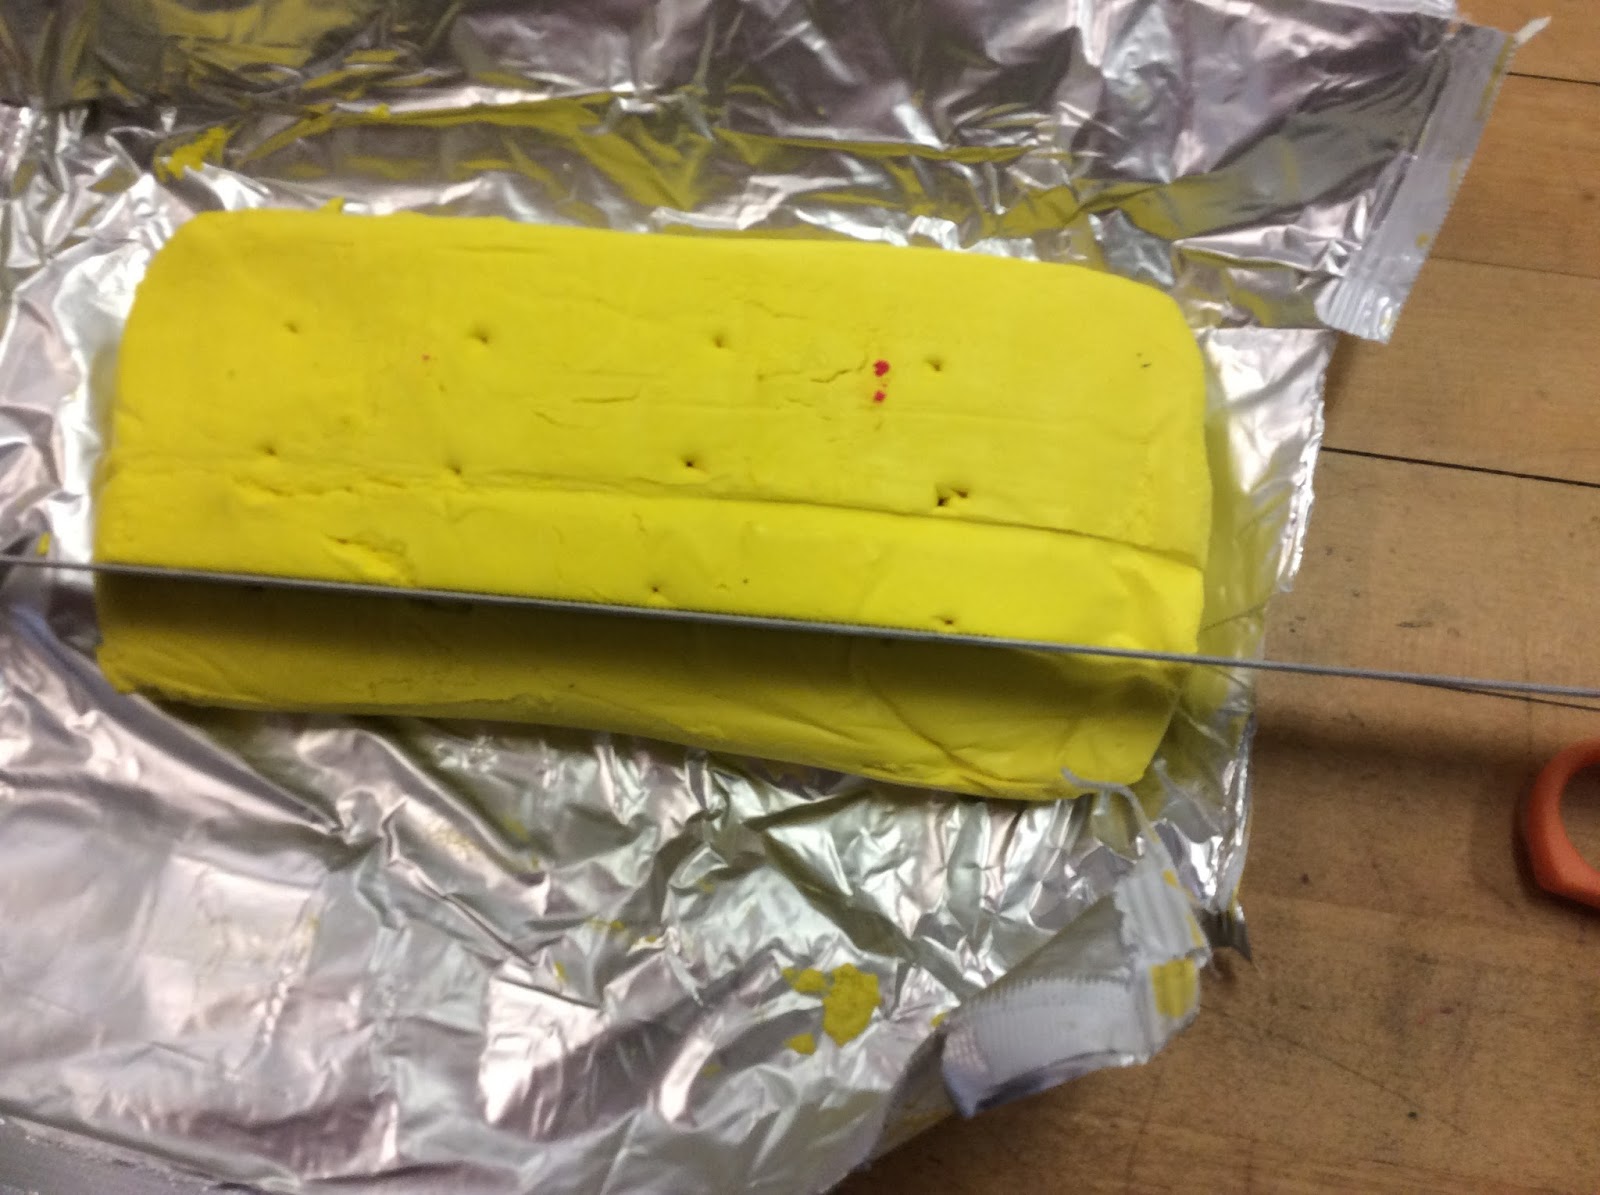
First I measured out the red, yellow and blue model magic clay for each student.
I use scissors to cut the individual pieces.
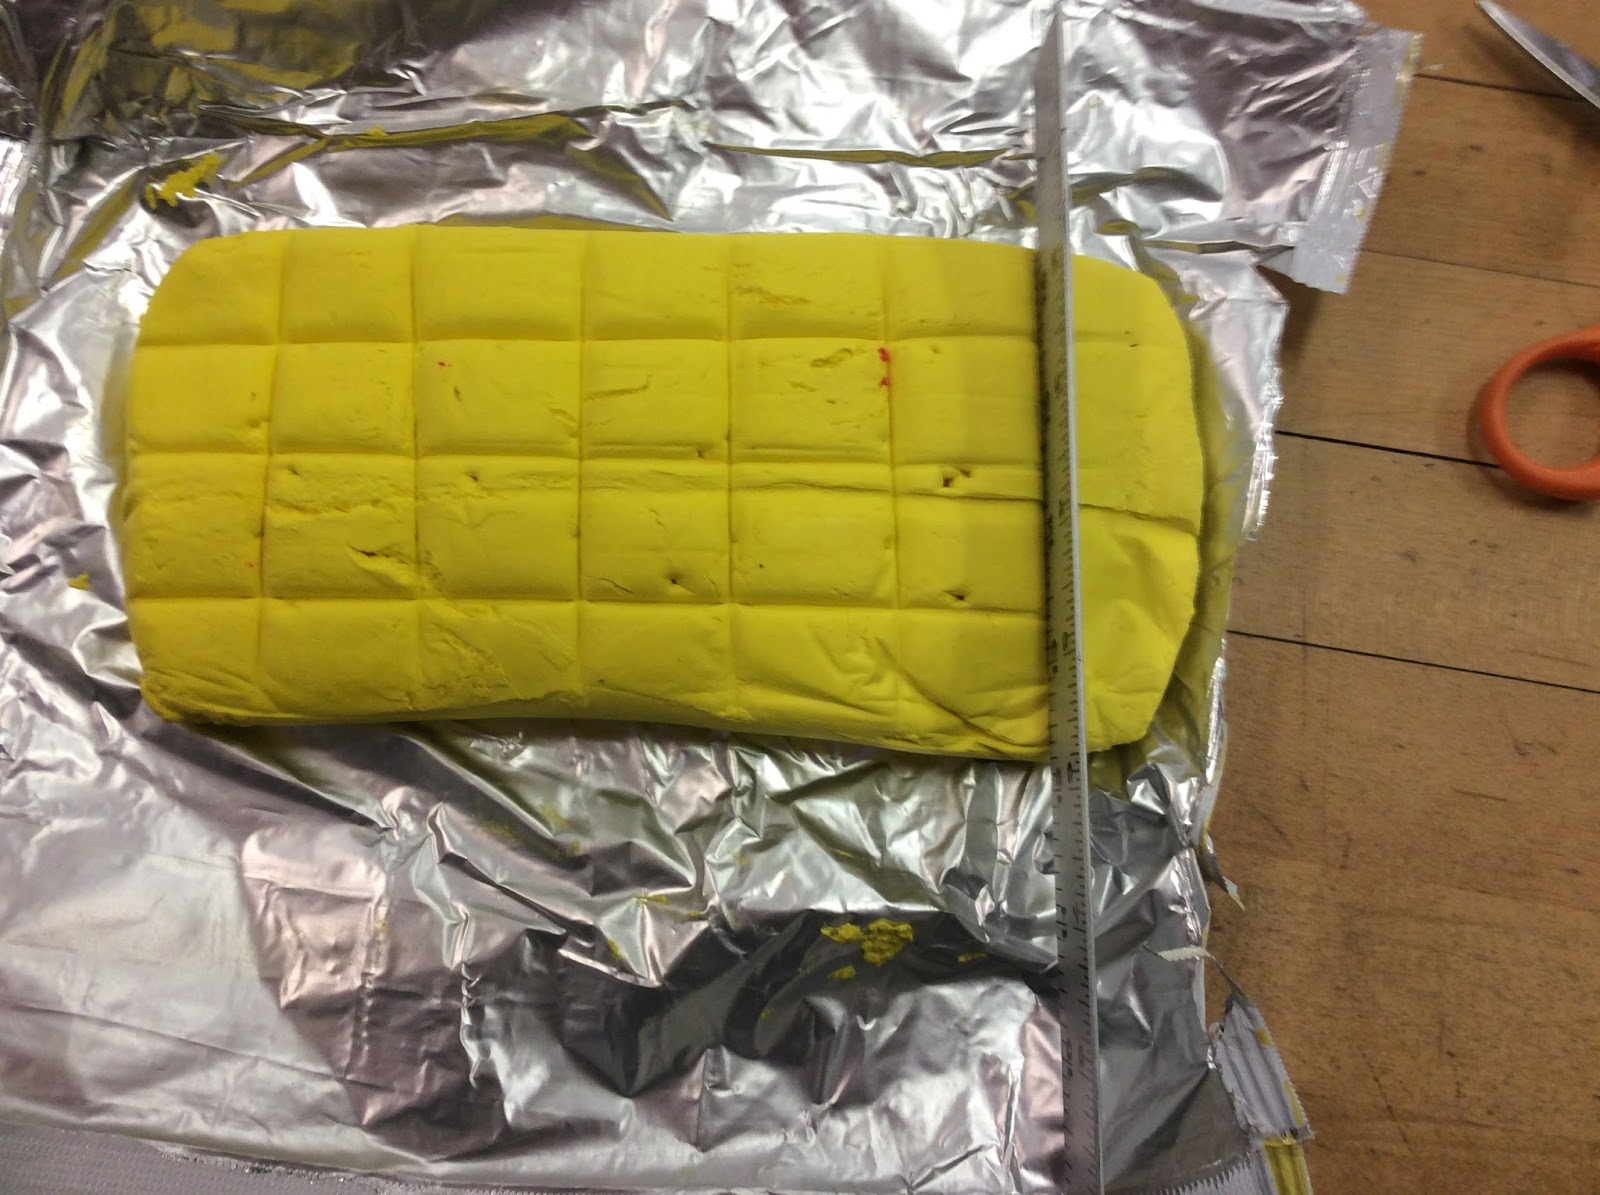
Measure off pieces and mark in the clay
Use a ruler to connect the marks
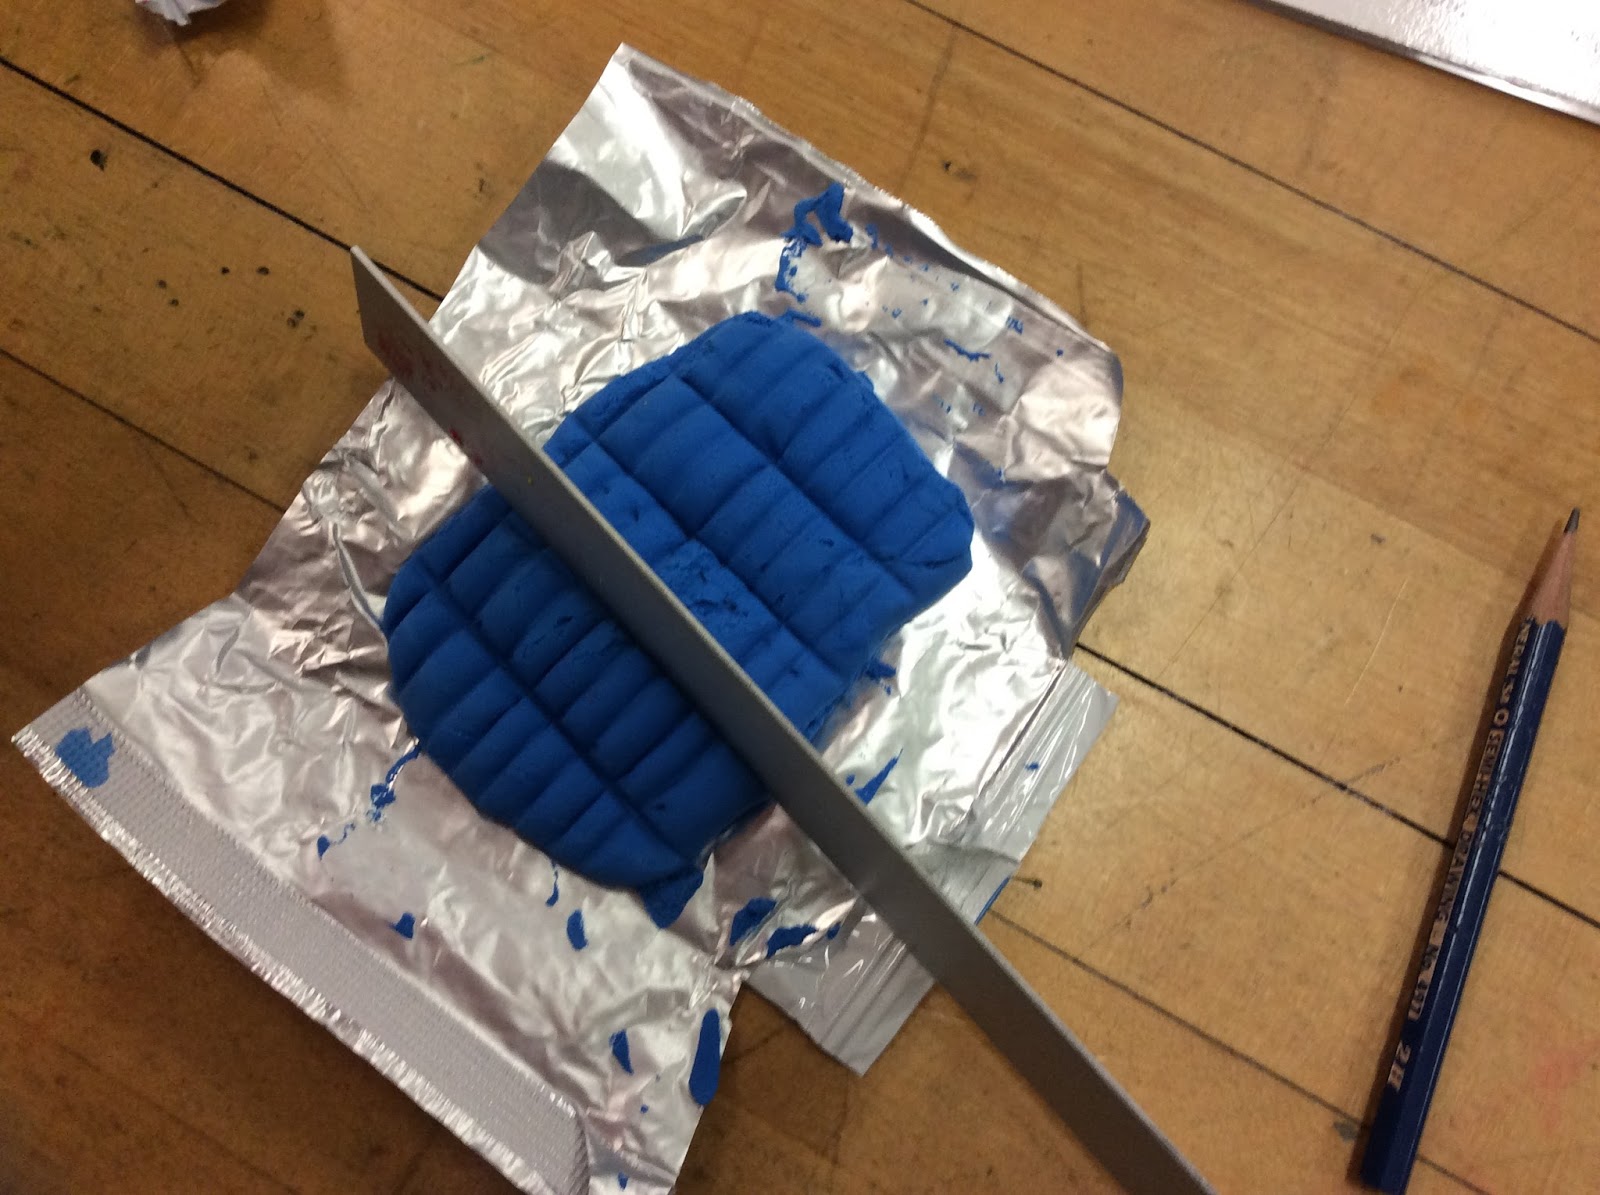
I used the side of the ruler to connect the dots and mark the cutting lines


Blue pieces are much smaller

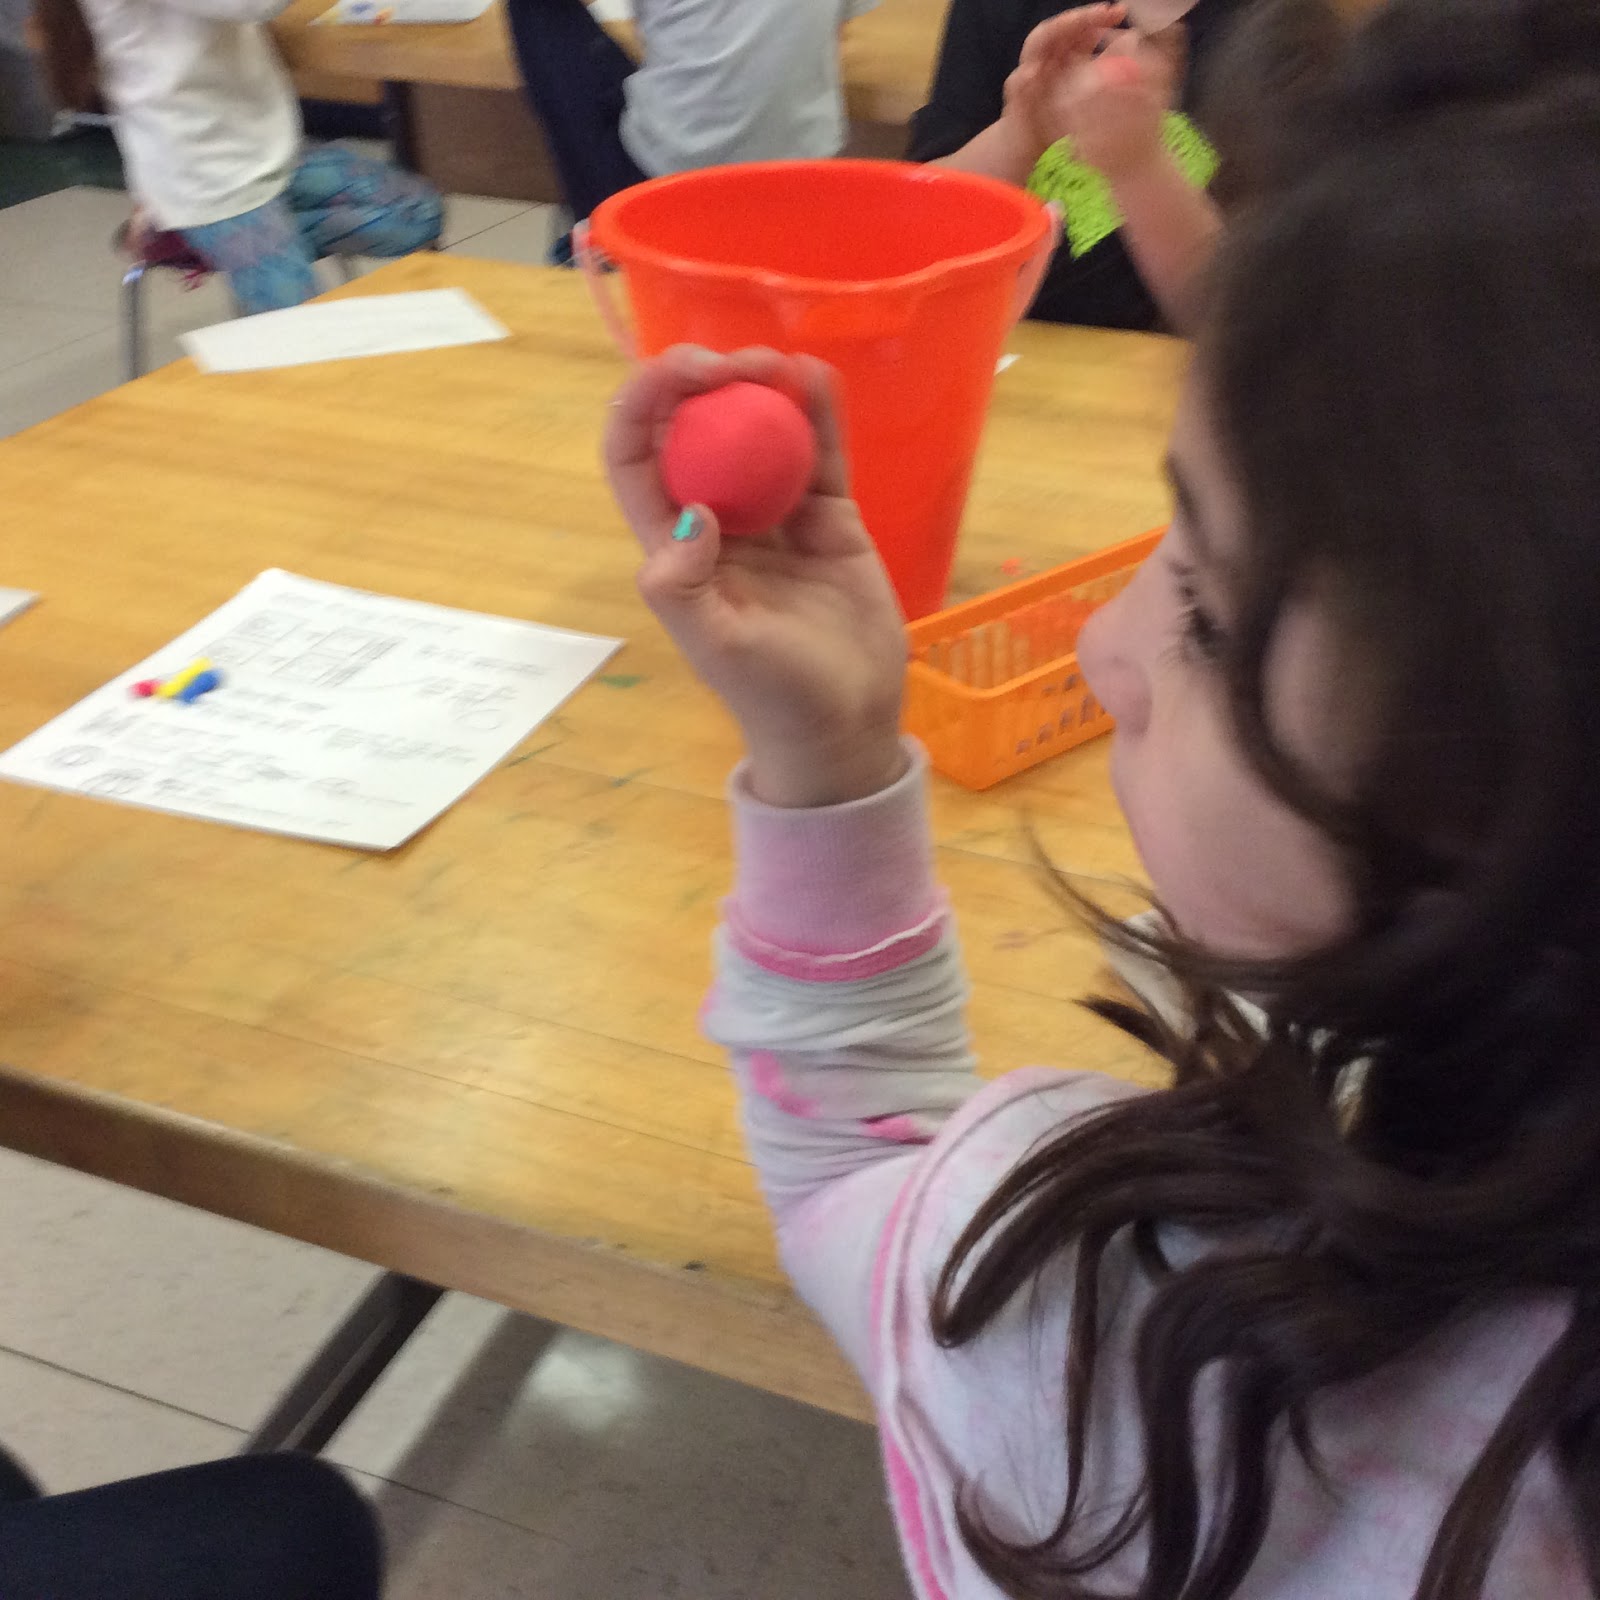
I began by handing out the three colors of clay that were needed:

The place mat ready to begin

First step, mix red and yellow 1" pieces together.  Add in an extra piece
of red that measured 3/4" x 1/4".  This gave a red-orange
color for the pumpkin.
I conducted this project as a directed activity, walking them through each step, one step at a time.


Next the brown for the stem was formed by mixing the very small
pieces of yellow, red, and brown. 1/4" x 1/4"  The 3/4" by 1/4"
yellow and blue were mixed to make the leaves.


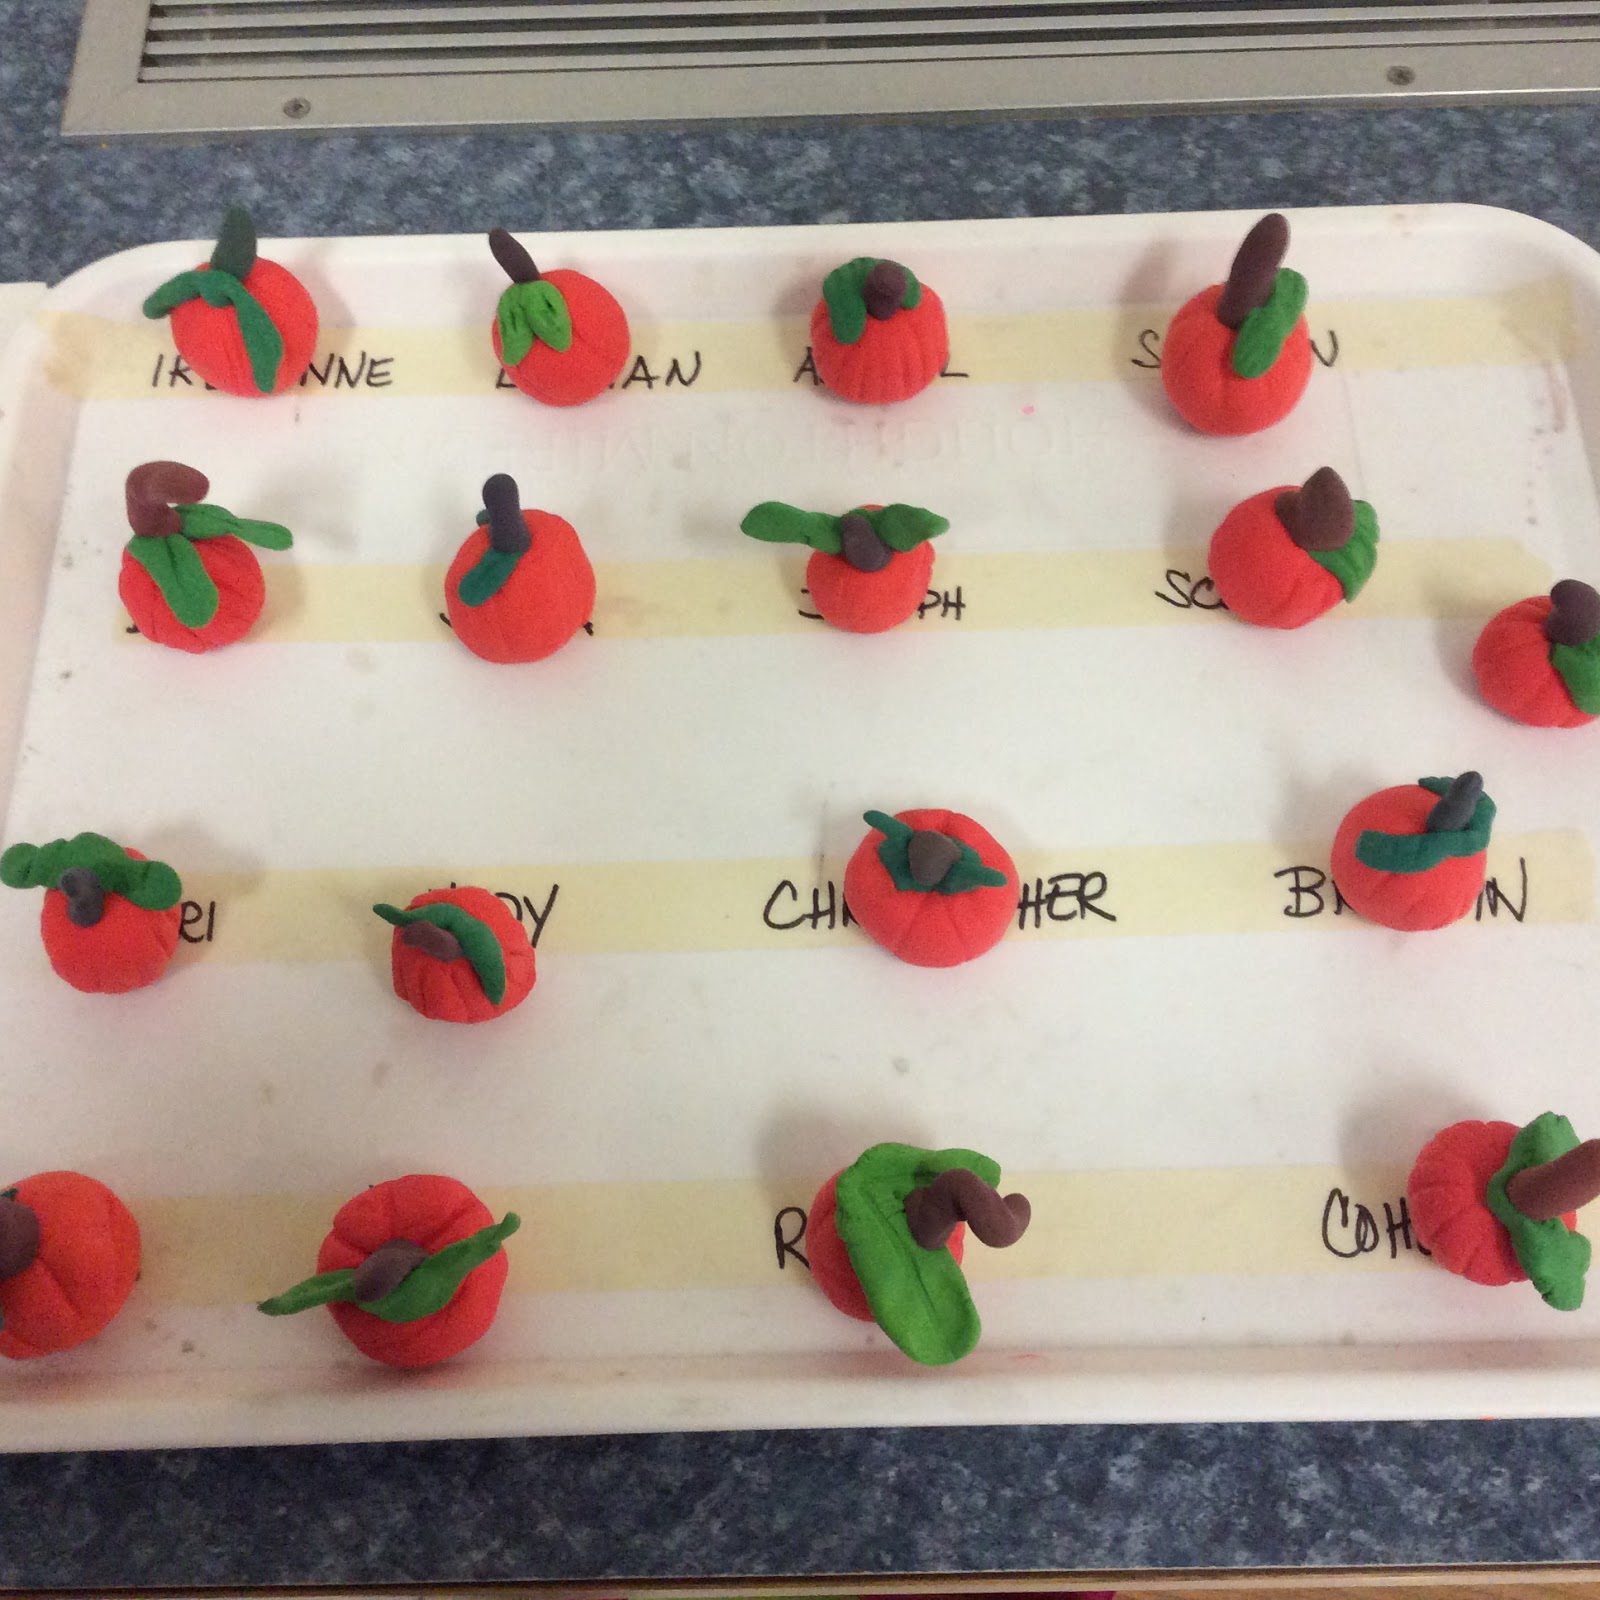
Placed on a tray with student's names until they are dry
enough to write on the bottom with a sharpie


Sunday, January 10, 2016

MINIONS!!!

 I am so enjoying the Art Club kids and our once a week meetings.  Deciding to run an Art Club rather than an afterschool program has given me a bit more freedom in the projects we do as well as allowing more input from the group.  Every few weeks we briefly discuss and plan what we would like to do next as a group.  I throw out some ideas to kick start the discussion and students submit ideas as well.  The first week we met, we started the club in that way and one of the first request I received was to create minions.  I happened to be working with Model Magic in the younger grades so that medium came to
mind.  I also had a bag of plastic easter eggs that I felt might use as a form and cut down on the amount of clay we would need to use.  Each child was given a 5 oz bag of yellow to cover their egg to create the body of the minion.  We used blue, grey and black for the other elements and students used a model of a toy Minion for inspiration along with their own experiences and observations.    We used one bag of white (5oz), 6 (5oz) bags of blue and the large bags of both gray and black.  A few smaller bags of black and gray would have been sufficient but I was unable to find the small bags locally.   The eggs had been purchased at the end of the season a few years ago for 5 cents a bag.  We took photos for Artsonia immediately and the students took these right home with instructions to allow them to dry before they handled them too much.  The project took about 40n minutes and the kids were thrilled.
Oh, after I came up with the plan and purchased all the materials,  I found a minion kit by Crayola at the local Michael's store.  It was around $7.00 to make 2 small minions.  All total, 14 students created minions for about double that cost.


Saturday, October 31, 2015

What October looked like in the Art Room

1st grade Piet Mondrian
4th grade Observational Drawing of a Harvest Still Life
5th Grade 1 pt Perspective Review
3rd Grade Dia de los Muertos Mask
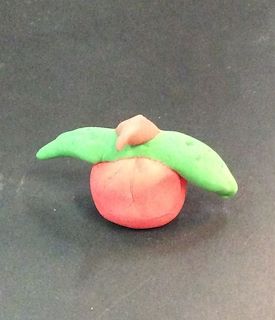
2nd grade 3D color mixing pumpkins
Kindergarten - What I saw when out Trick or Treating

Saturday, March 7, 2015

A little sculpture for some reflection on Jim Dine


Second grade students explored the work of Jim Dine prior to making these little mini sculpture using colored Popsicle sticks to build the frames and model magic to create the hearts.  Week one was building the frames and forming the heart.  Both were left to dry for week two.  Tempera paint was used to add personal details to the frame.  The heart were then colored with water based markers. A little spritz of water created the tie-dyed effect for the hearts.  Students attached the heart on the heart.  One student even chose to place his heart upside down.

Exhibited this way as requested by student


Monday, December 1, 2014

It's Model Magic Snowmen time!!!

I've posted about these cute model magic snowmen before here.  So I will spare your some of the banter.  But I really felt the urge to share some of this years completed projects.  I think this is one of my favorite projects for Kindergarten.  It extends my shape unit by adding form as students create spheres, cones, and coils.
a terrific specimen

Looking for new snow to fall

There is something endearing about a melting snowman

love all the extra "buttons"
Don't you love when creative individuality shows up?!!

Ready to surf down a hill

Saturday, December 7, 2013

And then....it snowed!

I admit I played a small trick on my precious little kindergarten class yesterday.  We read a wonderful book about a snow day titled "The Snowy Day" by Anna Milbourne and Elena Temporin.  After the reading, I told the students that we would try to bring some snow to New England by building snowmen.   Well, it worked.  Of course, I knew we had a storm predicted but, I'm sure it's exciting for the students to think they had a part in it all!  This is the view out my back window this morning.   Not the 4- 8" that was predicted, but a nice manageable coating of the gorgeous stuff.
I think these two suffered from warm temperatures and melted a bit

Using model magic, students practiced rolling balls in their hands, not on the tables to create a two ball snowmen.  This was stacking in 3D!  I had pre-dipped toothpicks in orange paint to make carrot noses and cut some small twigs off of the trees outside my classroom to create the arms for their snowmen.   Colored model magic was twisted to create the scarf which serves as a reinforcement for the joined areas and also a hat.  Students created hats in their own methods.  I had demonstrated how to roll the clay into a cone for those who were interested.  As is true of all young student works, they are adorable!


Students used black fine point markers to add their own faces and buttons