Showing posts with label collage. Show all posts

Saturday, January 26, 2019

Planning for a new Art Club Project

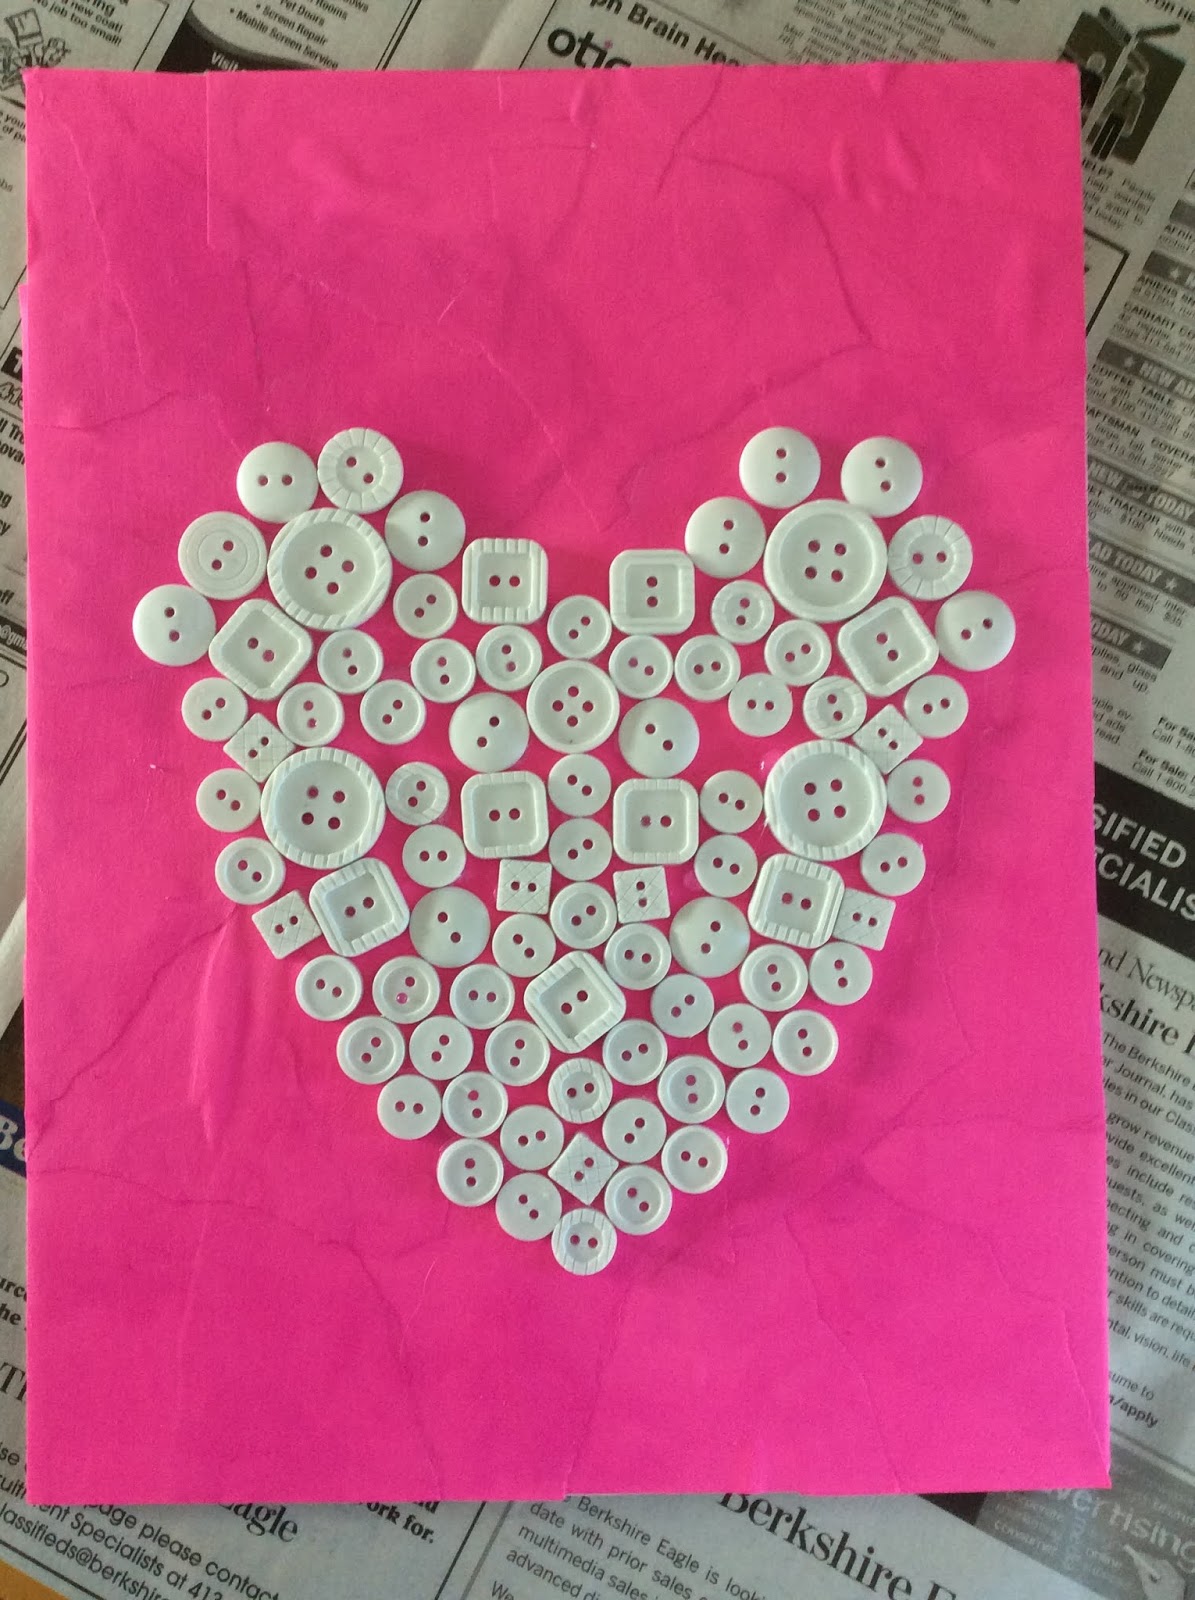
Back in the summer I ordered way too many packages of white buttons from NAEIR.  I had plans for some cute little snowmen pins for the Art Club to make for their teachers for the holidays.  I think only one of my 10 art-clubbers was into the idea and I have way too many white buttons left over for any human being to own.  So what does one do when faced with this dilemma?  Well of course, you hit up Pinterest for some ideas!!!  I found quite a few ideas but am going to try to shoot this one to the group for approval and hopefully use up a lot of those buttons.   Here are some visual steps for how we are going to put this together
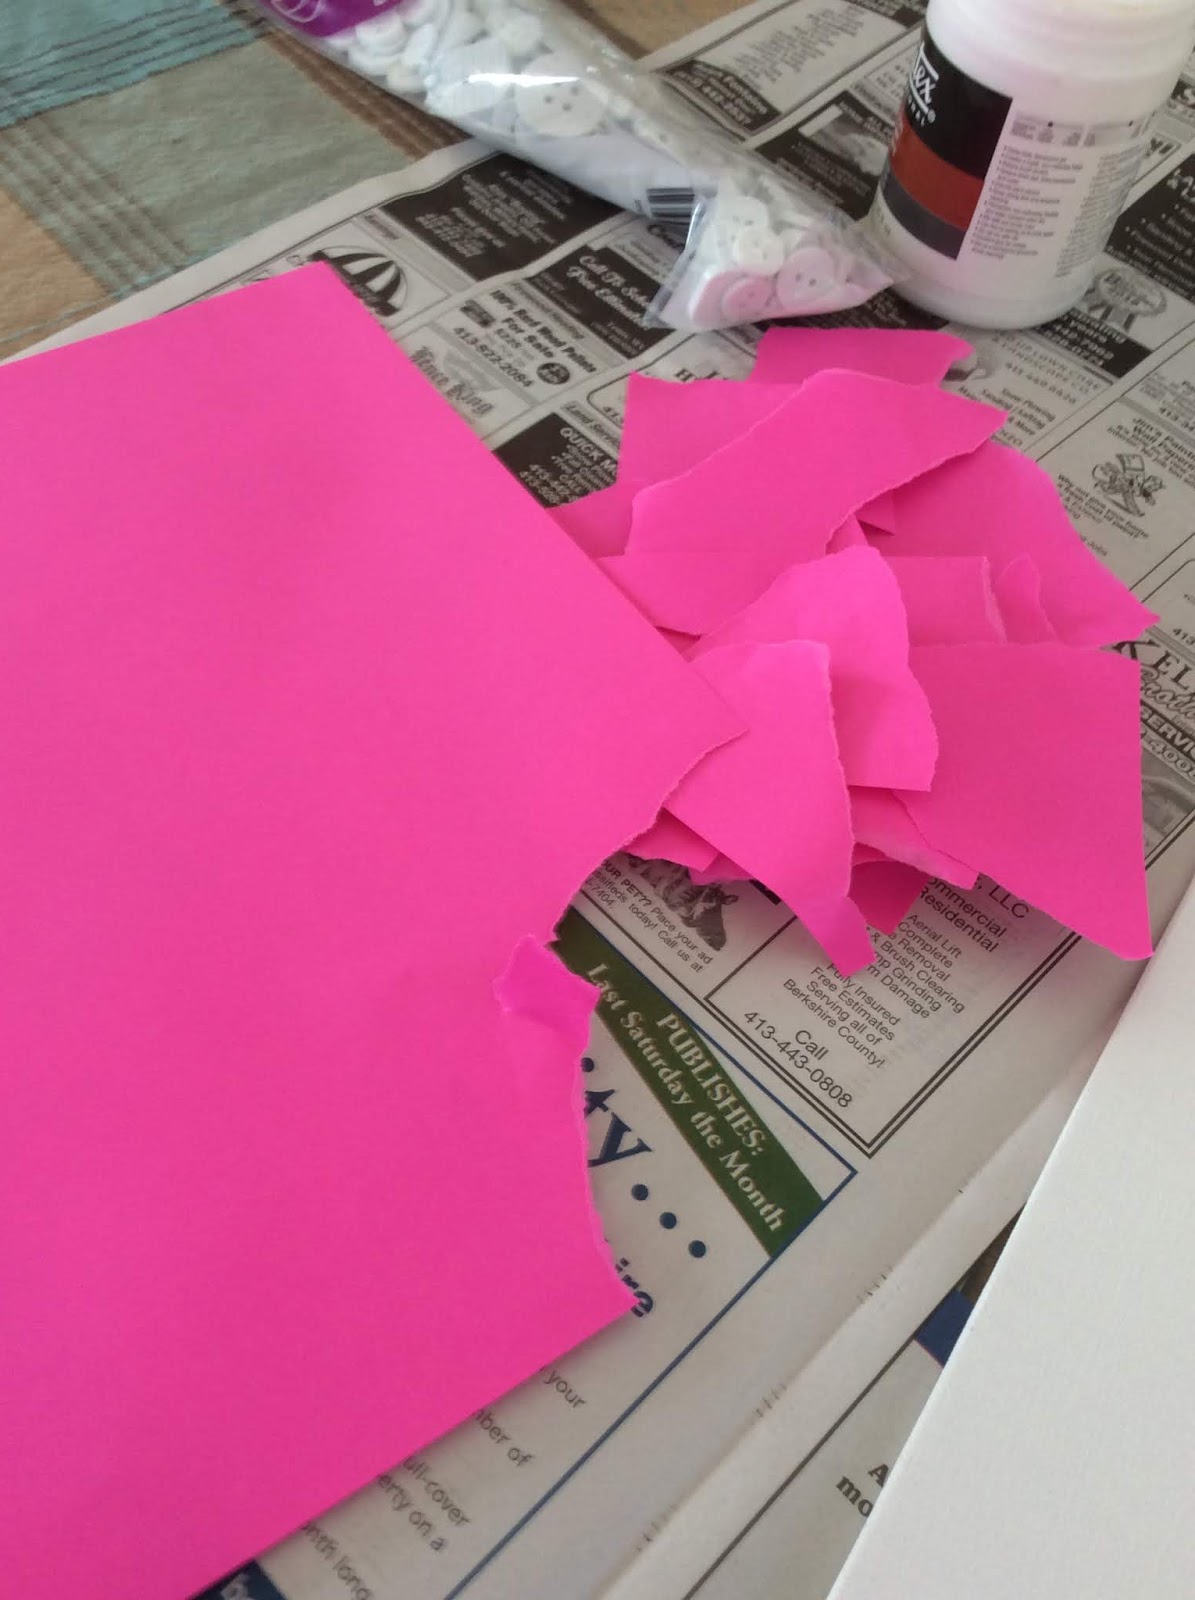


Gather up some supplies.  This is a paint medium that I will use to glue the paper on the canvas panel.  The paper was smaller than the canvas so I plan to tear it into organic/free-form shapes and glue those down for the background.


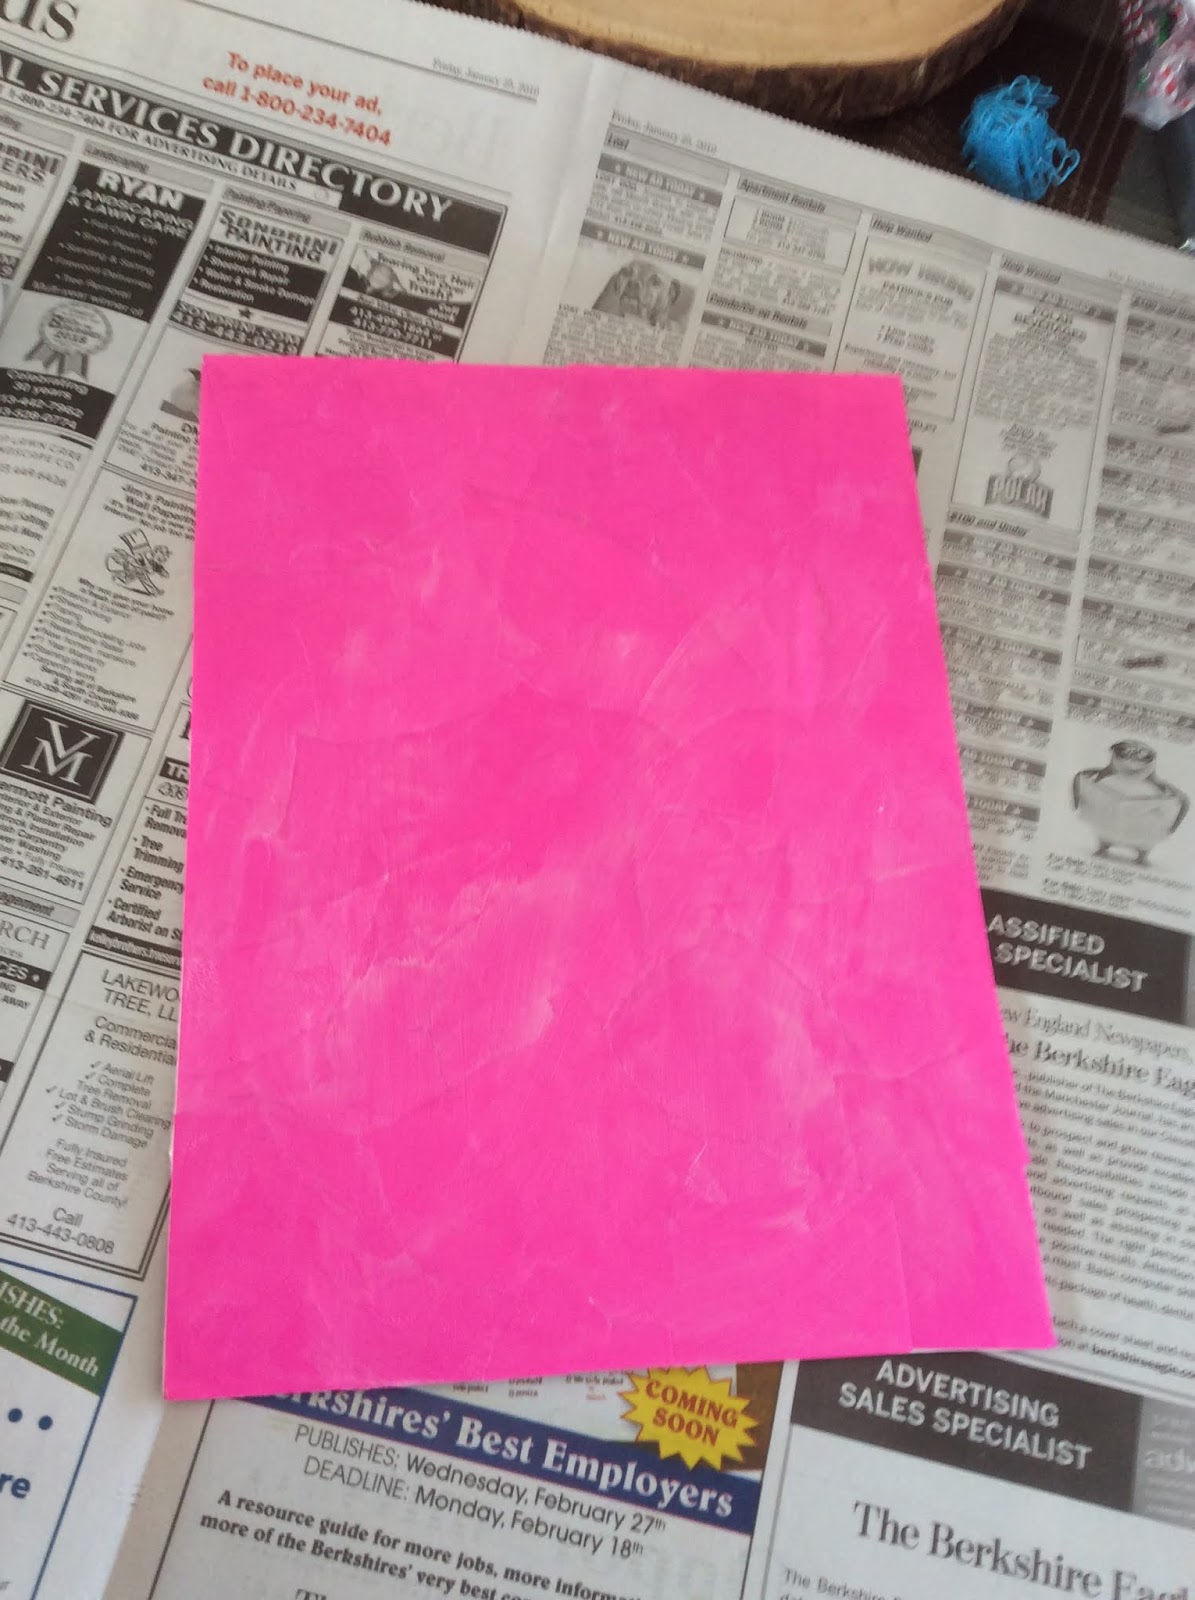
Acrylic medium underneath the papers and then again on top.  It goes down opaque but dries clear.


It won't need to dry long so while I waited; I pre-arranged how I hoped the buttons would puzzle together to form the heart.  My plans were to avoid any type of symmetry but once I began to place the buttons I soon discovered that symmetry was the best approach.  I grabbed some glue that was handy to put them down but plan to use Tacky Glue for the students to use for the final step.  I'm considering a ribbon glued to the top of the heart or some well placed stenciled or cut out letters.  I guess, students could even use sharpies to add a personal message.  Hopefully, this will be a win!!

Thursday, December 6, 2018

Gelli Print Collages by 4th & 5th grade

Art club students are beginning to complete their collages made with gelli prints a few weeks back.  I'm so pleased with their enthusiasm for this project.  So here there are:


Monday, February 19, 2018

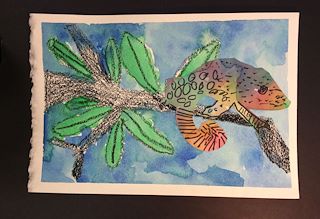
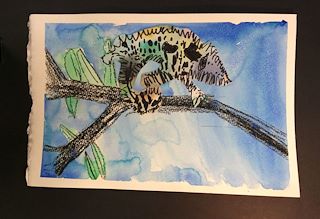
Chameleons in mixed medium


Image resultI'm developing a love for bleeding tissue paper this year.  Seems like each year I get stuck on some medium and explore it unreasonably.  This year it seems to be becoming project with that tissue paper.  Here is the latest, done quite successfully with first grade students.   They drew with a black crayon and then watercolor for the background and the little chameleon was glued on top.  This was a two week lesson.  I was really please with the results.  We also paired this with some factual information about Chameleons found in the book. 


Monday, December 12, 2016

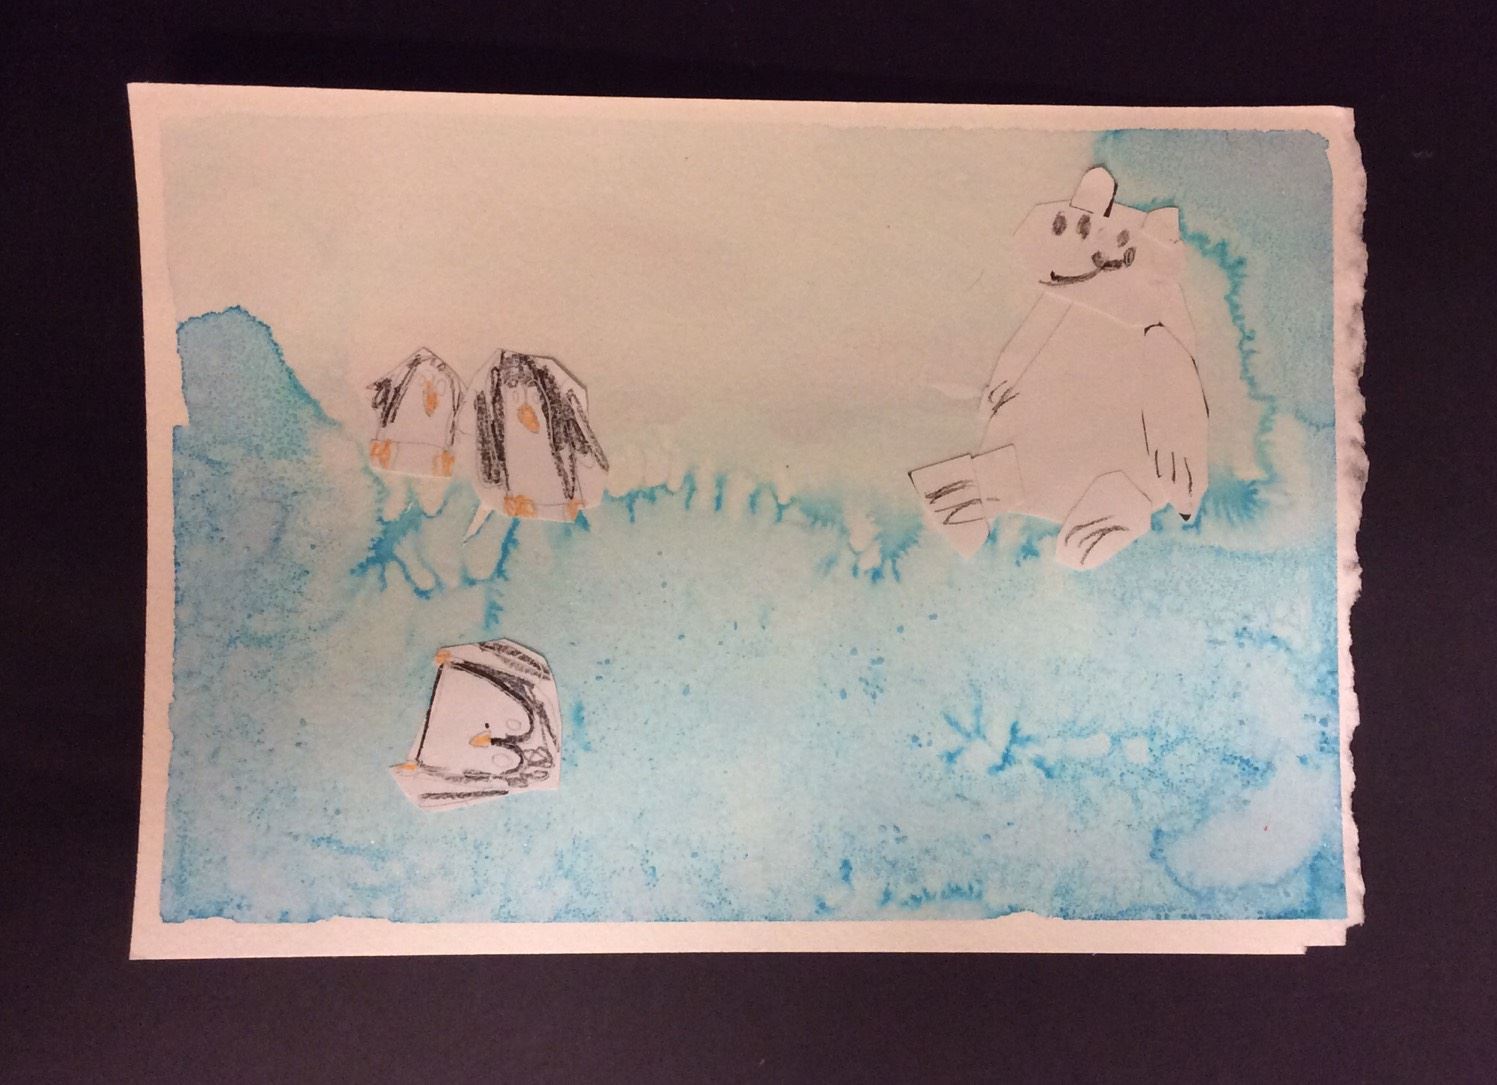
Arctic Animals - Connections with the Curriculum

student work
As a part of our PLC groups, I was task to connect with Science standards in Kindergarten and 1st grade.  I have searched everywhere trying to locate the source of my inspiration for this project so apologize to the person who posted it first for not referencing you here.  Students cut out shapes to form the polar bear to connect how geometric shapes are combined to create organic shapes.  Shapes and lines were used to add the small penguin friends.  The back ground was created with watercolor and a little Kosher salt.


student work

student work
Directed draw for penguins

Shapes for bear

Thursday, January 14, 2016

Rethinking and executing a Kindergarten Lesson

 After taking the AOE course "Rethinking Kindergarten" this past summer, I decided to revamp this lesson and give students more choice with how they completed their sponge painted snowmen.  I gave each student a stack of multicolored papers and will just a few brief demonstrations on how they might cut their paper to create various parts of their embellishments, they went to work personalizing their snowman.  I started by sharing the book SNOWBALLS by Lois Ehlert so they had lots of great ideas for their own snowmen.  Some added hair and a few even added strawberry noses.  I love the new way this project took itself, a totally student guided project.


Thursday, February 5, 2015

Cutting Shapes in Kindergarten

panda heart puppet
Showing some creative independence


Wearing a panda collar
Kindergarten practiced their cutting skills this week.  They learned to turn the paper as they cut on a rounded edge for better control. After they had completed cutting practice, they collaged their hearts to create a cute little panda puppet using a brown paper bag as the base.


Saturday, January 17, 2015

Kindergarten Snow People

My kindergarten focus each year is on shape and color.  I hope that students will easily draw, color and cut basic shapes and also have a mastery of primary and secondary colors.  With that in mind, kindergartners trace circles and sponge painted to create snowmen.  For week two, they explored basic shapes and how they could combine to create the parts of their snow people.  For example.  Two rectangles of different sizes could create a hat or a rectangle with a triangle could create a different type of hat.  Cutting circles for the eyes and buttons is also a skill they are working on.  Students had complete control over the finished look of their snow person as long as they used cut shapes to create the collage items.  Here are a few of the really precious results.


Tuesday, November 11, 2014

Printing and Poppy Flowers

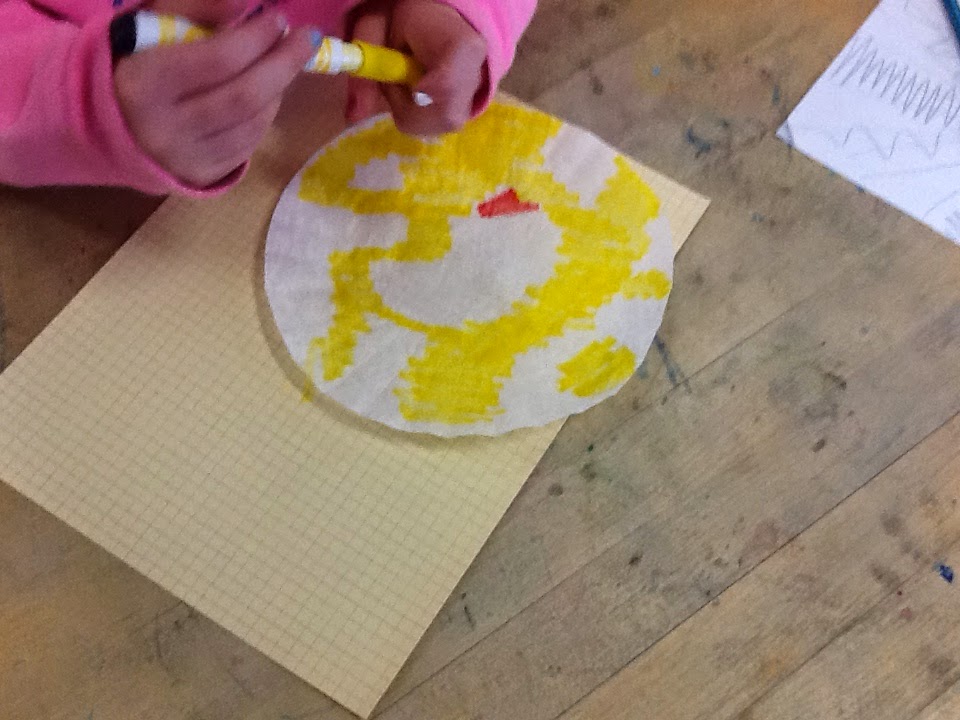
November is printmaking month in the art room.  With the younger grades the projects are usually mono-prints with collographs and relief prints for the older grades.  I am a person that requires experiment and change and am bored teaching the same lesson over and over.  This year was time for change so I began perusing the internet and pinterest for new ideas and ways to teach printmaking.  I found a really cute monster project here that used a marker and coffee filter print.  I like the method but didn't want to do monsters.  With Veteran's Day coming up, I thought of poppy flowers.  In my research, I discovered that poppy flowers are only associated with Memorial Day not Veteran's Day but the project was born regardless.  Here are some visual steps to creating the finished printing and collage project.


Begin by ironing the filters to flatten, then have students add color with yellow and red to the filter.
Spray the filter with water which has been placed on a sheet of white paper.  Place a 2nd paper on top and rub to transfer the inks to the papers.  This is the printing process.  You can iron them to rush the drying process or leave them to dry on your dry rack for week two.  Next the students used some scrap greeting cards to create organic shapes to trace to create the petals of the poppy flowers.  These were traced on the filter and printed papers.
I had students to draw grass and stems on a dampened sheet of 9x12 paper to create a field for the flowers.  I chose to dampen the paper so the watercolors would run to mimic the color patterns of the prints.  Poppy flowers  have 4-6 petals; shapes were chosen to create each flower.  Once flowers were in place, a black water based marker was used to dot in the centers of the flowers, accentuate some of the grass and stems and outline the flower petals.

Color pencils in shades of green can be used to add in a few buds.  This was a very successful and fun-filled lesson!