Showing posts with label flowers. Show all posts

Sunday, May 19, 2019

Really Big FlowersOil

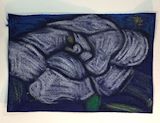
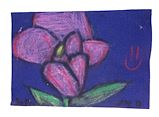
Oil pastels on felt


2nd graders recently viewed some of the works of Georgia O'Keefe and discussed how she focused on making small details really big.  We then engaged in making really big flowers that you would have to look at and pay attention to.   Here are a few of the student's completed projects.

Student's work 2nd grade

Student Work 2nd grade

Tuesday, June 14, 2016

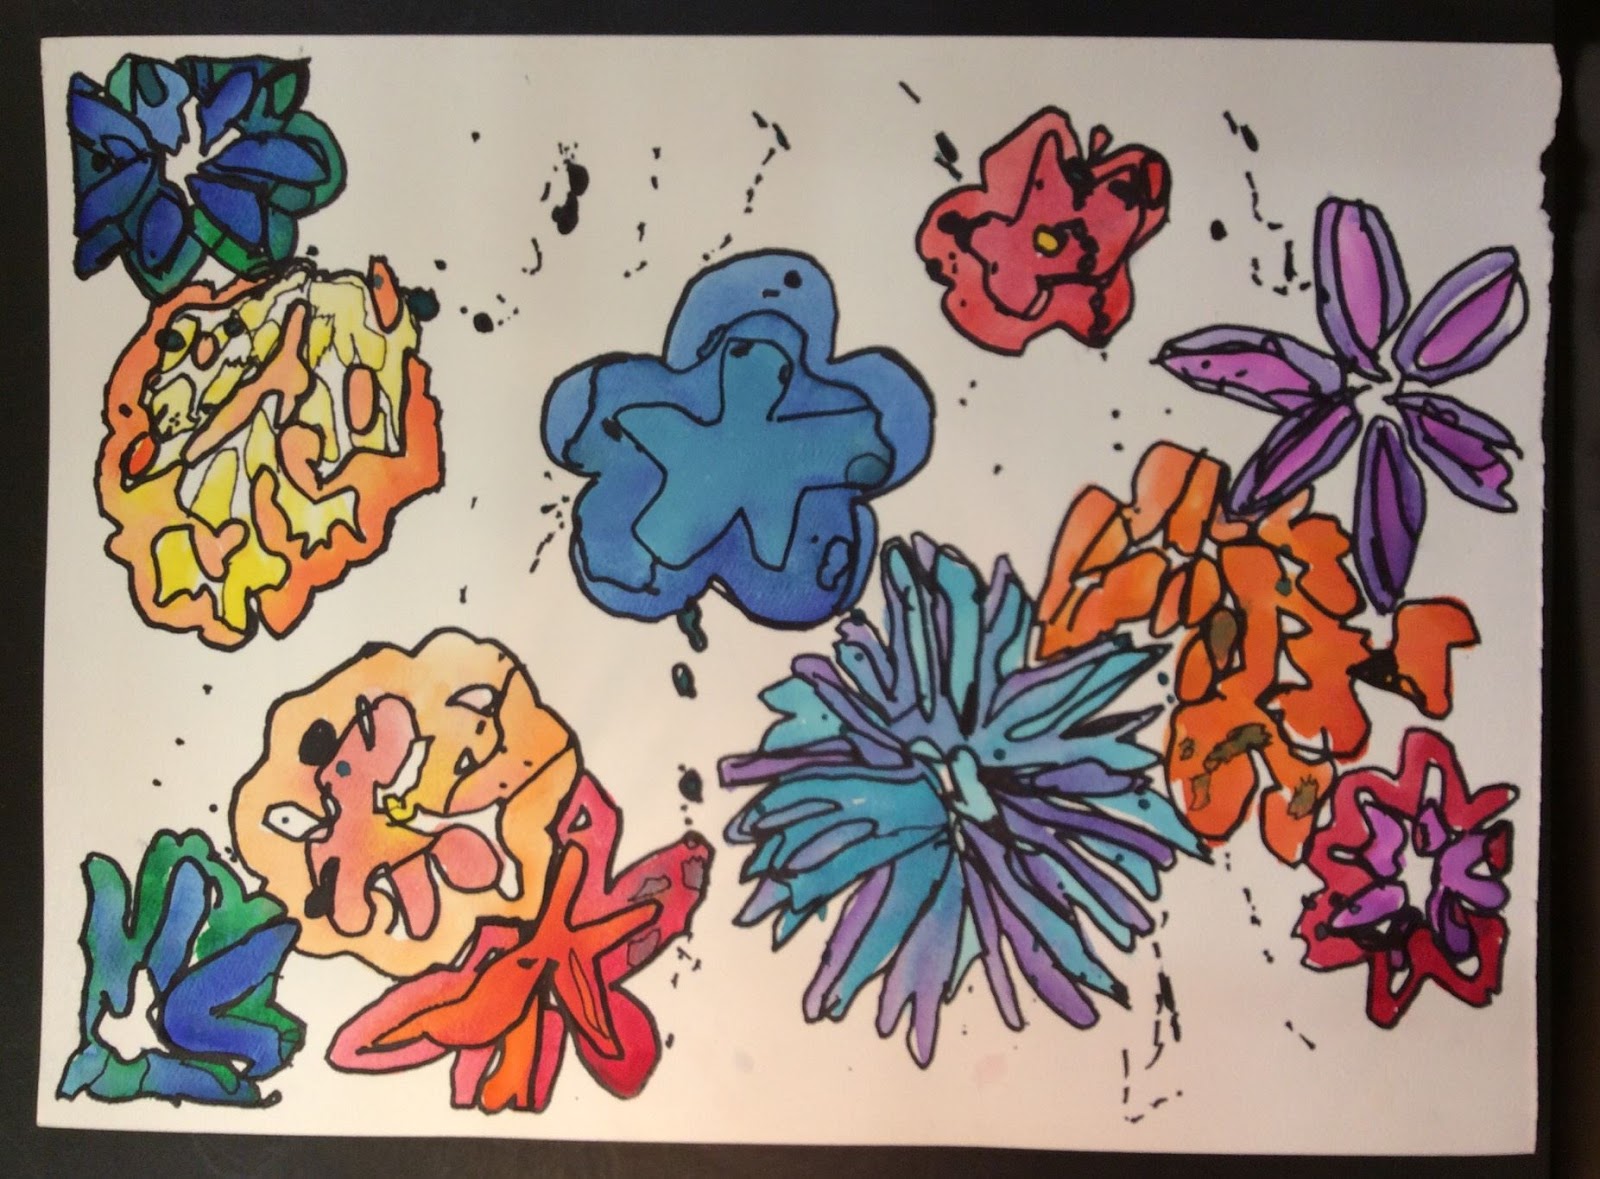
Watercolor Floral and Ink

Students painted a visually balance work with a focus on analogous colors.  Their flowers were to be recognizable and realistic in nature.  Negative space was accentuated through the process of tracing the lines formed by the paint colors.  This was to create depth and improve the impact of the design.  Thanks go out to Mrs. Kain from Lenox School District for sharing this lesson with teachers at our State Conference this fall.


Friday, June 3, 2016

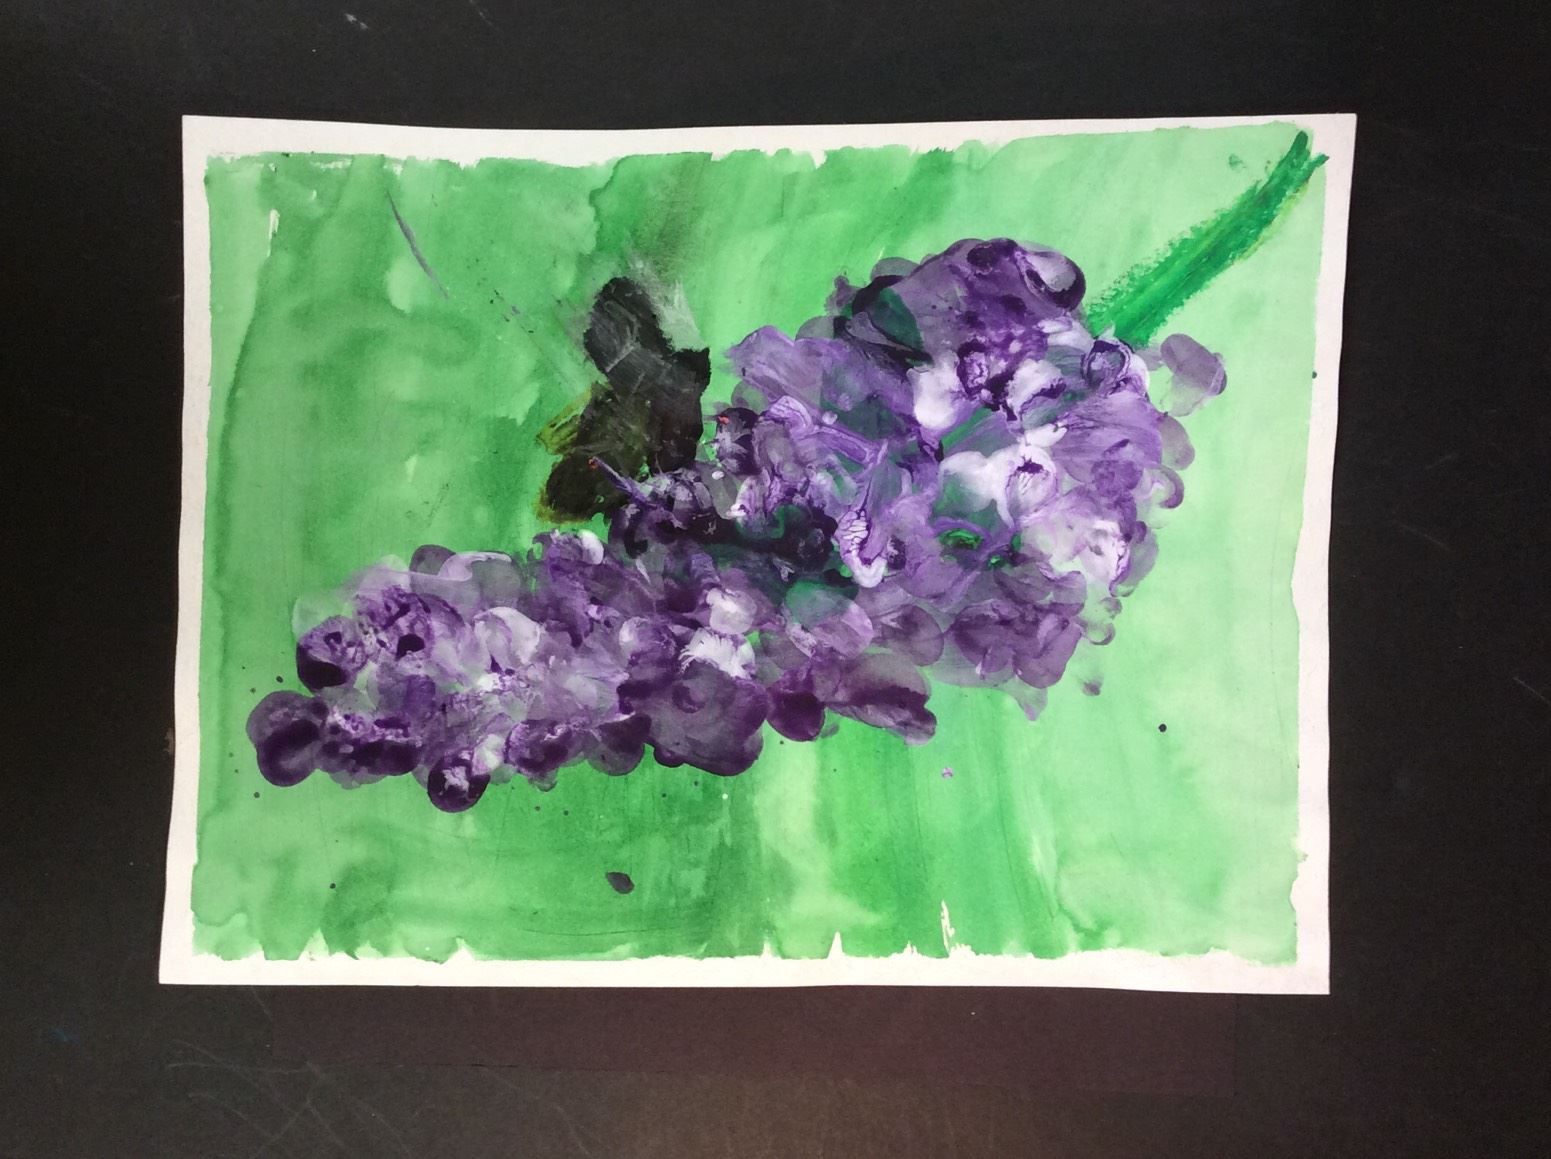
Lilacs in Spring

student work
student work

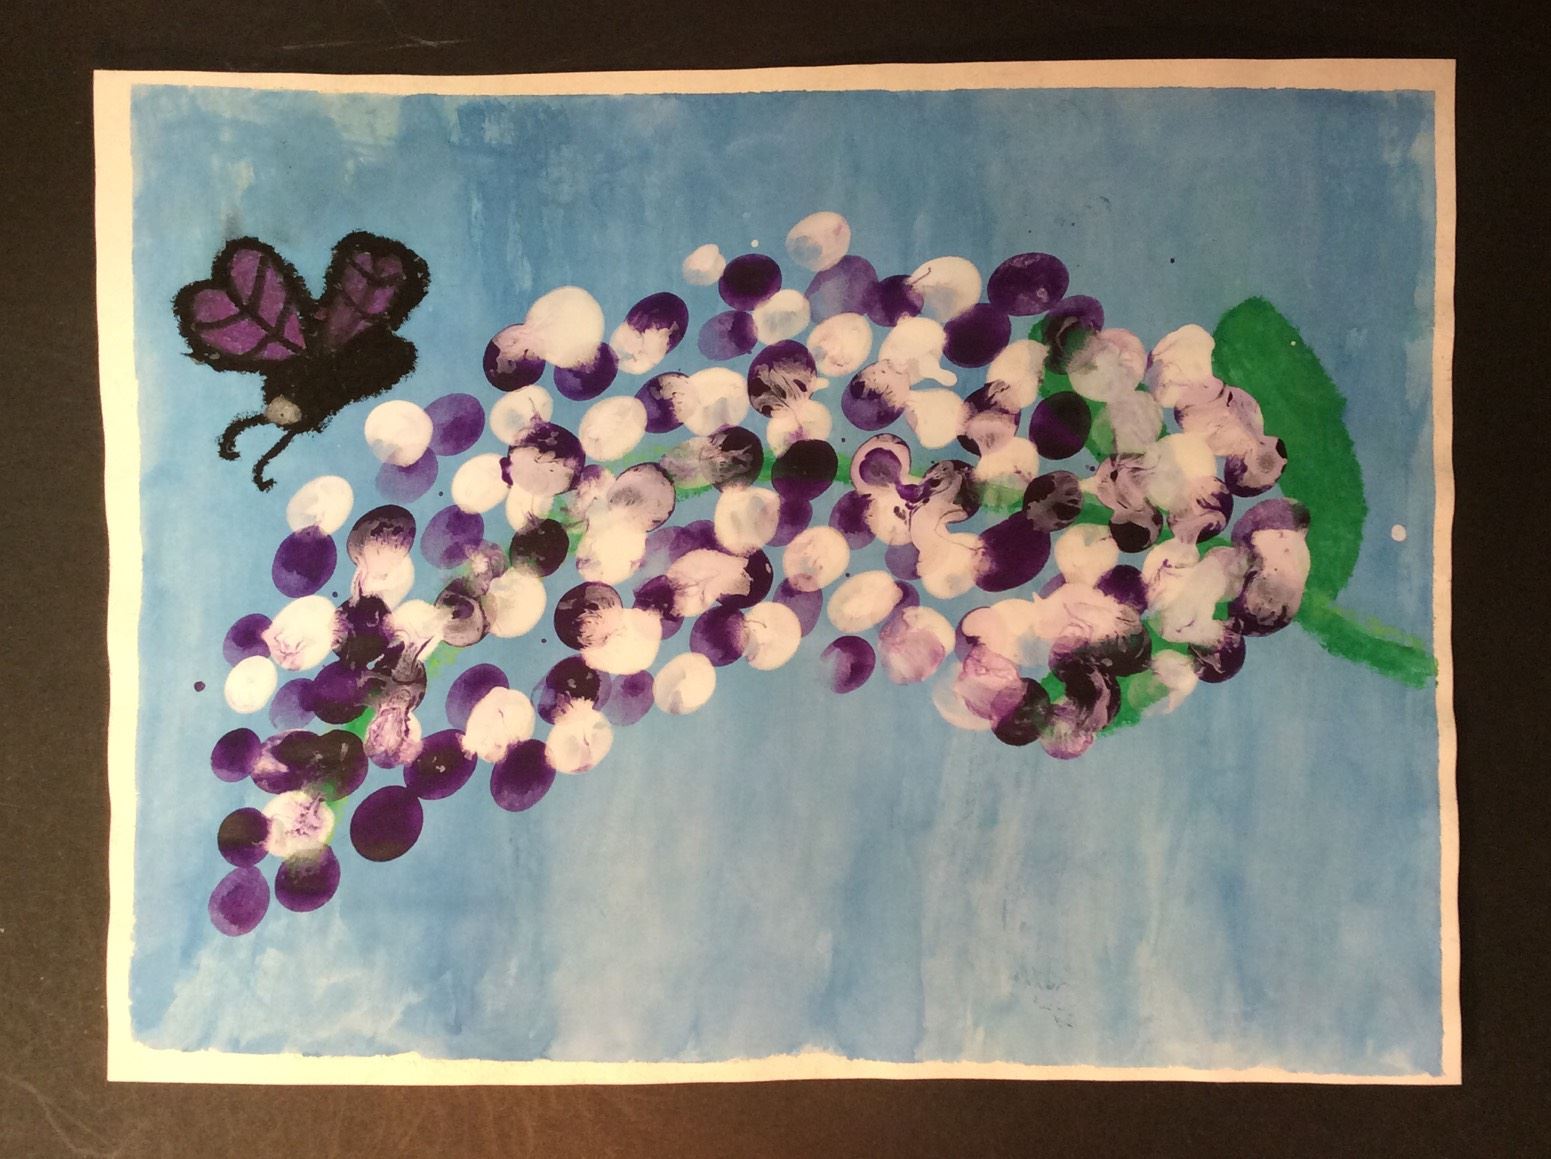
 I always scan through the weekly lessons when they are updated by Artsonia.  A few weeks ago there was a post by Patty Miner of Winding Creek Elementary in Oklahoma called Purple Flowers that I knew I wanted to adapt for my students.  It so happens that I have a fragrant Lilac bush growing just outside of the art room in one of my schools.  The flowers are beautiful and of special interest to many of the 3rd graders because their classroom teacher loves Lilacs and the students pick and bring in the blossoms for her daily when they are in bloom.  I was sure I could adapt Patty's lesson for my 3rd graders and it would be a great hit.  I went out and cut a few blossoms of the Lilac for the art room as the first step and we talked about how the flowers were formed on the stems.  Week one, students used watercolor to create a background wash for the bloom.  Week two, oil crayons were used to add the stem, leaves and an insect.  Most students drew a butterfly of their color choice.  With the drawing complete, they began to finger paint first with purple paint and while it was still wet, overlaid the color with white finger prints allowing the two colors to mix.  They turned our rather nice.  If it weren't time to take down the bulletin boards for the end of school, they would definitely be on full display!  Thanks go out to Patty for the inspiration and thanks to Artsonia for a terrific program.

student work


student work

student work
student work

Saturday, May 2, 2015

O'Keefe on a pyramid

photographed flat to capture the detail
I love introducing students to the work of Georgia O'Keefe, especially the huge flowers that focus on the perspective of the artist and the viewer.    I also try every year to have 4th grade students create some work using a pyramid.  The pyramid usually shows up on the yearly assessments and often students don't have a strong visual in mind of just what that looks like.  By creating one in the art room, I hope to reinforce that visual so that at least that question will be an easy answer for my students.  This year I decide to combine the pyramid with flower images in the style of O'Keefe.  I used my document camera to project the flowers for easy viewing and began the lesson by having students break the flower down into easy shapes to reproduce rather than viewing it as a contour shape.  We've done a lot of work with value in 4th grade and I felt this was another lesson to review value by encouraging students to really study the values of each flower petal and incorporate the multiple values into their coloring process.  You know a lesson has gone well when students are excited with their finished product and eager to take it home and share it with family.  I was frantically taking photos as students cleaned up to make sure I could share one or two of these!

An assembled pyramid

Tuesday, November 11, 2014

Printing and Poppy Flowers

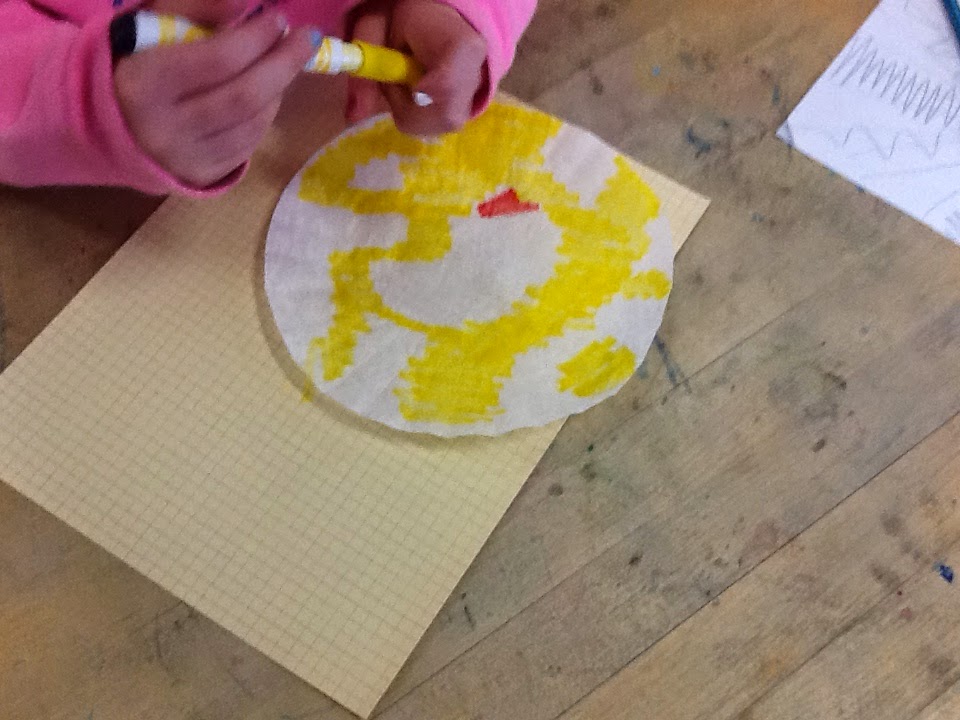
November is printmaking month in the art room.  With the younger grades the projects are usually mono-prints with collographs and relief prints for the older grades.  I am a person that requires experiment and change and am bored teaching the same lesson over and over.  This year was time for change so I began perusing the internet and pinterest for new ideas and ways to teach printmaking.  I found a really cute monster project here that used a marker and coffee filter print.  I like the method but didn't want to do monsters.  With Veteran's Day coming up, I thought of poppy flowers.  In my research, I discovered that poppy flowers are only associated with Memorial Day not Veteran's Day but the project was born regardless.  Here are some visual steps to creating the finished printing and collage project.


Begin by ironing the filters to flatten, then have students add color with yellow and red to the filter.
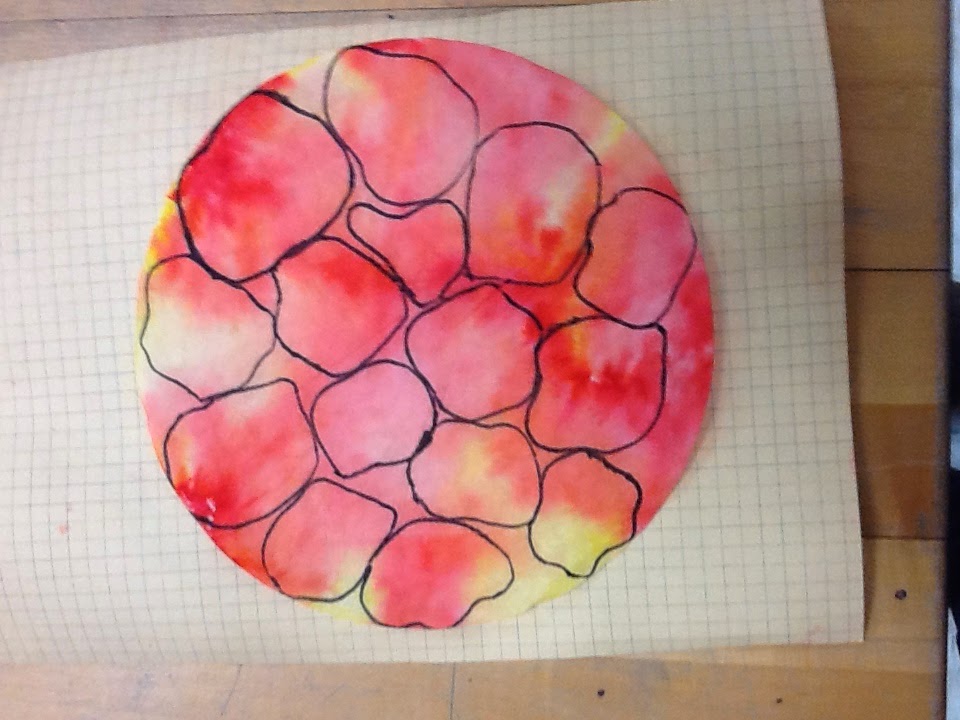
Spray the filter with water which has been placed on a sheet of white paper.  Place a 2nd paper on top and rub to transfer the inks to the papers.  This is the printing process.  You can iron them to rush the drying process or leave them to dry on your dry rack for week two.  Next the students used some scrap greeting cards to create organic shapes to trace to create the petals of the poppy flowers.  These were traced on the filter and printed papers.
I had students to draw grass and stems on a dampened sheet of 9x12 paper to create a field for the flowers.  I chose to dampen the paper so the watercolors would run to mimic the color patterns of the prints.  Poppy flowers  have 4-6 petals; shapes were chosen to create each flower.  Once flowers were in place, a black water based marker was used to dot in the centers of the flowers, accentuate some of the grass and stems and outline the flower petals.

Color pencils in shades of green can be used to add in a few buds.  This was a very successful and fun-filled lesson!
Wednesday, May 1, 2013

In a spring garden

Cruising around Pinterest a few weeks back, I discovered a cute lesson using a soda bottle to make flowers and decided it would be a perfect lesson for my Kinders with a bit of extension and my own focus.   Here is how I presented this lesson.   First I read the book "In a Spring Garden" edited by Richard Lewis.  It is a compilation of short poems that tell a story about spring.  Next we practiced vertical lines using values of green with markers.  This is the first time Kinders have used markers so a lesson in proper use preceded.  We thought tall, thick spring grass prior to the first mowing.   With white paint, 9 flowers were printed along the top of the grass at various heights.  A pencil eraser dipped in yellow paint was used to add the centers in the flowers.   This was set aside in the dry rack.  Finally,  the traditional symmetrical butterfly was made and added to the dry rack.  I had pre-set both papers with student names prior to class time for efficiency and to avoid "no name" papers.   Students cut out the butterflies and attached them to the flower field during week two.  It is a busy lesson with a lot of transition but I have everything ready to go and switch material out throughout the process.
They turned out really cute.

In a Spring Garden