 |
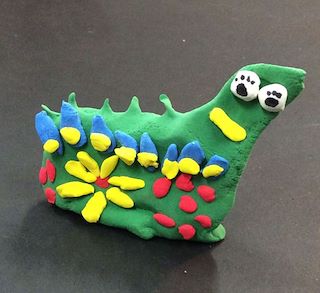
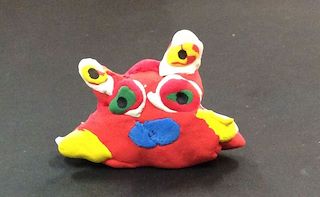
| Student Work - Flower Monster |
I have been trying to come up with a color mixing project for my students using model magic for a while. I have made
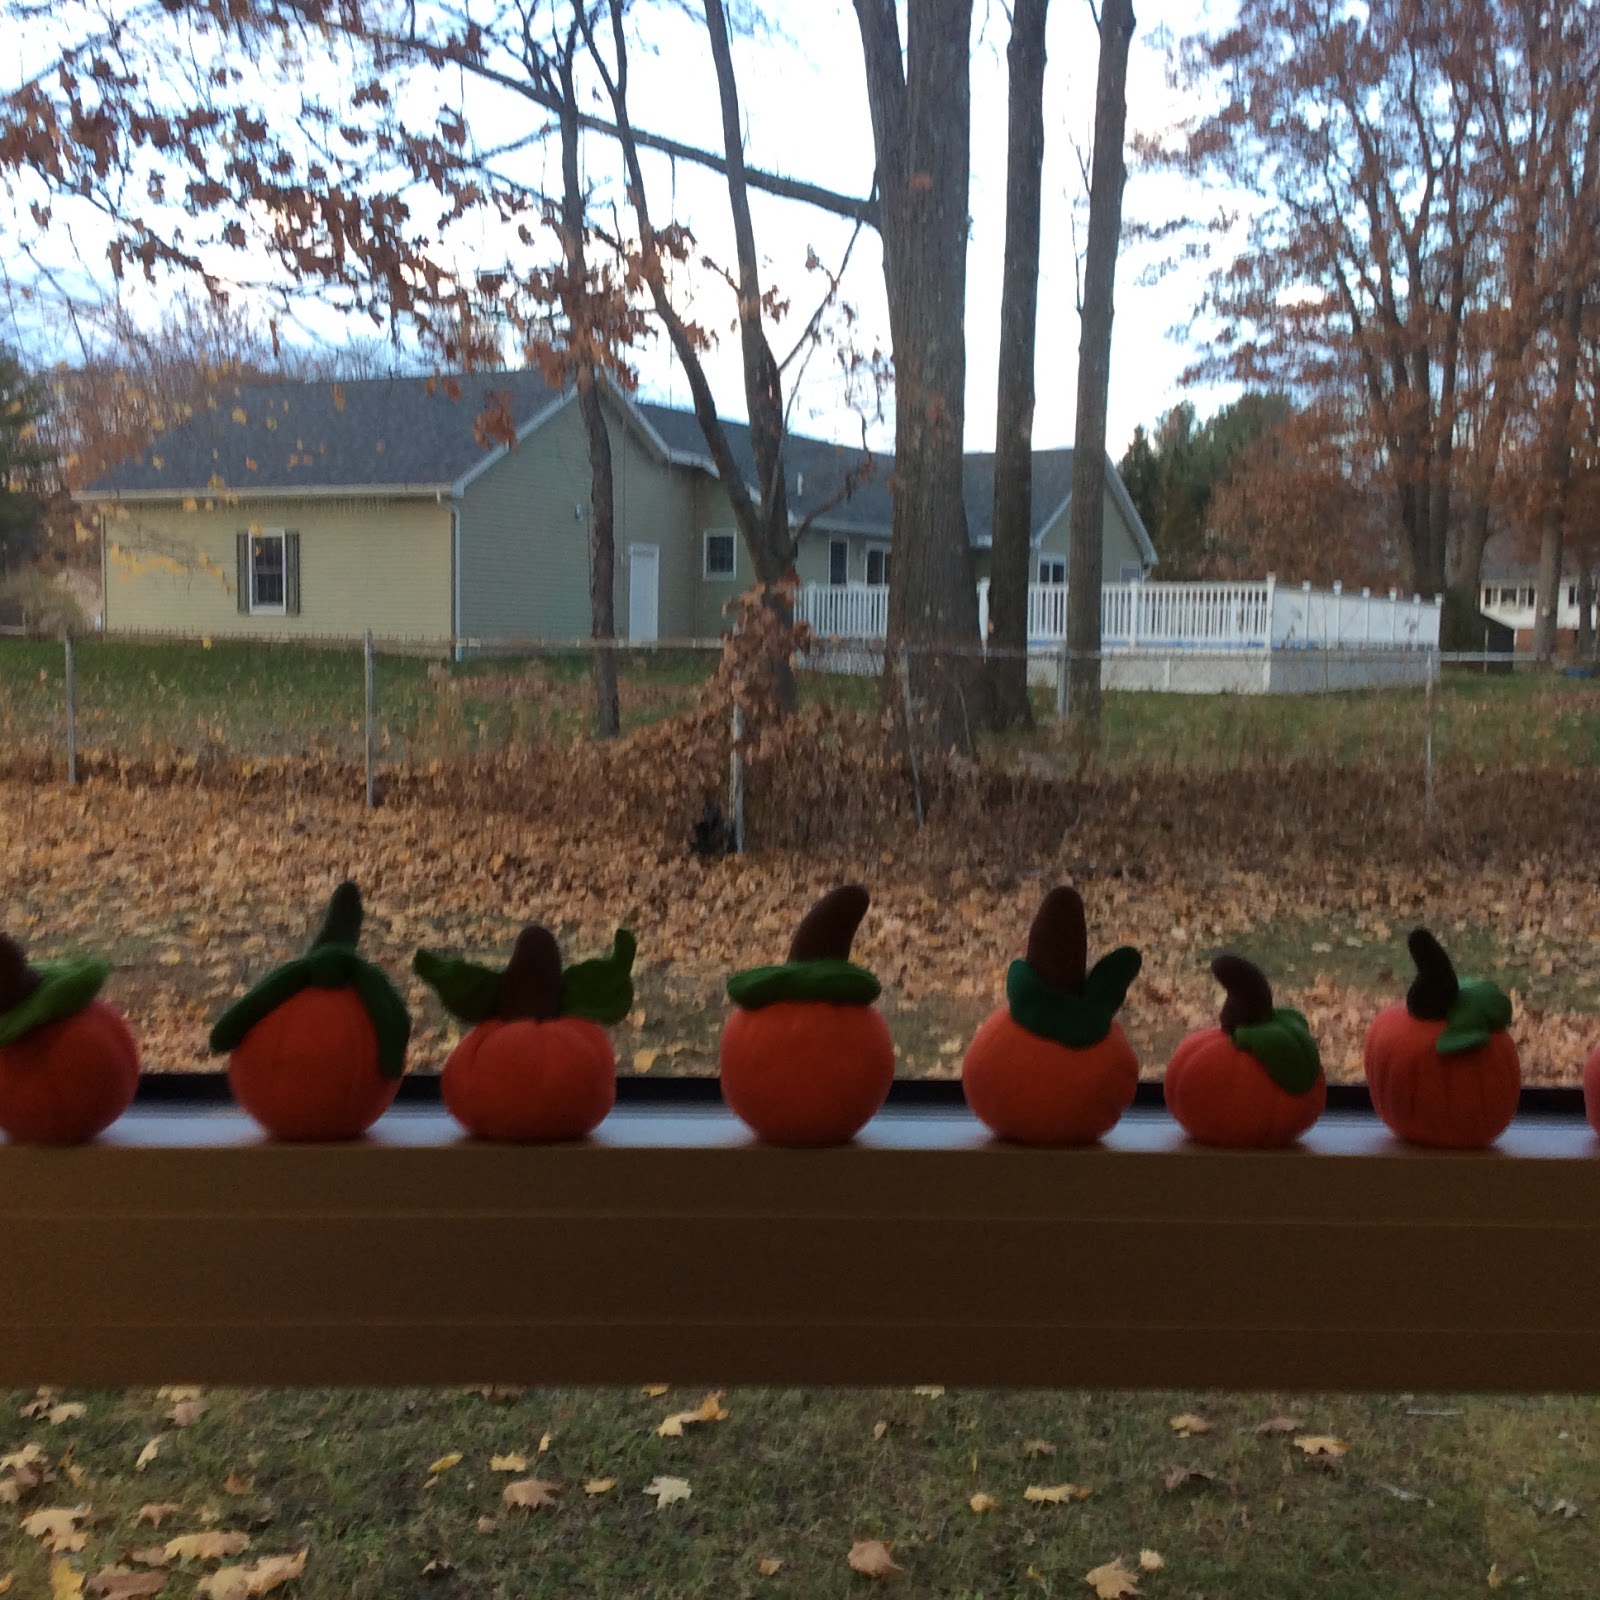
pumpkins for many years with 1st and 2nd grade students but wanted something else that would connect with my curriculum for students a bit older. After a unit on Organic Shapes where students tore paper to create a shape and then turned it into a monster, (
here it is) I had a light bulb go off. What if I followed up with a sculptural project that revisited the organic shape, this time in 3D? An so...this project was born. It worked great to reinforce learning and the kids loved it. My only expectations were for them to make their monster's body using a secondary color, they had to mix it using two primary colors, and that the monster's body was an organic shape. These are made with Crayola Model Magic.
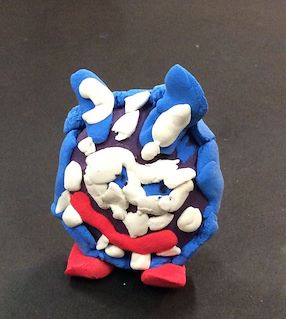 |
| Student Work - So many teeth! |
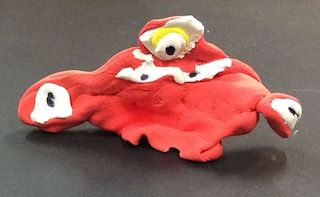 |
| Student Work - Sooo many eyes! |
Here are some more of the fabulous creations by 2nd grade students.
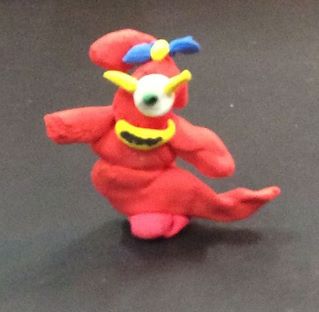 |
| Student Work - Monster with a Bow |
 |
| Student Work - Orange monster |


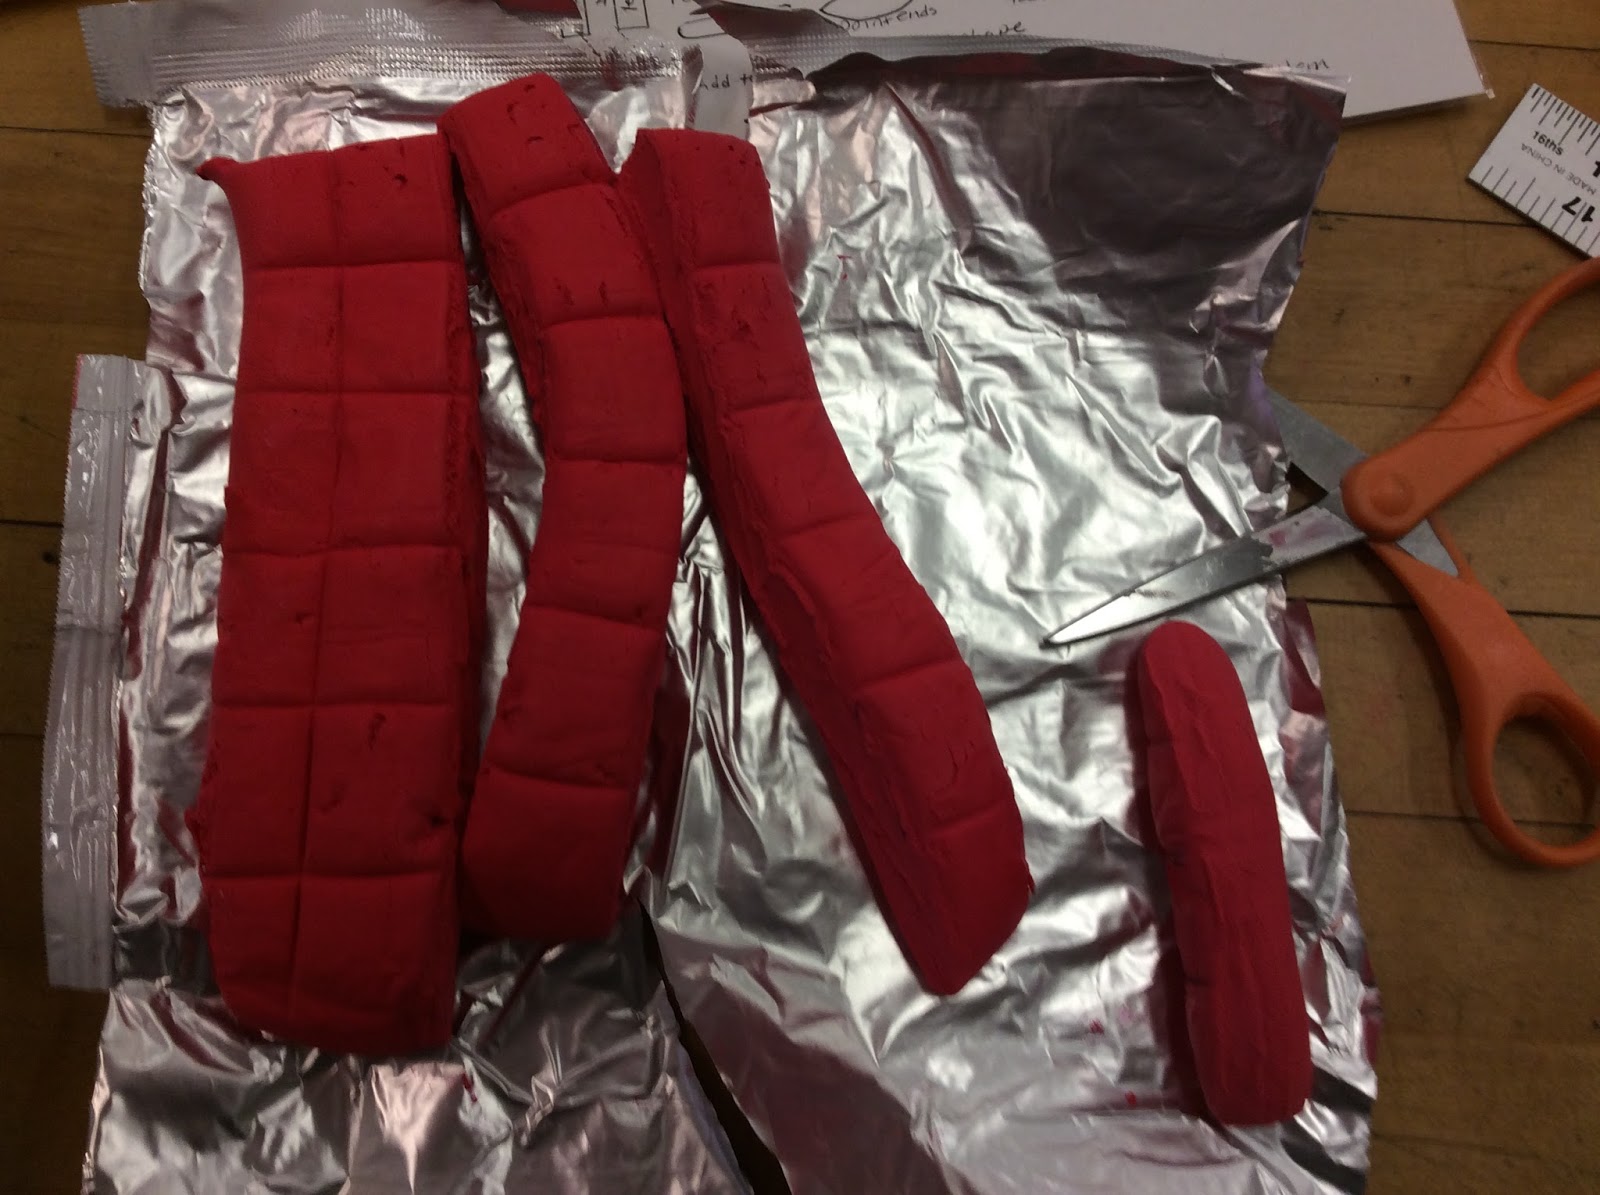
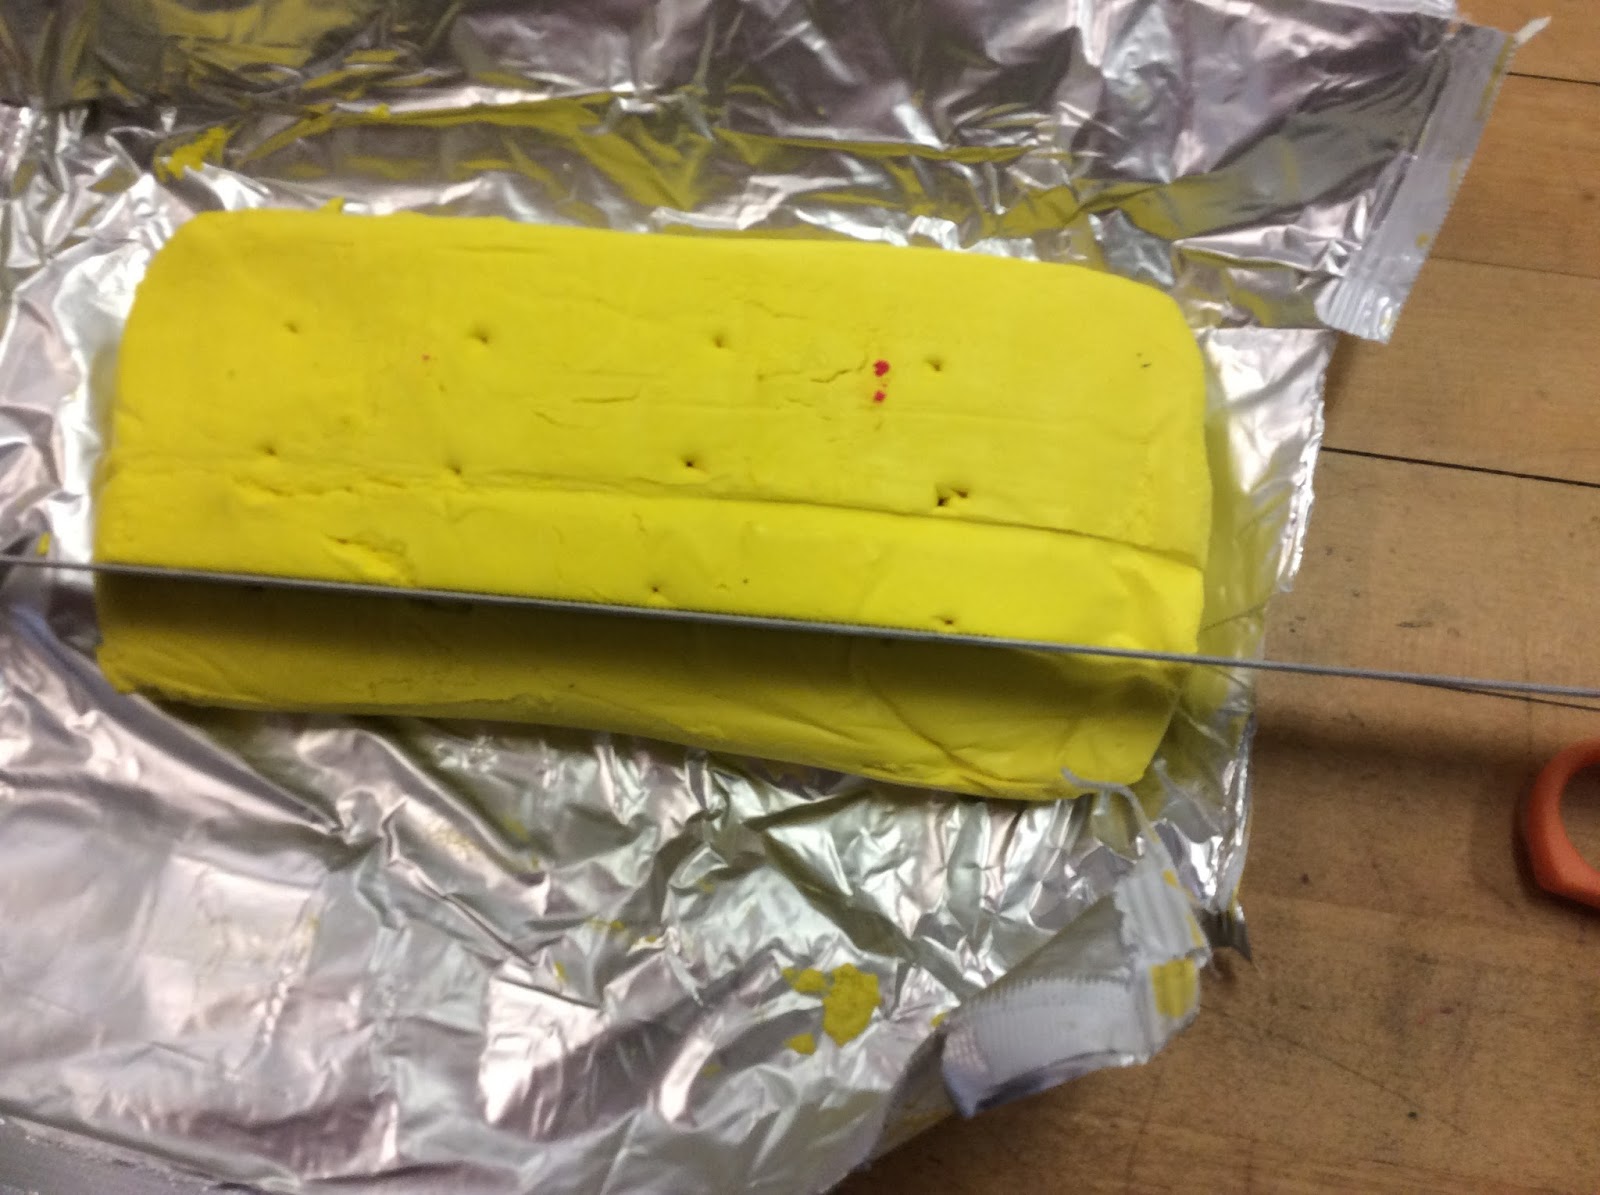
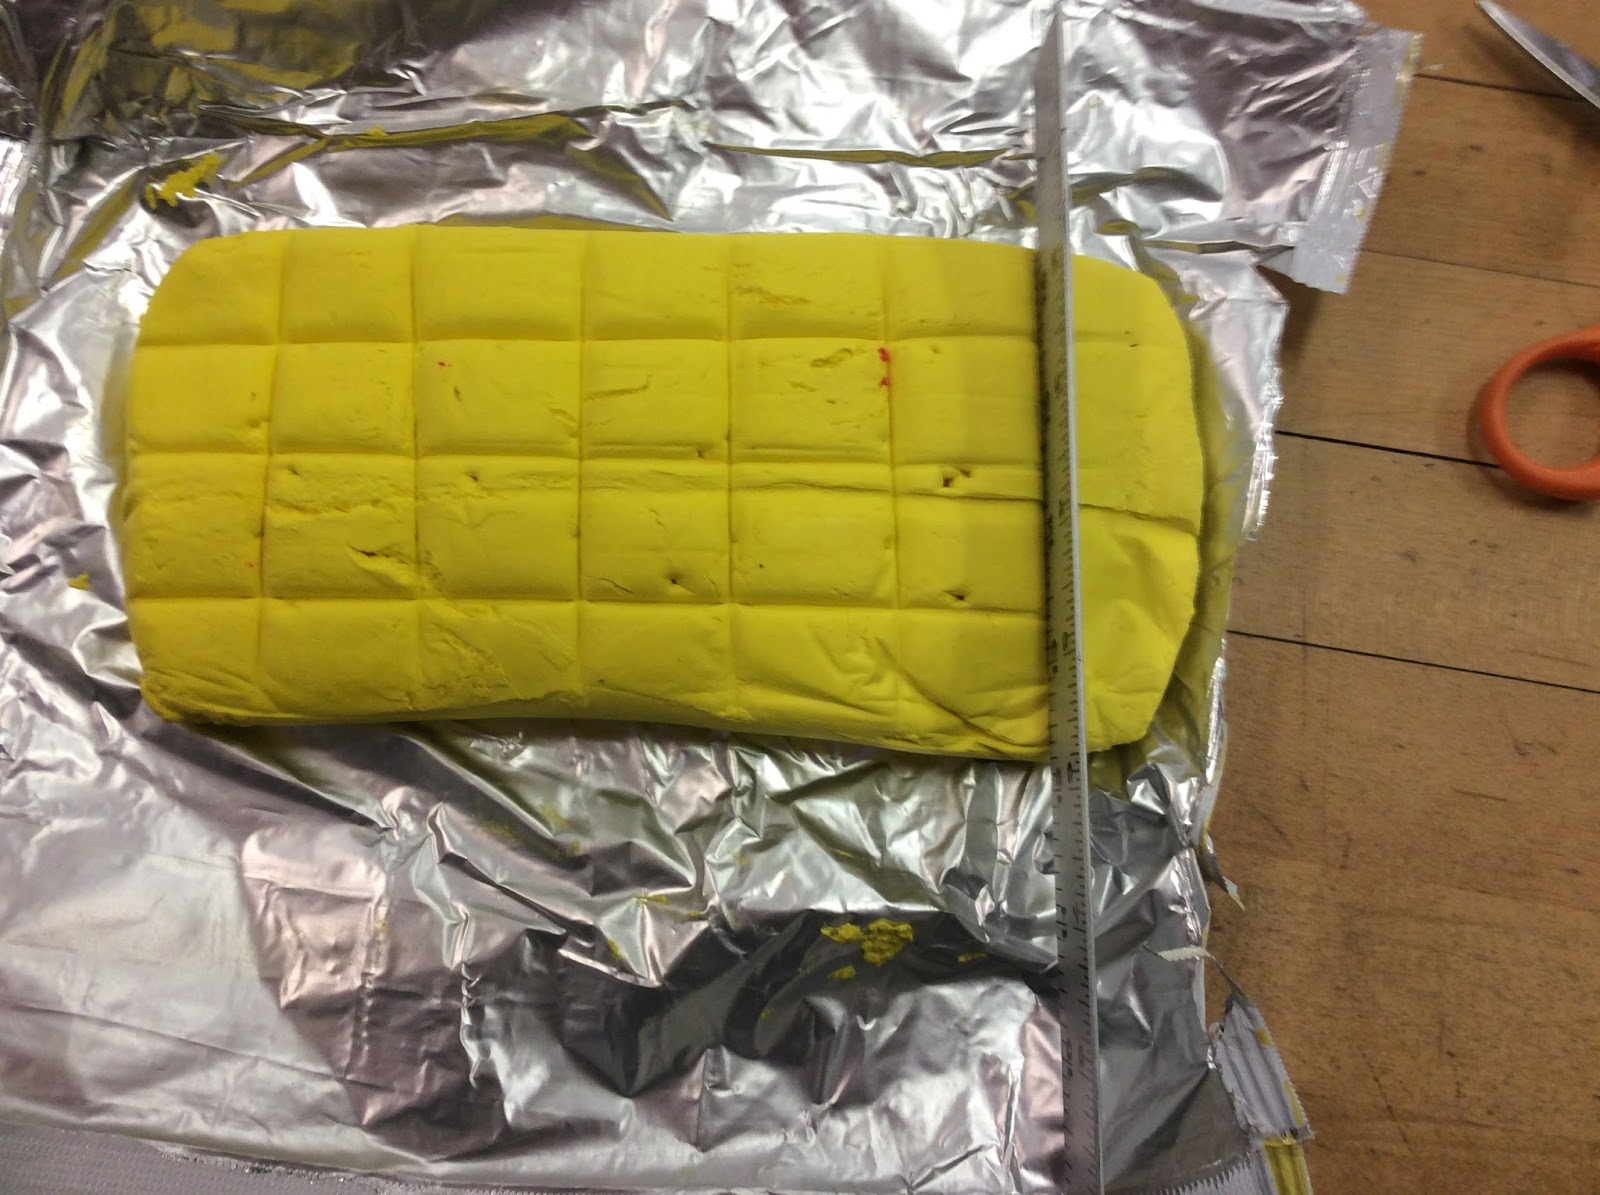
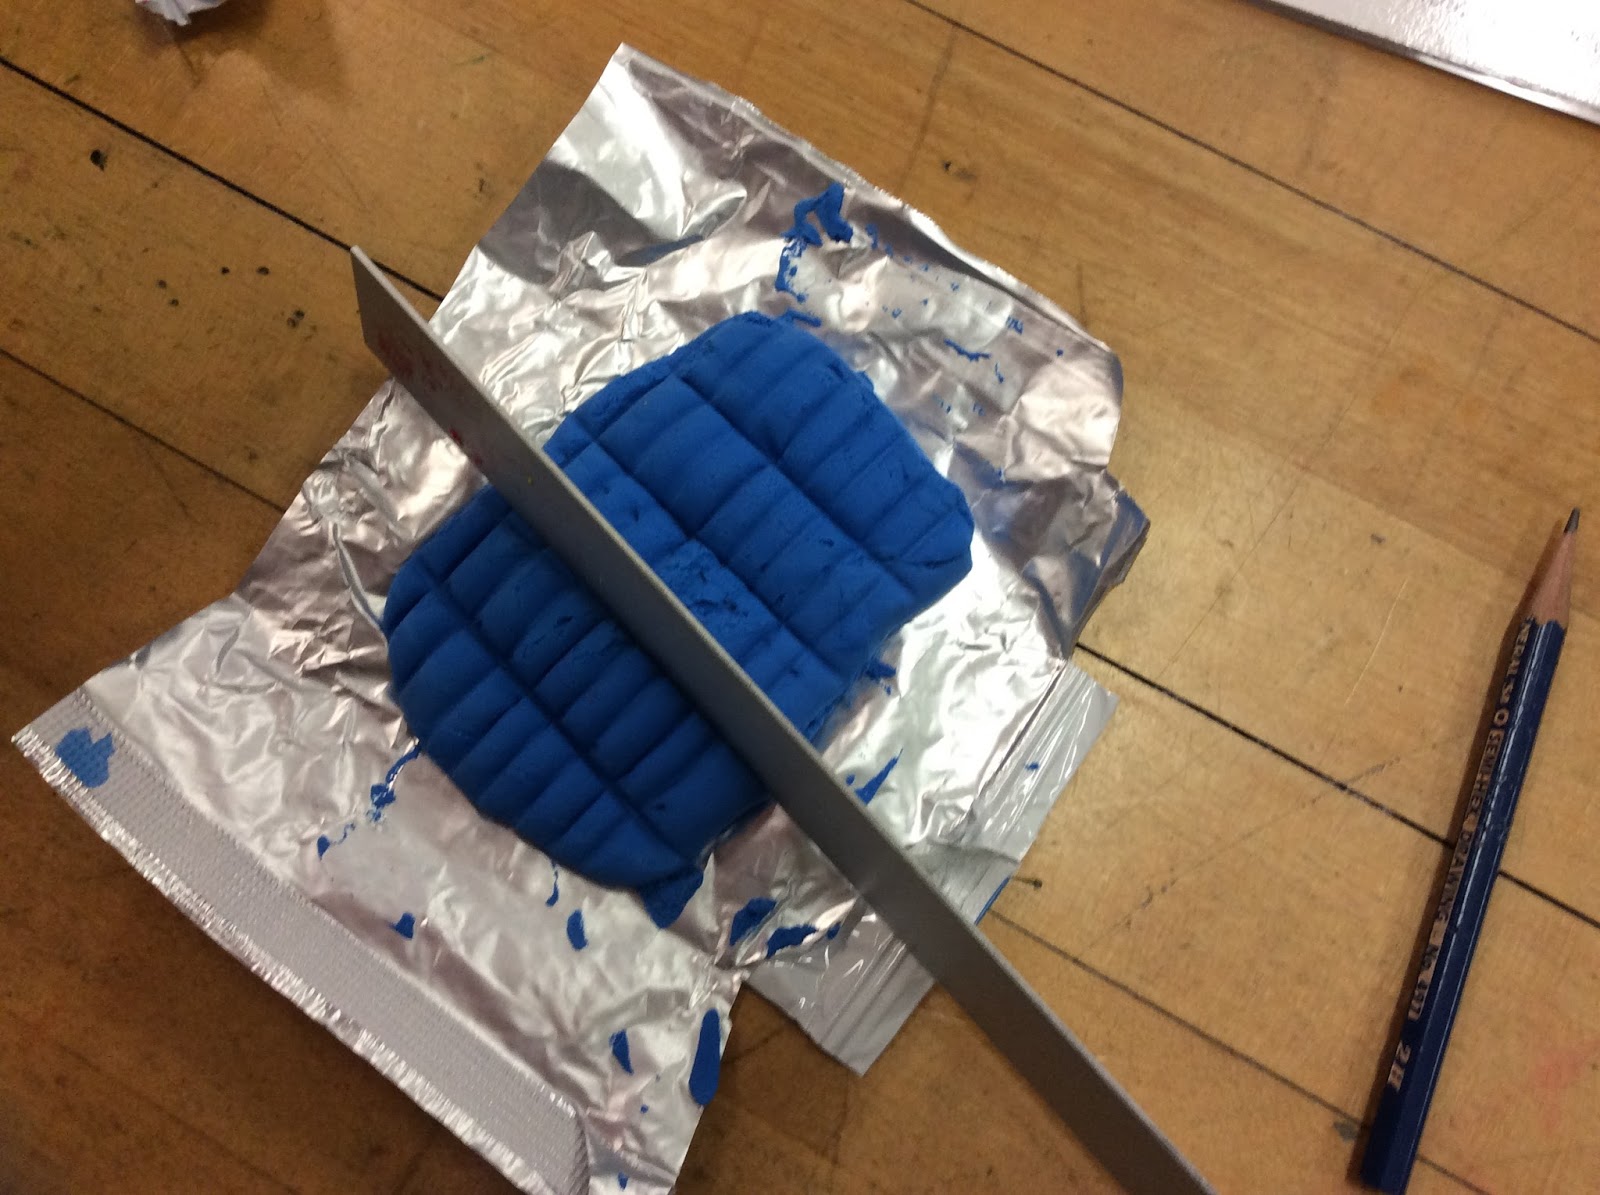
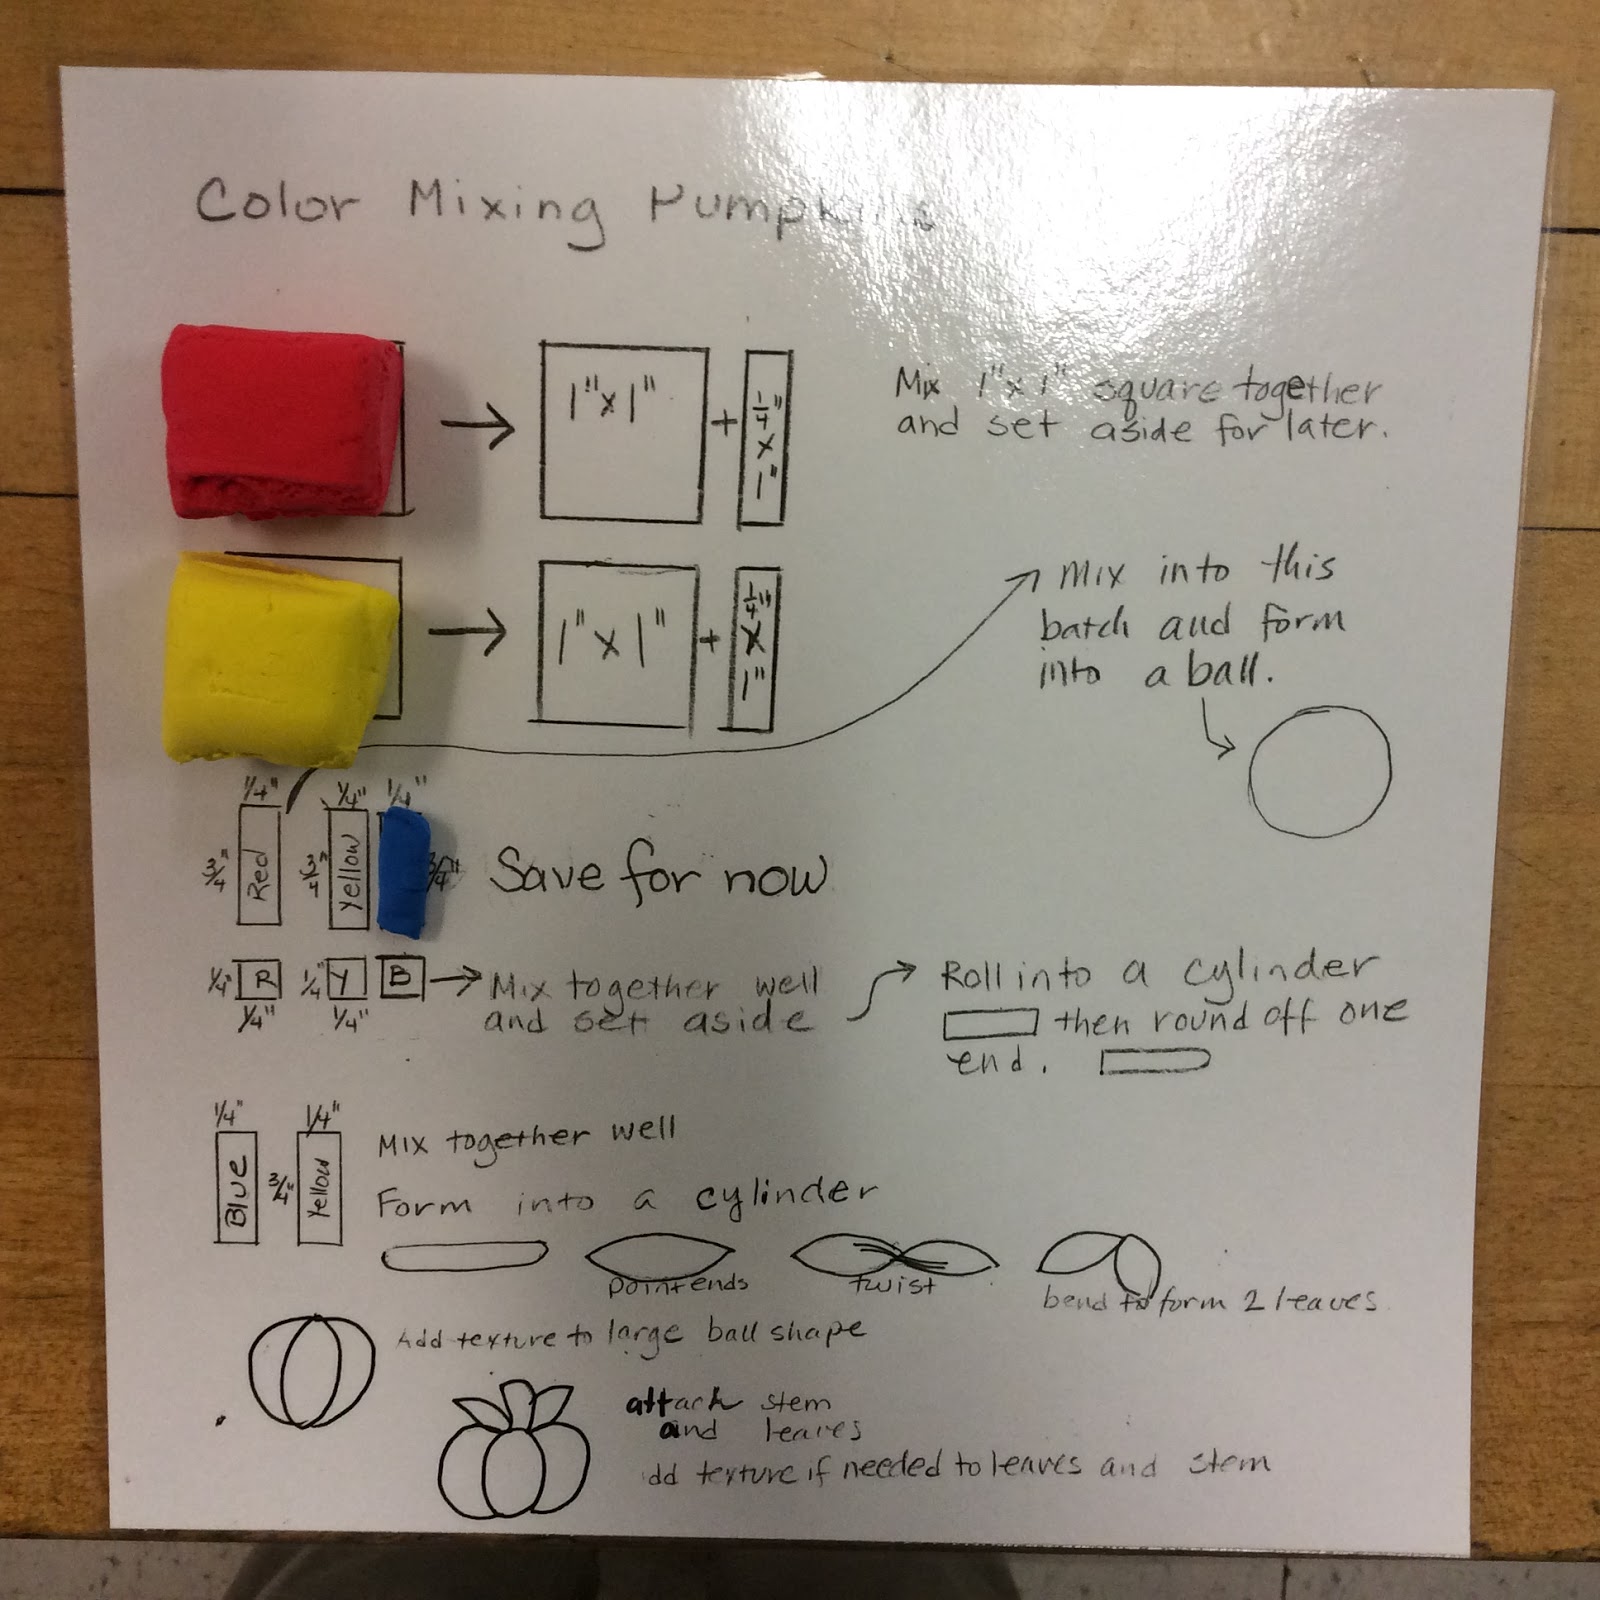
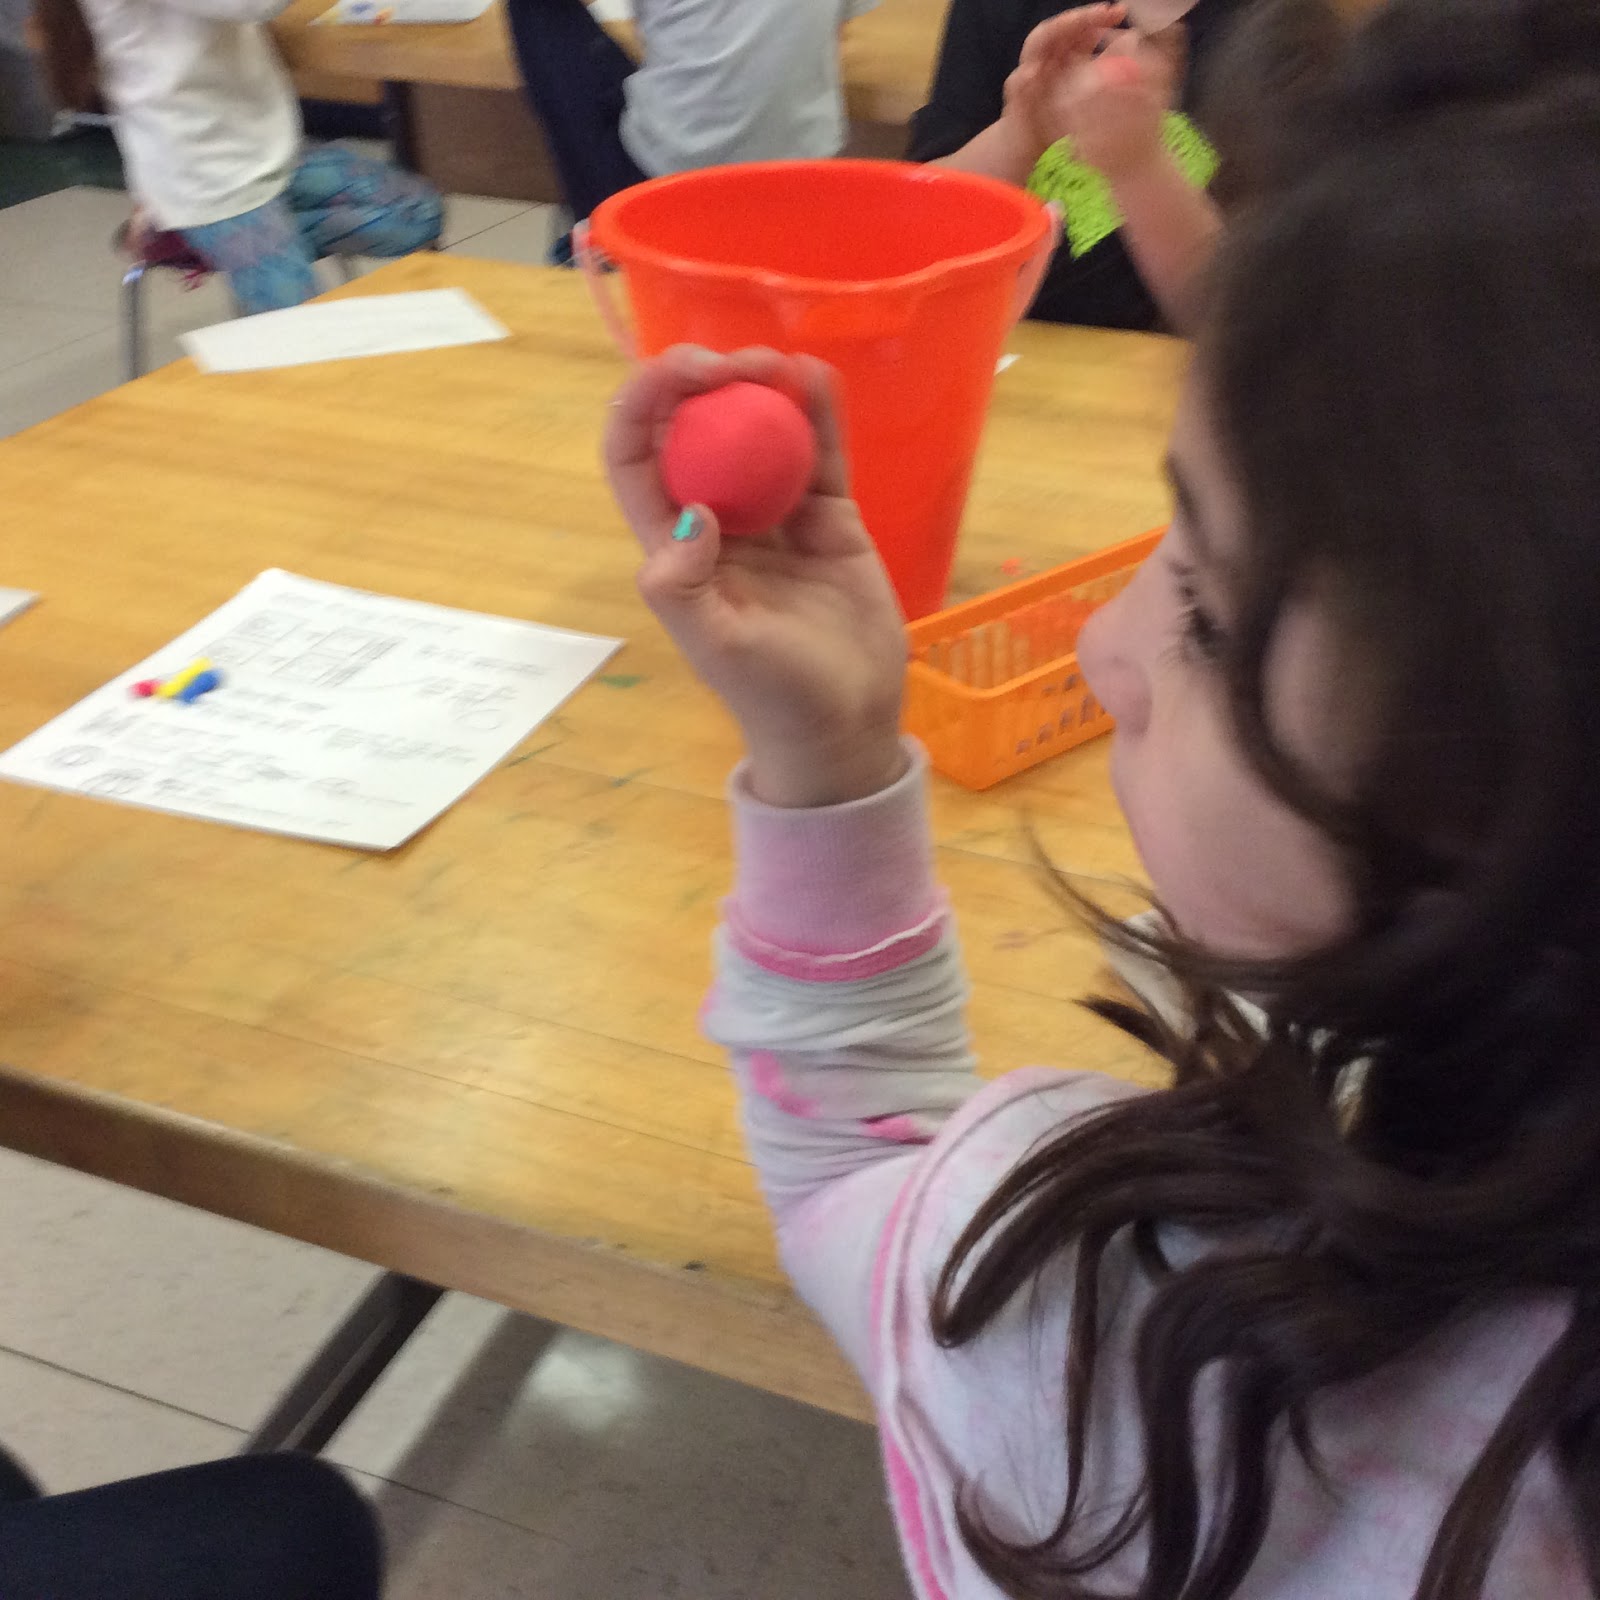
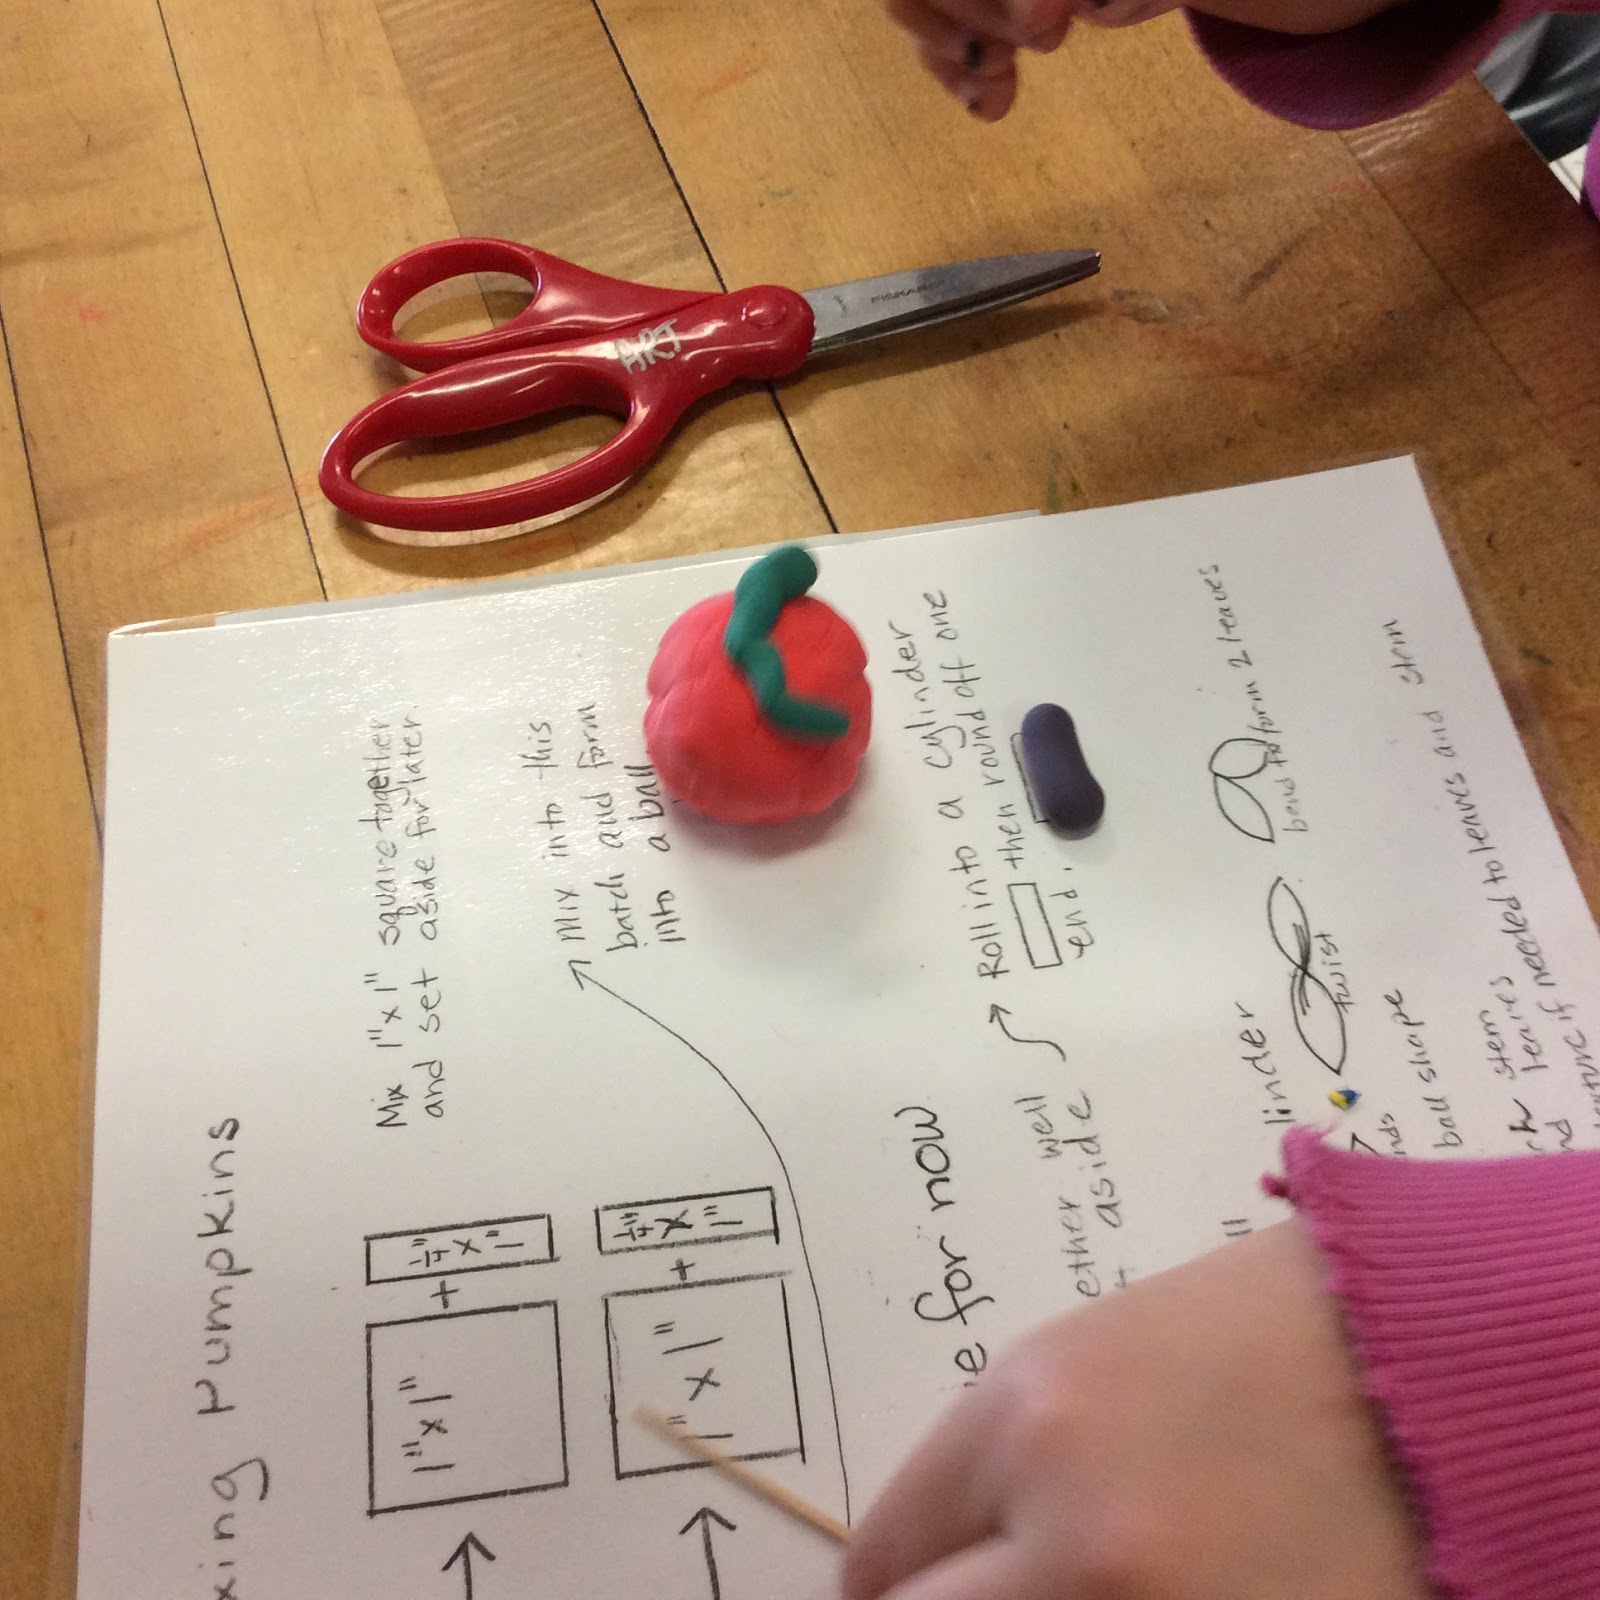
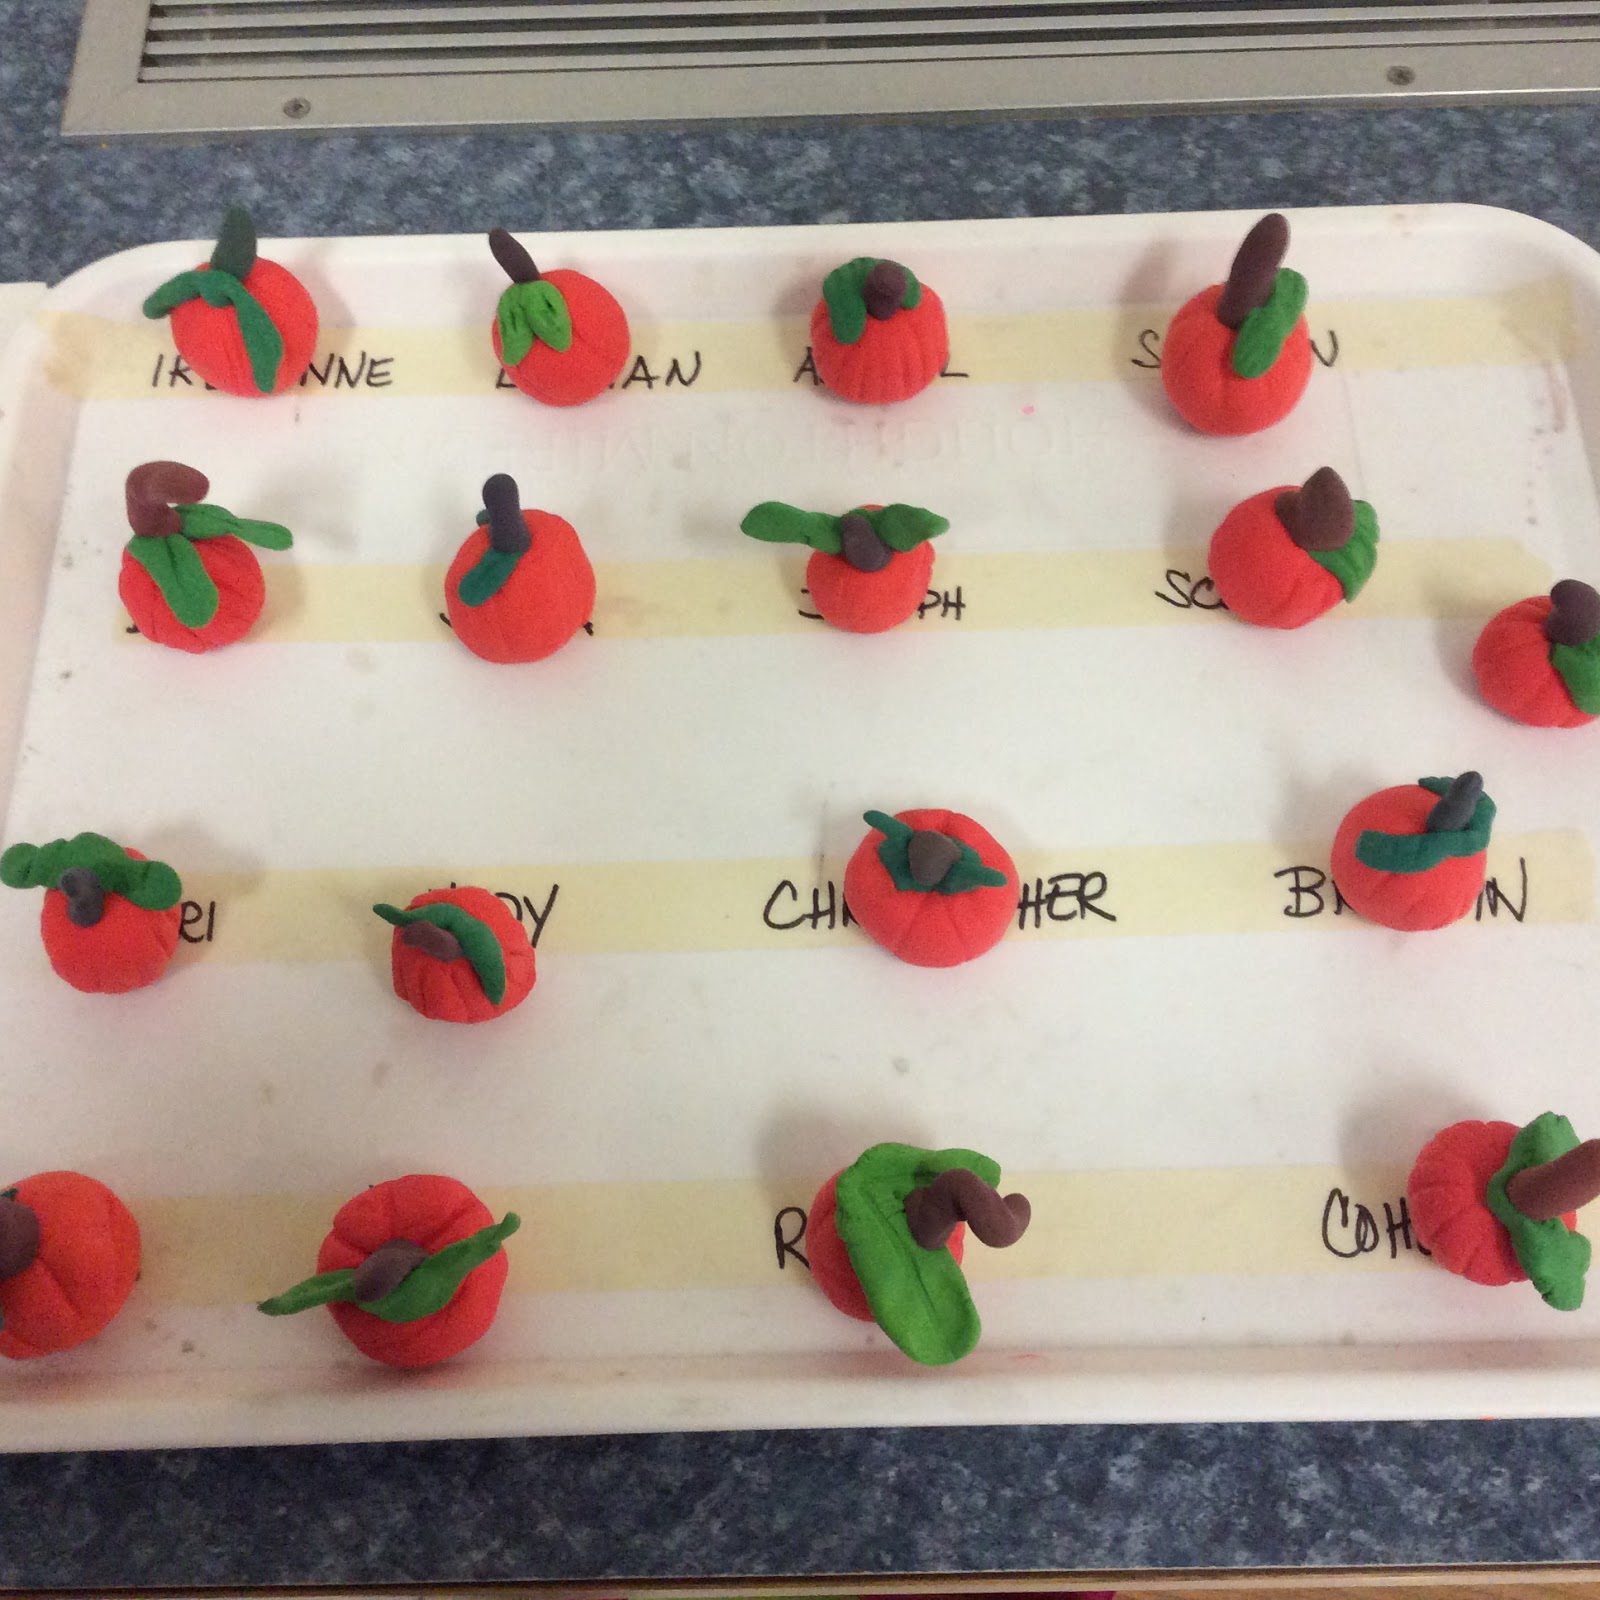
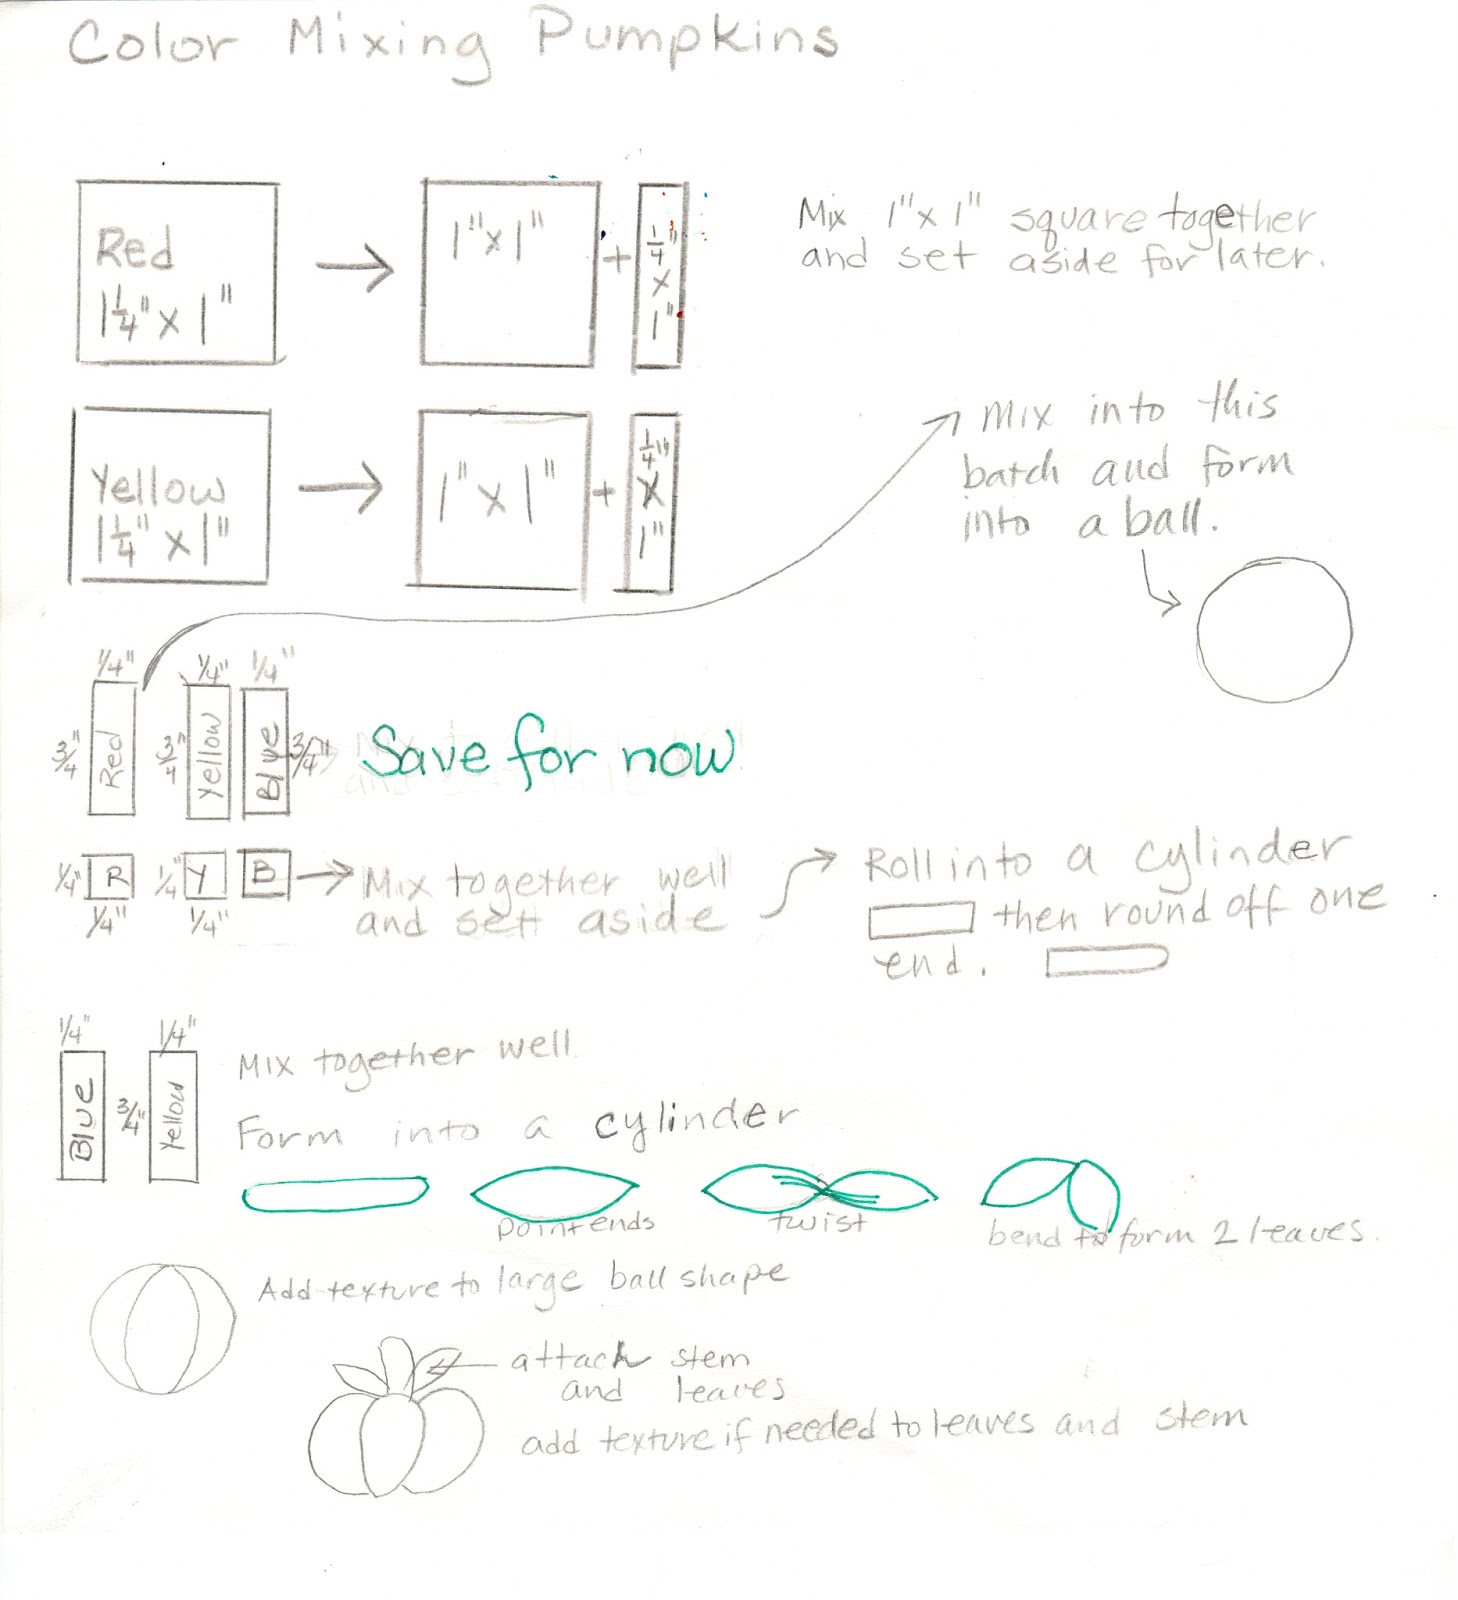 I have done this project with my 2nd grade students for a number of years but felt I wasn't making the strong Math connections that I wanted. I was motivated to create a template for the project where students could more closely be involved in the measuring of the clay to make clearer connections. Here is the template I created. I made enough copies so each child would have their own and ran them through the laminator. It can be used like a place mat to actually do the work on.