Showing posts sorted by relevance for query organic monsters. Sort by date Show all posts

Saturday, November 9, 2013

Organic Shapes are really monsters!

After reading the book "Jeremy Draws a Monster" by Peter McCarty, students tore an organic shape out of lightweight paper.  I used some donated paper, the type with the pin feeds once used in printers.  Students were instructed to tear their paper by keeping thumbs close together to control the tear and by not looking so as to not plan the finished shape.  Students actively participated in making a list of what characteristics might determine the aspects of a monster.  From this list they began to plan ideas for their personal monster. Instead of beginning to create the monster immediately, they were encouraged to turn the shape around and over to visualize what might be hidden in their organic shape.  Monsters were created using markers with a focus for vivid color and detail.  When completed they were set aside as students designed a habitat for the monster.  These were drawn with crayon for added contrast to the colors of the markers.  Thought was given to the practices of the monster as the habitats were created.  Finally students answered a series of questions while reflecting on their monster to write an Artist Statement for their Artsonia exhibit.  Here are a few completed works.
Student Work

student work

student work

student work

Thursday, December 5, 2019

Organic Shaped Monsters

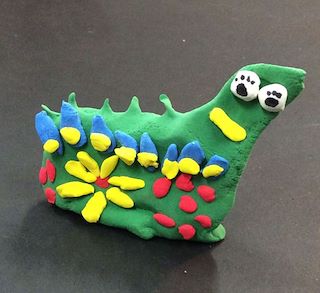
Student Work - Flower Monster
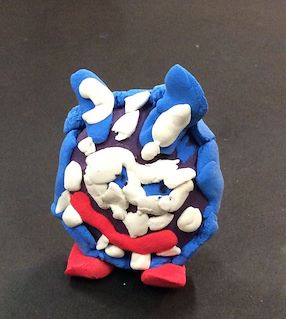
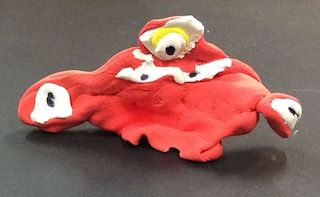
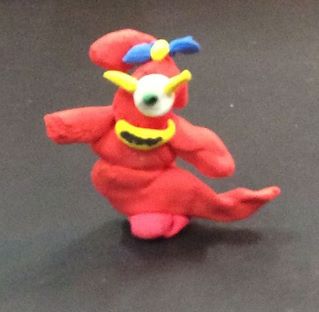
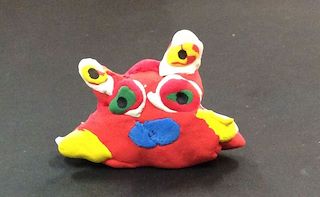
I have been trying to come up with a color mixing project for my students using model magic for a while.  I have made pumpkins for many years with 1st and 2nd grade students but wanted something else that would connect with my curriculum for students a bit older.  After a unit on Organic Shapes where students tore paper to create a shape and then turned it into a monster, (here it is) I had a light bulb go off.  What if I followed up with a sculptural project that revisited the organic shape, this time in 3D?  An so...this project was born.  It worked great to reinforce learning and the kids loved it.   My only expectations were for them to make their monster's body using a secondary color, they had to mix it using two primary colors, and that the monster's body was an organic shape. These are made with Crayola Model Magic.
Student Work - So many teeth!
Student Work - Sooo many eyes!
Here are some more of the fabulous creations by 2nd grade students.
Student Work - Monster with a Bow
Student Work - Orange monster

Thursday, November 19, 2015

Kids love Monsters!

I sent my monster to the North Pole because he is a snow monster.
I think this is one of my favorite lessons for second grade every year.  I start by reading a fun little book by Peter McCarty, "Jeremy Draws a Monster".  The book is about a young boy who never leaves his third story apartment but instead gazes out the window watching the neighborhood children playing.  One day he draws a monster that doesn't turn out to quite be the great companion he had planned for.  Jeremy sends the monster away and in the process, meets the neighborhood children and joins them in play.  My students quickly determine that the monster is quite rude and not very kind to his creator, Jeremy.  They are not surprised when Jeremy decides to get rid of the monster and begin to see the positives from the experience as Jeremy joins the other children to play.  The fun side of this project begins when I challenge my students to draw the destination that Jeremy has sent the monster off to.  We've ever explored the possibilities of a sequel to the
My monster is a blue monster.  He is in Paris.
 I hope the rain is over by now.  My monsters name is Bluer.
 book in hopes that Mr. McCarty had plans for
his monster.  But until that book is published, my second graders have stepped in with their own conclusions.  Students drew a perceived destination and then tore an organic shape to create their own monster.  The best part of this lesson for me happens once they write their artist statements to describe their work.  Most often they give the monster a name.  It's a fun project and I am so delighted with the results this year.  I can tell they really put their hearts into these.  I'm very proud of their work.  The captions under the photos are some of their artist statements.  I have posted the lesson play on Artsonia.  It can be found here.
I sent my monster to the desert.  His name is Paper.

I sent him to New York.  I used blue and red.

My monster can fly.
 I made my monster in Wacky Town.
 It's name is Jacke.

Tuesday, November 11, 2014

Printing and Poppy Flowers

November is printmaking month in the art room.  With the younger grades the projects are usually mono-prints with collographs and relief prints for the older grades.  I am a person that requires experiment and change and am bored teaching the same lesson over and over.  This year was time for change so I began perusing the internet and pinterest for new ideas and ways to teach printmaking.  I found a really cute monster project here that used a marker and coffee filter print.  I like the method but didn't want to do monsters.  With Veteran's Day coming up, I thought of poppy flowers.  In my research, I discovered that poppy flowers are only associated with Memorial Day not Veteran's Day but the project was born regardless.  Here are some visual steps to creating the finished printing and collage project.


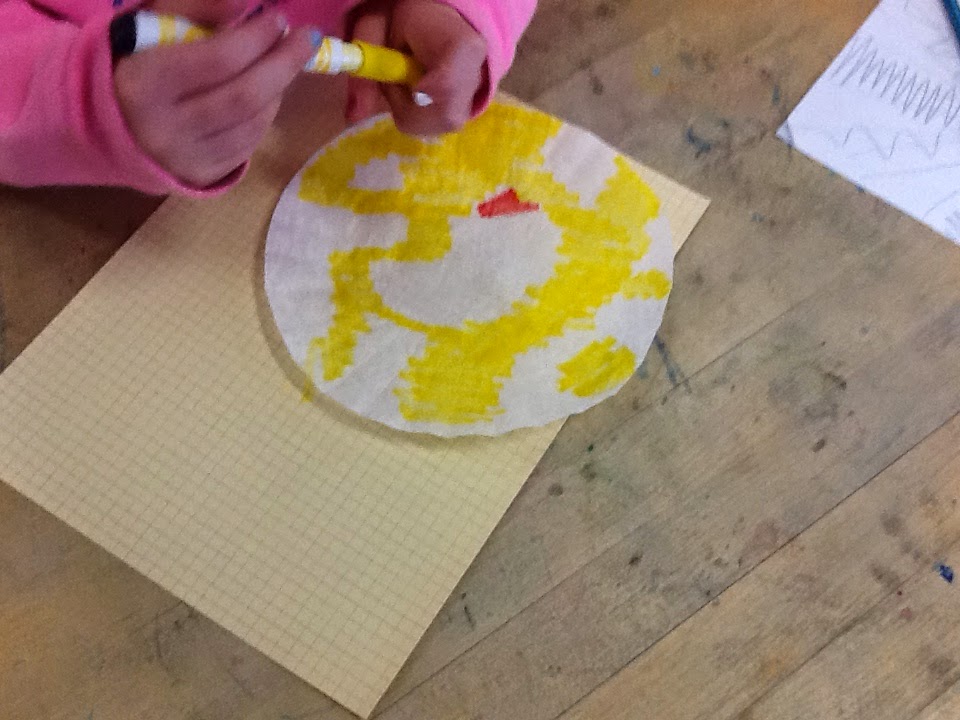
Begin by ironing the filters to flatten, then have students add color with yellow and red to the filter.
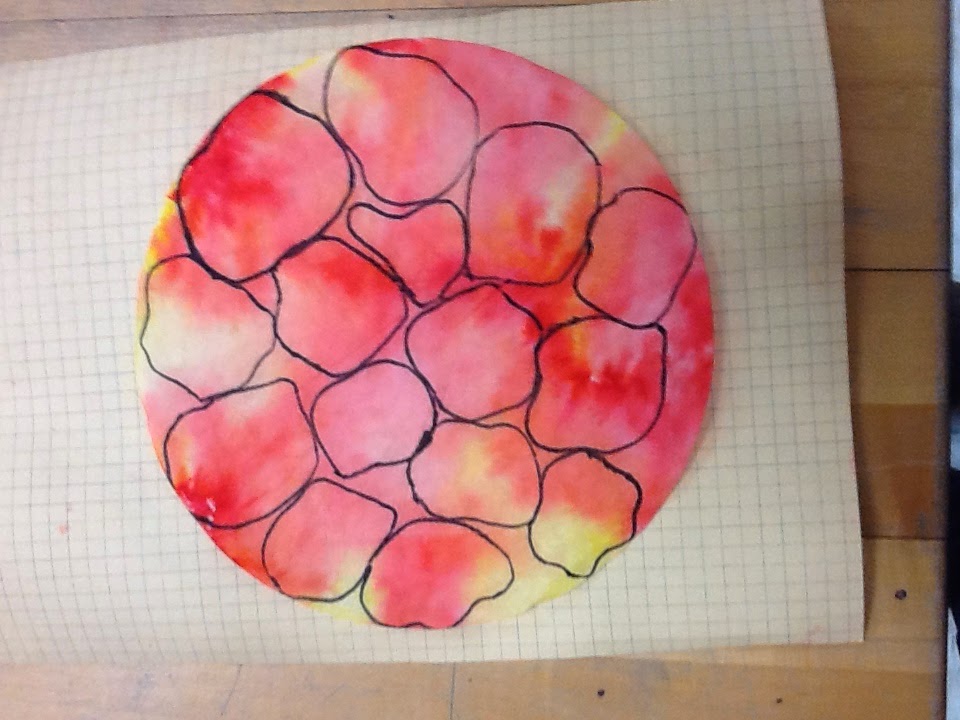
Spray the filter with water which has been placed on a sheet of white paper.  Place a 2nd paper on top and rub to transfer the inks to the papers.  This is the printing process.  You can iron them to rush the drying process or leave them to dry on your dry rack for week two.  Next the students used some scrap greeting cards to create organic shapes to trace to create the petals of the poppy flowers.  These were traced on the filter and printed papers.
I had students to draw grass and stems on a dampened sheet of 9x12 paper to create a field for the flowers.  I chose to dampen the paper so the watercolors would run to mimic the color patterns of the prints.  Poppy flowers  have 4-6 petals; shapes were chosen to create each flower.  Once flowers were in place, a black water based marker was used to dot in the centers of the flowers, accentuate some of the grass and stems and outline the flower petals.

Color pencils in shades of green can be used to add in a few buds.  This was a very successful and fun-filled lesson!