


 |
| Check out the texture in this one |


|
| Check out the texture in this one |
 I've been managing the kiln all week. Four loads later and almost everything is fired. I have half of everything with a coat of wax resist on the bottom. The kids are eager to glaze so I've really been putting in the extra time to complete them all. Hopefully we will glaze the end of the month. These are the bobble heads from 4th grade. First time I've tried this project so I am hoping I can get them to bobble. The kids did some really cute things with the assignment. I'll post when they are completed.


 |
| https://www.facebook.com/hashtag/thekindnessrocksproject |
 Today was the final meeting of the Art Club in 2015. I wanted a project with a holiday theme for my students and when I spotted snowmen created from corks a few weeks back it sounded like the perfect project. I email all my teacher friends hoping to gather up about 30 - 40 corks and received a great response and wonderful support. I think I actually received close to 60 corks. I prepared the corks by painting them all white and adding a wire in the top that would later hold a hook so they could hang on the Christmas Tree. The snowmen to the right are as I had planned the project which I found on pinterest, I think. But, don't you just love it when students take control and run with it and you end up with truly original and creative ideas that you never even considered!?? The following photos are some of the great ideas the students came up with on their own. I love the originality and spontaneity of their creations. They had me rummaging through cabinets and every nook and cranny trying to find things that would help them with their ideas.


 |
| Some reindeer are green. |
 |
| student work |
 |
| student work |
 |
| student work |
 |
| student work |
 |
| Supplies |
 |
| Demonstration using a document camera |
 |
| Organization |
 Without a doubt, my favorite project to teach to my elementary students is clay. Enthusiasm is contagious so it is a highlight for my kids as well. It's a lot of work but I completely transform my teaching space for the time we work on clay. Here are some of the ways I do that. The white rolling shelf is a purchase from when KB Toys was liquidating years ago. Because we live in the town of the headquarters for KB, we were able to snatch up some really cool things that have proved to be a terrific asset to my classroom. I will admit that I purchased them knowing that one day I would eventually retire and be able to utilize them in my own clay studio. This shelf unit was purchased with further use in mind. For now I use it to load up all of the supplies that we need to use to make it through the day. Everything is readily available and it makes for an easy clean up at the end of each class as well. With the purchase of the gray cart last school year, I was able to set up a demonstration area using my document camera as well. It's great how everyone has a clear visual as I demonstrate and there are no questions about just what my hands are doing to roll a coil or pinch a pot. The youngest kids think it's pretty magical that they can see my hands so well and further that they are so big!!! I also distribute clay right from my demonstration table which gives me more control over waste. This view is my classroom from the other angle. The second cart holds all the boxes of clay so I don't have to run back and forth to the storage area for more clay. I also been a plastic tub there for dry or excess clay scraps so I can recycle them later for reuse or to create slip. I store the student work each week on the white rolling shelves. These
 are also courtesy of KB Toys. They were donated several years ago to the school district. I usually use them to hold student's work by class. Each self is a class and I have an additional shelf just for Kindergarten work. For clay, I Velcro plastic to seal up the shelves and keep moisture trapped in the work. Student work is also individually wrapped on the shelves. This helps me retain the dampness of the clay so students can continue to work for 3 - 4 weeks. The best thing is that everything is on wheels and easy to move around the classroom if needed. Tables are covered with canvas that is years old and reused each year. I have plastic table clothes under the canvas and they are all held into place using picnic table clips that I bought on clearance one year at the end of summer. I have students sitting in tables of eight making it easy for me to move in and around and assist as needed. This final picture is the happy teacher that Loves, Loves, Loves workings with clay sporting her #ClayHands button from Art of Education.
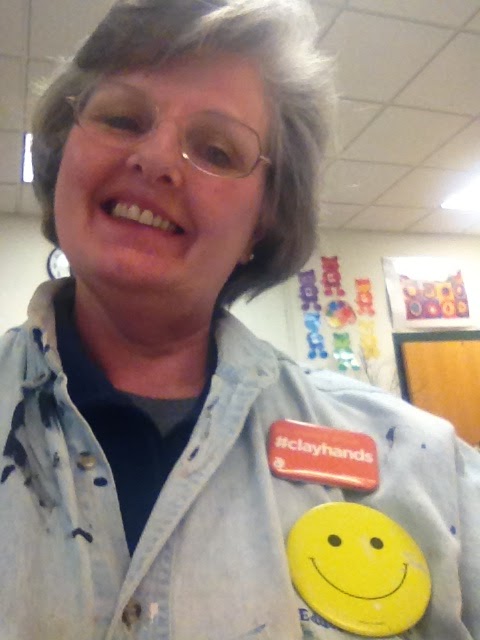 |
| Happy Art Teacher |


