
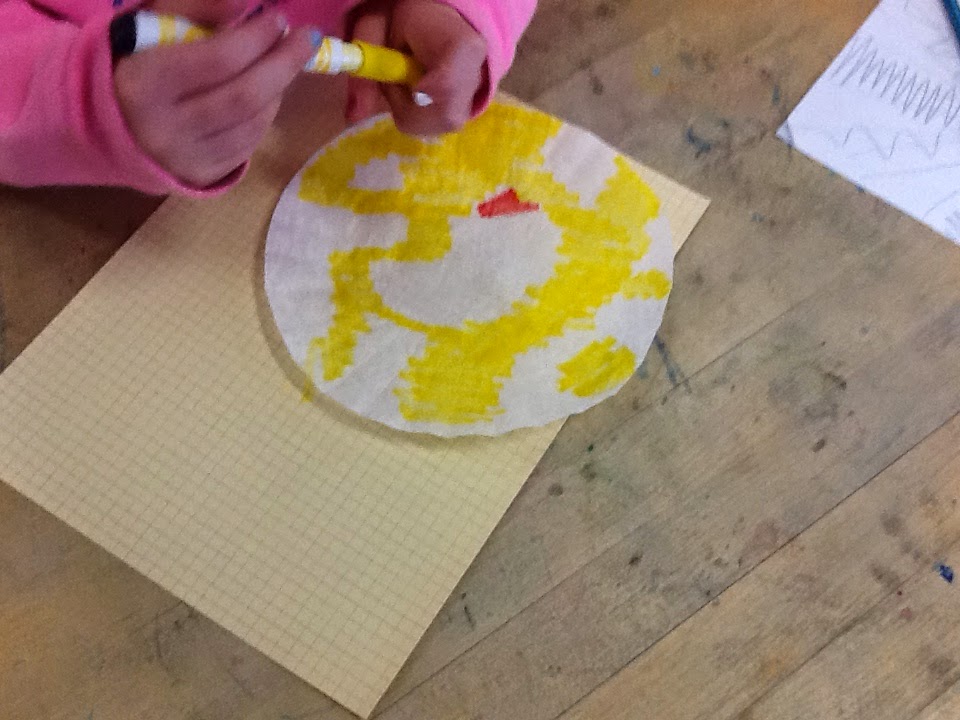
Begin by ironing the filters to flatten, then have students add color with yellow and red to the filter.

Spray the filter with water which has been placed on a sheet of white paper. Place a 2nd paper on top and rub to transfer the inks to the papers. This is the printing process. You can iron them to rush the drying process or leave them to dry on your dry rack for week two. Next the students used some scrap greeting cards to create organic shapes to trace to create the petals of the poppy flowers. These were traced on the filter and printed papers.
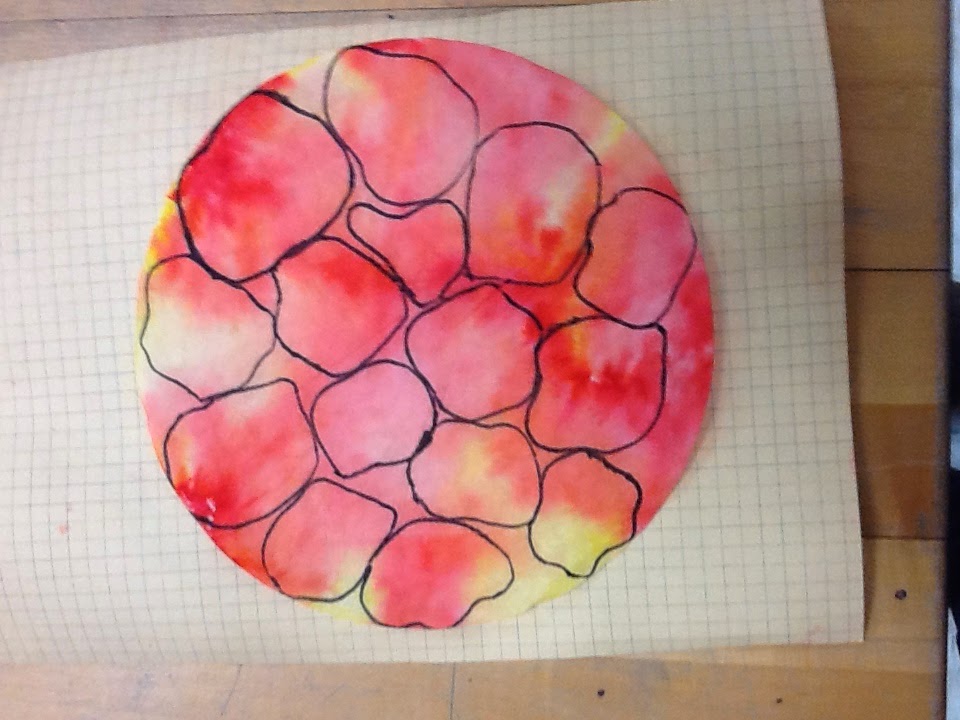
I had students to draw grass and stems on a dampened sheet of 9x12 paper to create a field for the flowers. I chose to dampen the paper so the watercolors would run to mimic the color patterns of the prints. Poppy flowers have 4-6 petals; shapes were chosen to create each flower. Once flowers were in place, a black water based marker was used to dot in the centers of the flowers, accentuate some of the grass and stems and outline the flower petals.

Color pencils in shades of green can be used to add in a few buds. This was a very successful and fun-filled lesson!
These are just beautiful!!
ReplyDeleteI really love this project!
ReplyDelete