Thursday, March 19, 2015

Shape experiments to learn to draw people

Student Work
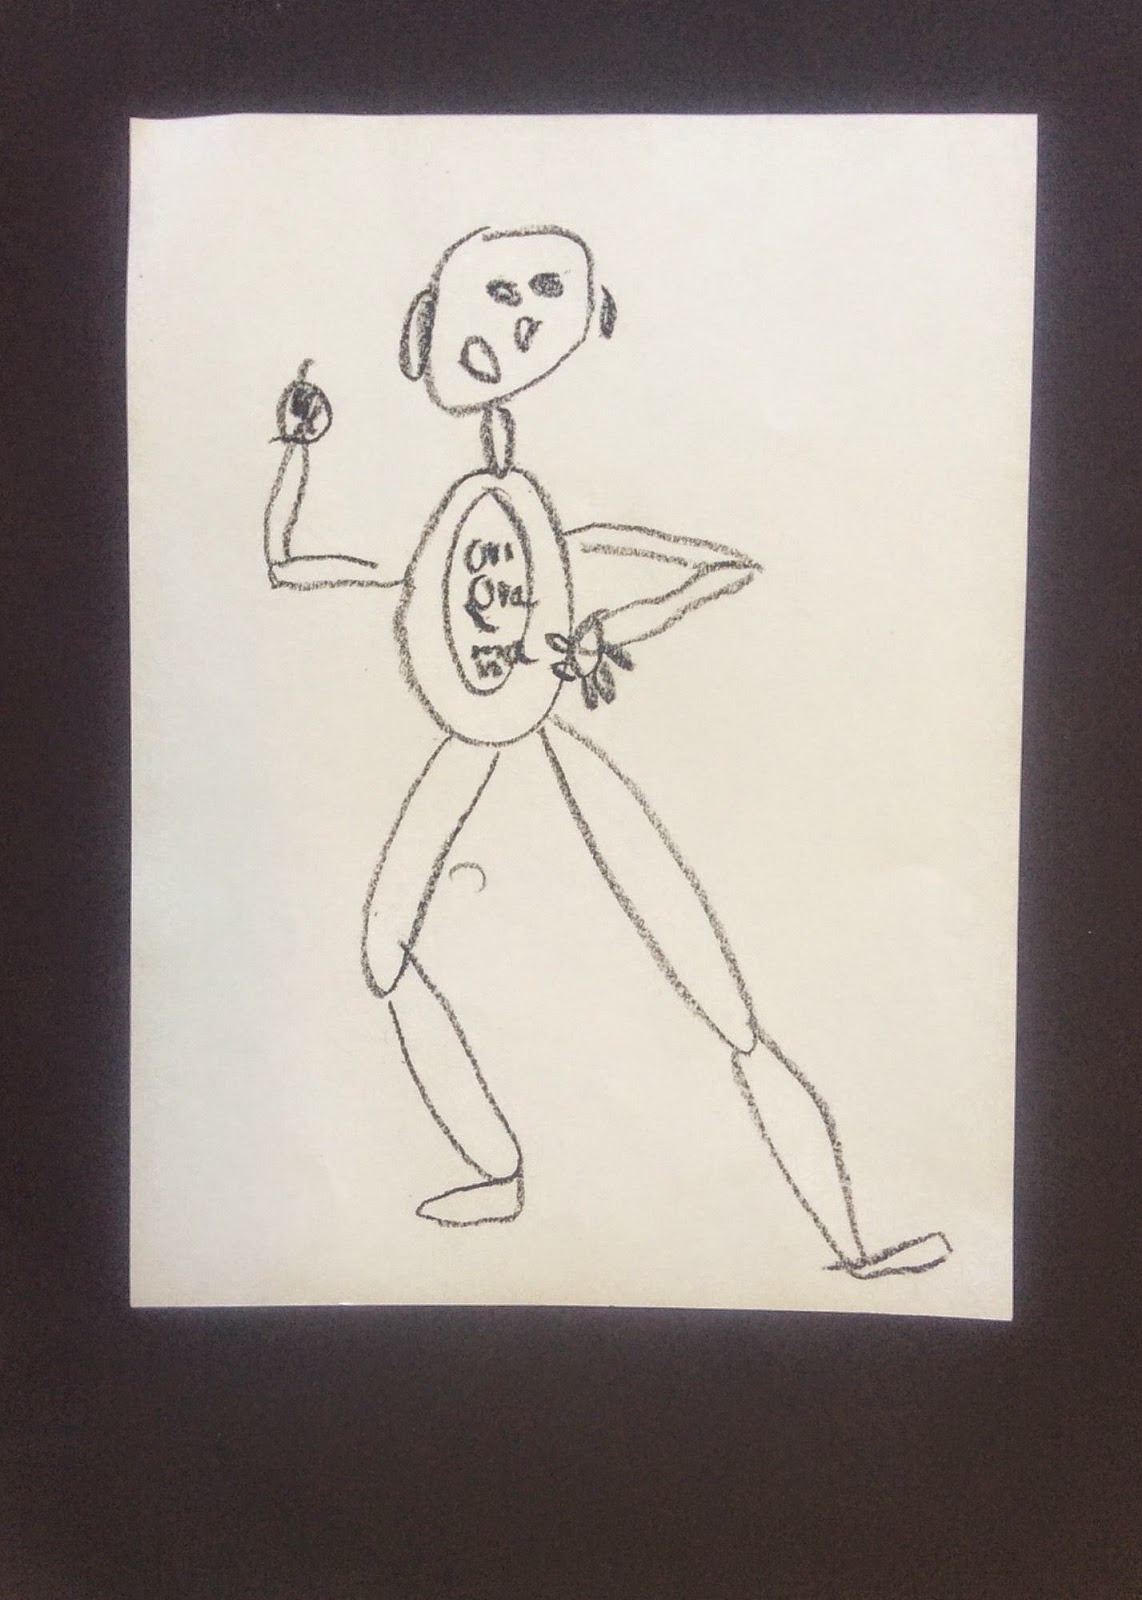
Several pages in the Kindergarten Shape book focus on combining shapes into identifiable forms.  By this point in time of the school year, the majority of Kindergarten students have master the drawing of basic geometric shapes and can easily identify them along with their attributes.  They have draw and colored shapes, textured shapes and cut and collage shapes. For this lesson, they created three different "people" forms using shapes.  The first drawing is of the infamous super hero "Oval Man".  He can only be drawn using an oval and his relative the circle.  This is a directed draw but the students are actively directing what is happening.  As a group, students identify the shape needed for each part of the body in response to my questions.  Some classes unanimously believe the head should be a circle while others opt for an oval.  I follow along as per their suggestions as long as they are reasonable and model the creation of oval man.
student created Oval Man

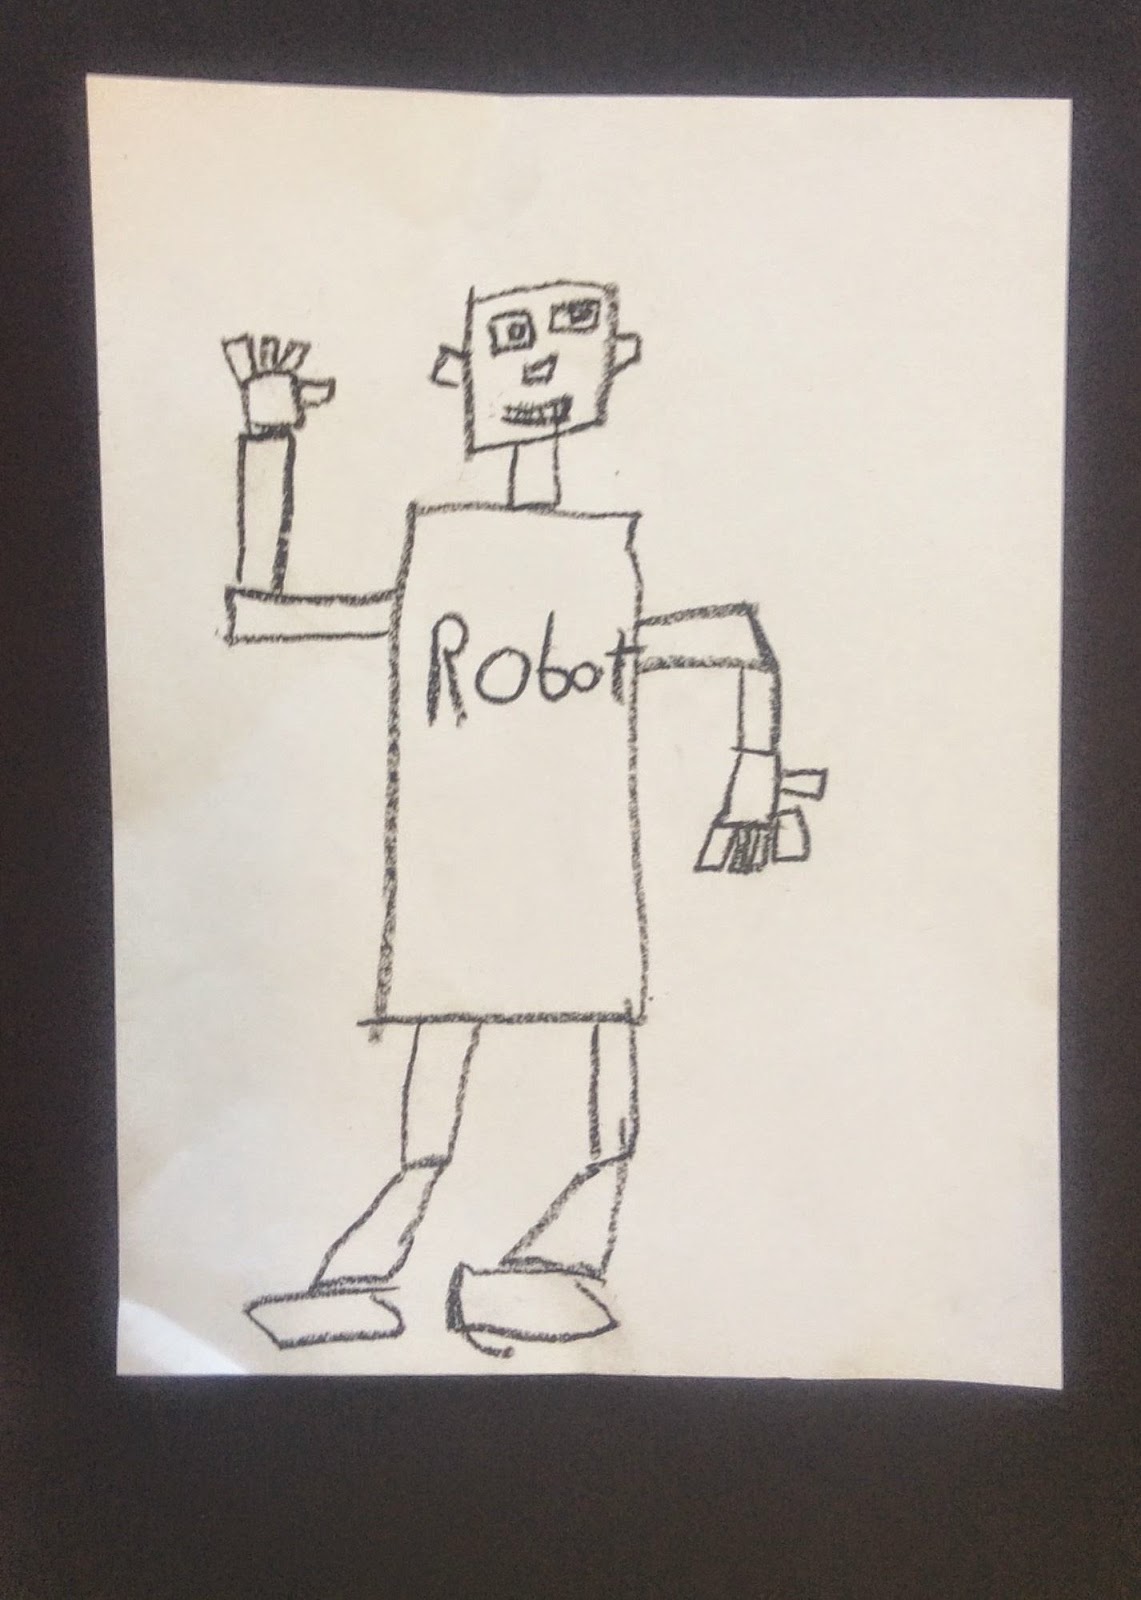
Student Created Rectangle Robot

For the next drawing, the process is repeated but this time only using rectangles and his relative square for all the designated body parts.  Robot Rectangle is brought to existence through this process.

It all comes together in the final drawing when all four shapes can be used to create a more realistic body of a person.  No stick people in this art room!!!


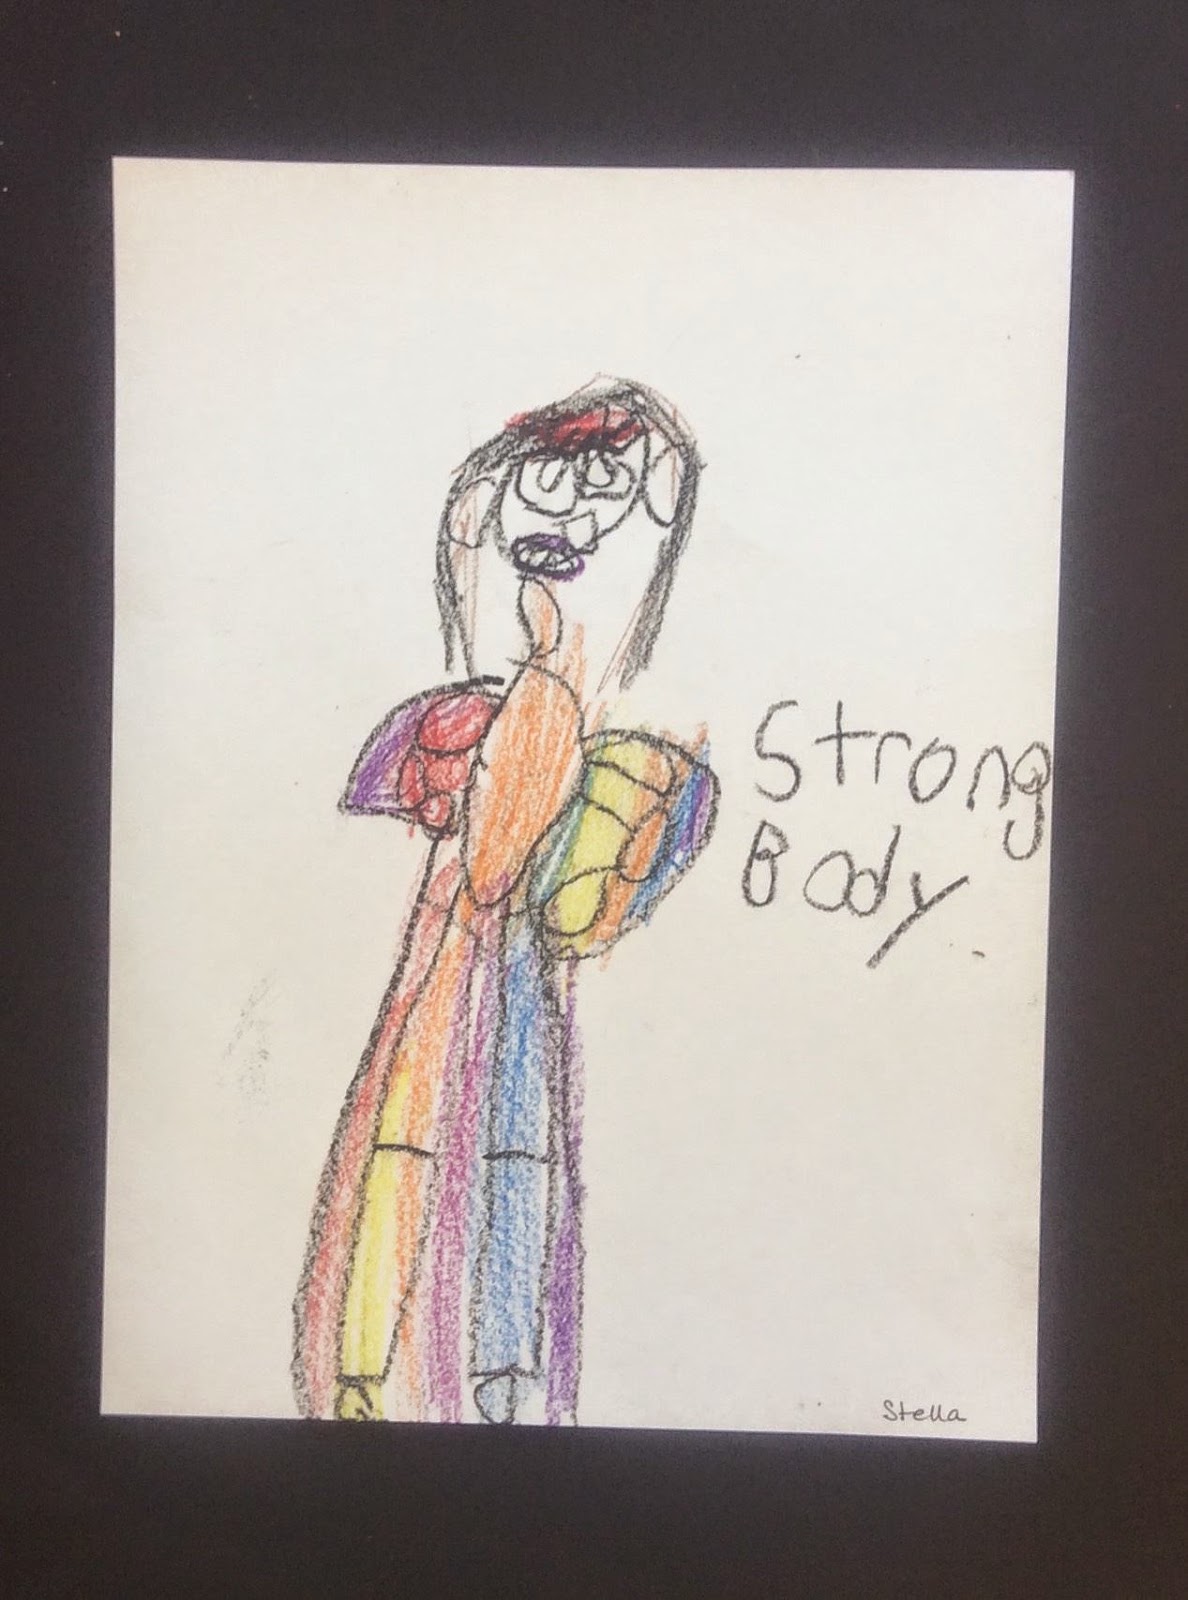
Student work for Strong Body


Finally, the outlines of clothing are drawn around this final figure so that "Strong Body" will be more realistic.  Of course details like hair are added as well.  Crayons are used to color in the clothing and the transition has been made to drawing real people in Kindergarten.

Thursday, March 12, 2015

Mona Lisa Self Portraits

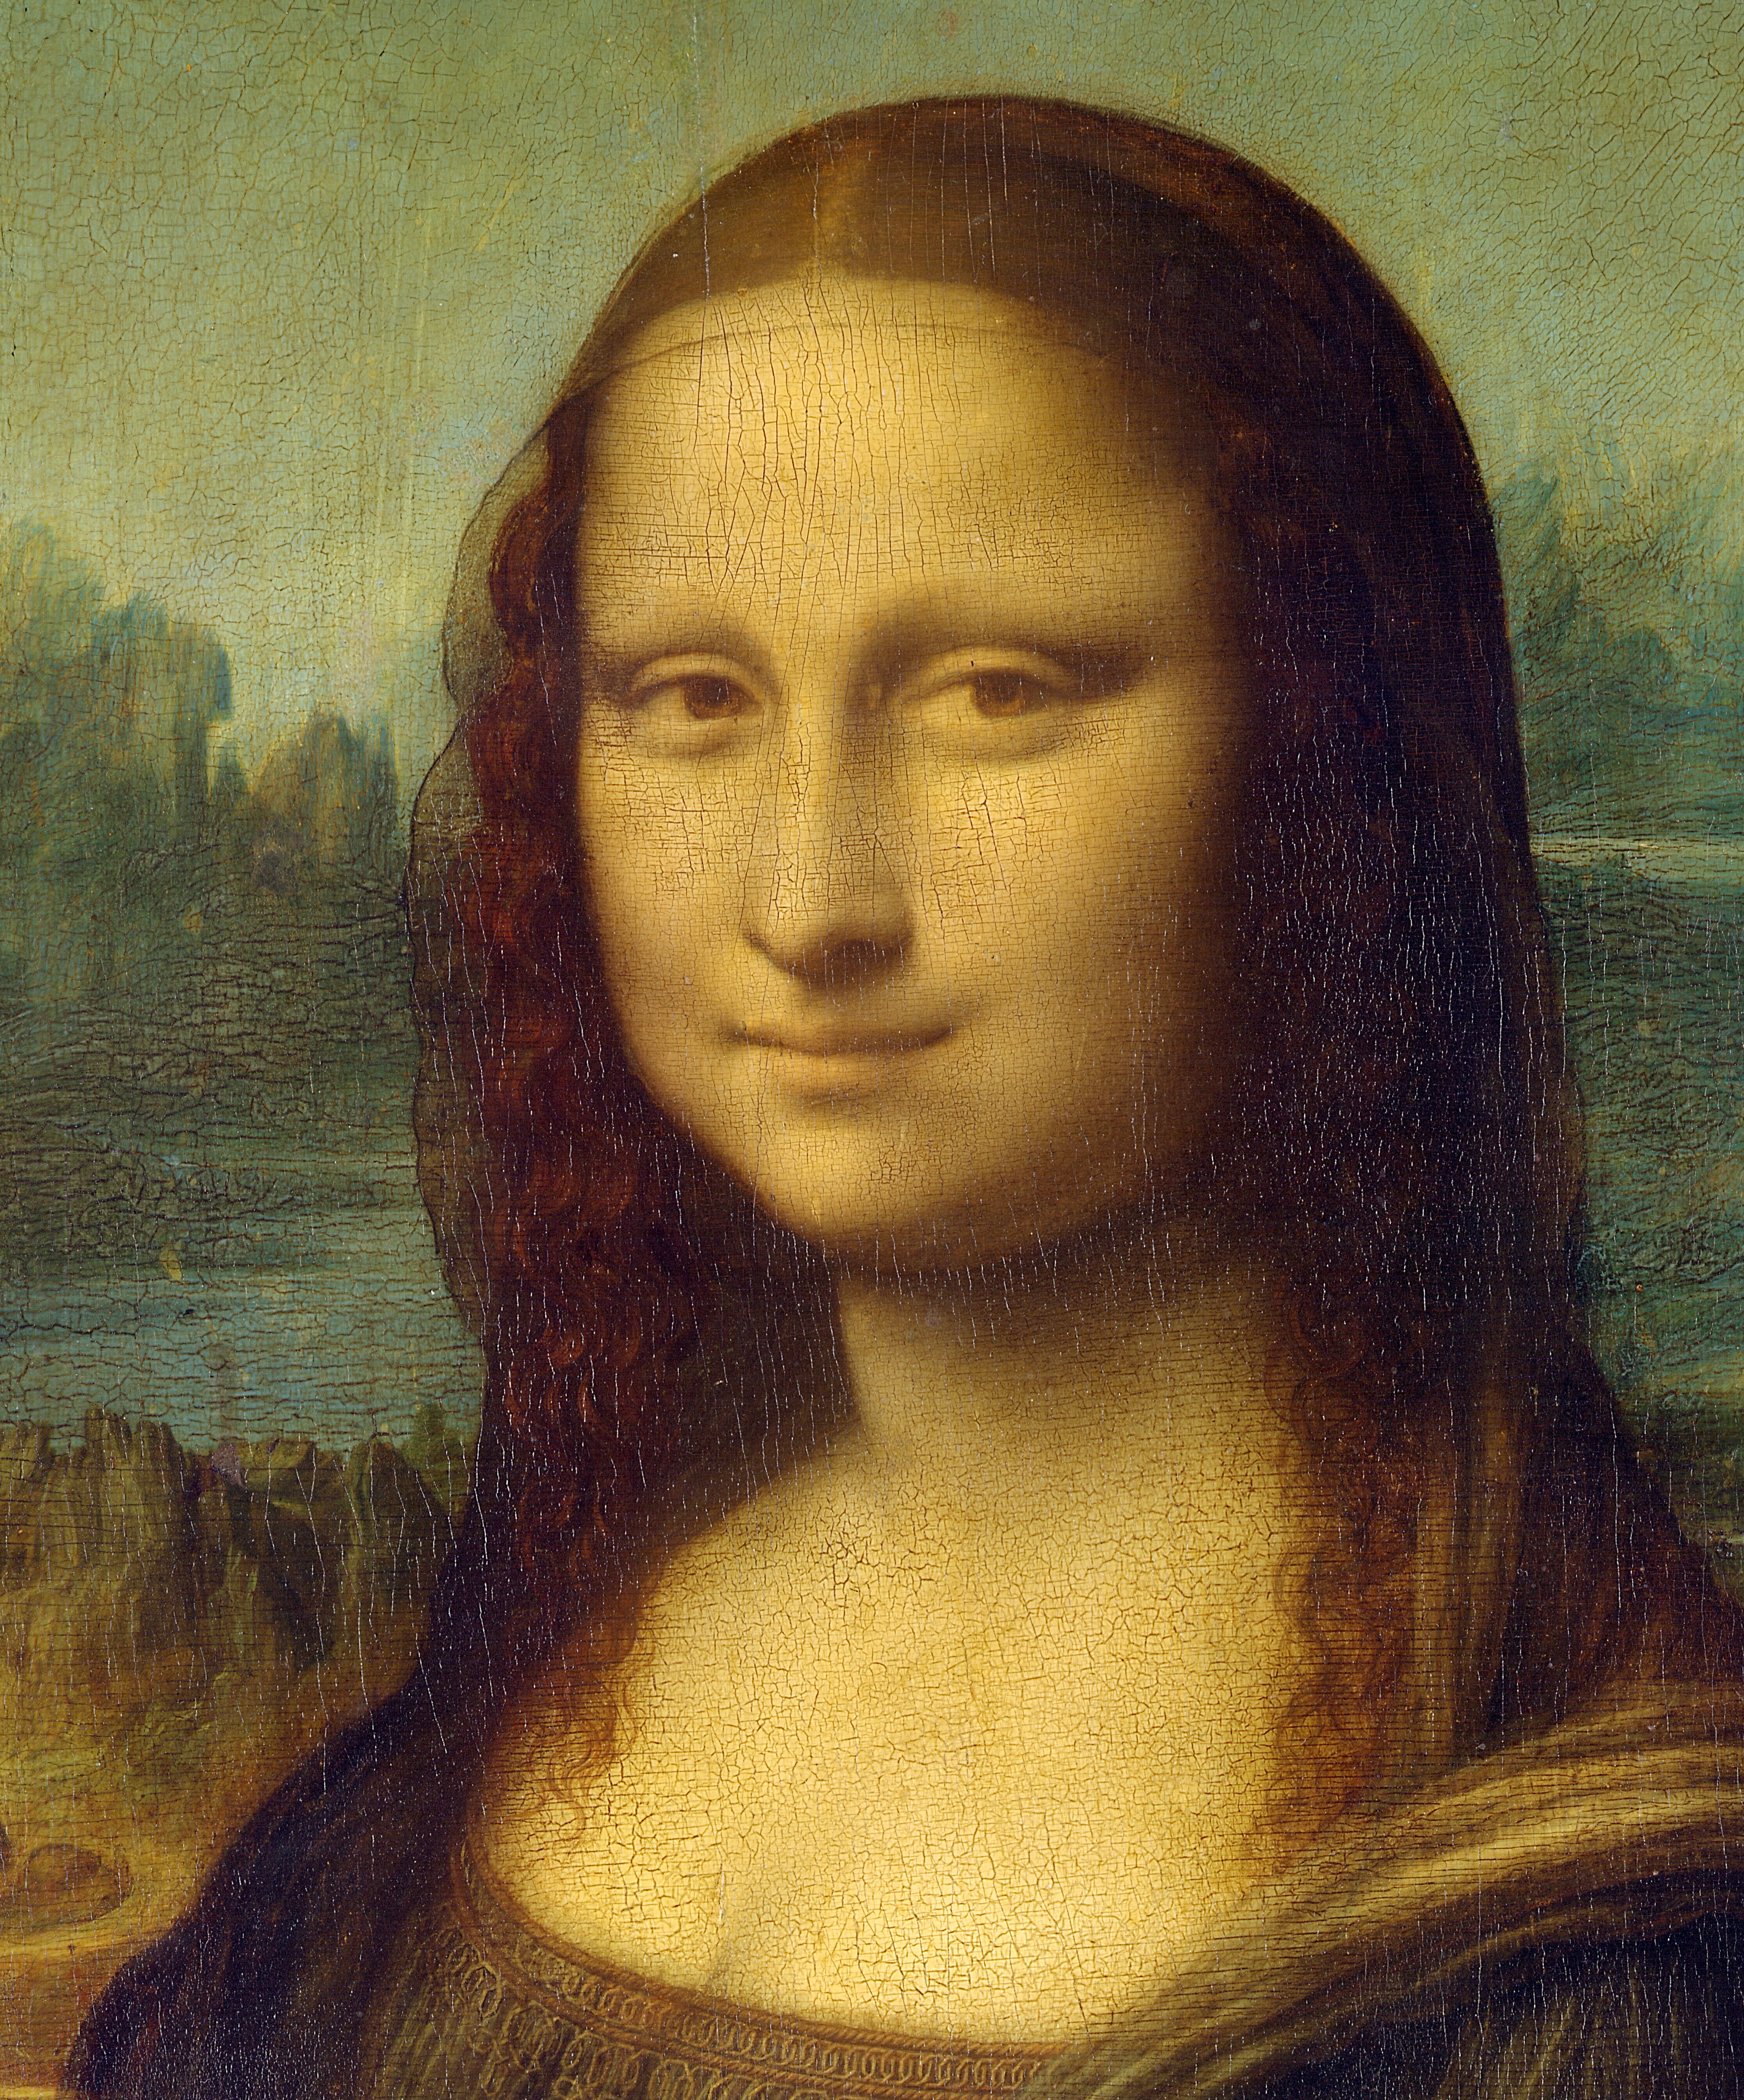
Self Portraits are my chosen project for showing student growth in the art room this year.  All grades began the year by drawing a self portrait with instruction the first weeks of school.  My intent is to have students draw three portraits this year.  Classes are working on the 2nd portrait now.  Fourth grade students were given the task of studying a print of the Mona Lisa and recreating it with their own self portrait.  Getting them past the intimidation factor was the biggest hurdle achieved by assuring them that I would only be assessing the portrait itself for growth.  Here are a few of their interpretations along with the self assessment rubric they were given.

RUBRIC FOR SELF EVALUATION OF PORTRAITS

U/ 0
S- / 1
S / 2
S+ / 3
Student shows no attempt to “look like a scientist” when drawing a portrait.  No signs of understanding the mathematics of the face.  Features are comic in nature and do not look natural.
Student did not demonstrate an understanding of the mathematics of the face.  Eyes are too high, mouth is too small or misplaced.  Nose is misplaced or appears to be only a shape.  Show no attempt to “look like a scientist”
Student demonstrates an understanding of the mathematics of the face.  Most parts of the face are placed well.  Shows skills in “looking like a scientist”
Students shows correct placement of all the parts of the face.  Shows an understanding and applying the mathematics of the face.  Very skill in “looking like a scientist”


Saturday, March 7, 2015

A little sculpture for some reflection on Jim Dine


Second grade students explored the work of Jim Dine prior to making these little mini sculpture using colored Popsicle sticks to build the frames and model magic to create the hearts.  Week one was building the frames and forming the heart.  Both were left to dry for week two.  Tempera paint was used to add personal details to the frame.  The heart were then colored with water based markers. A little spritz of water created the tie-dyed effect for the hearts.  Students attached the heart on the heart.  One student even chose to place his heart upside down.

Exhibited this way as requested by student


Monday, March 2, 2015

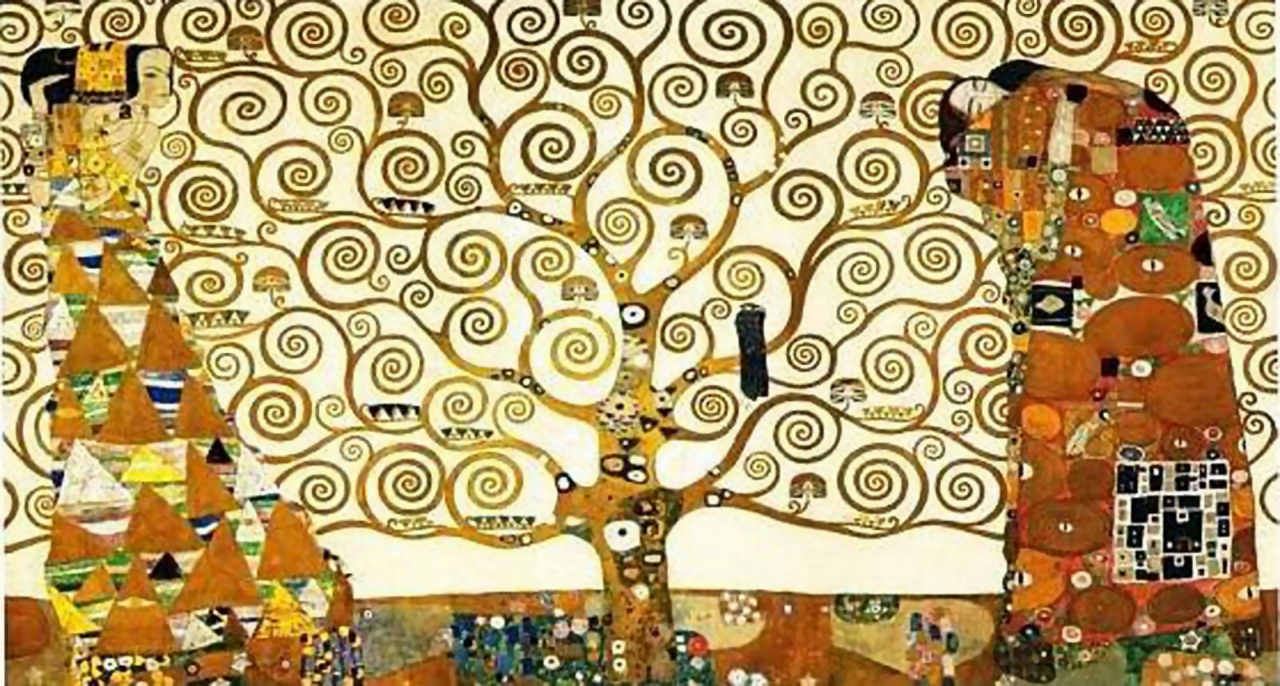
Self Portraits in the style of Klimt

Student Work
Tree of Life

My growth project for this year is focused on self portraits.  For the 
fall, students drew a basic self portrait to learn the "mathematics" 
of the face.  I wanted to help students with the placement of 
features and break habits of placing eyes high on the forehead,
making ears too small and other placement issues of the face.
For the second portrait, I decided to approach the subject
by introducing the work of an artist and using their work as a 
guide for individual work.  Third grade students focused
on the work of Gustav Klimt and primarily the right panel from his
work "Tree of Life".  The goal was to place their portrait inside a
patterned blanket created with line and color.  The backgrounds were 
completed with gold sticker paper to mimic the gold leaf Klimt 
often used in his work.


Tuesday, February 10, 2015

Creativity unbridled

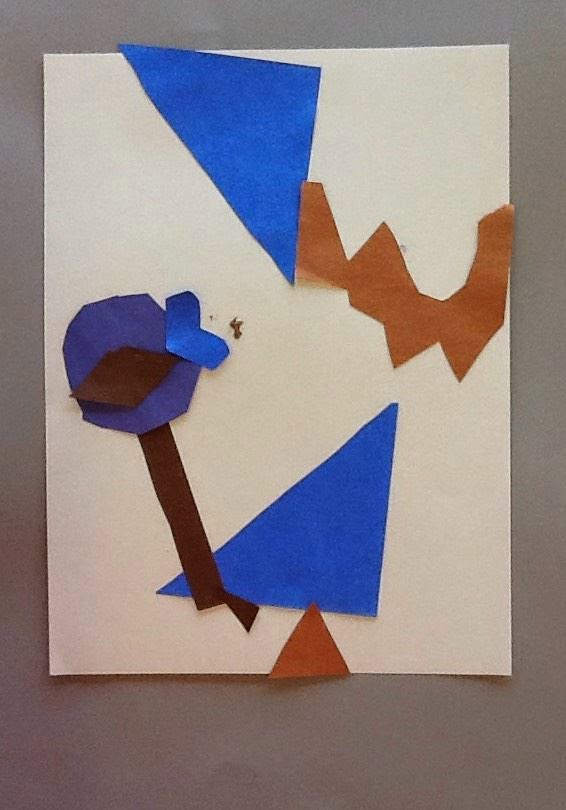
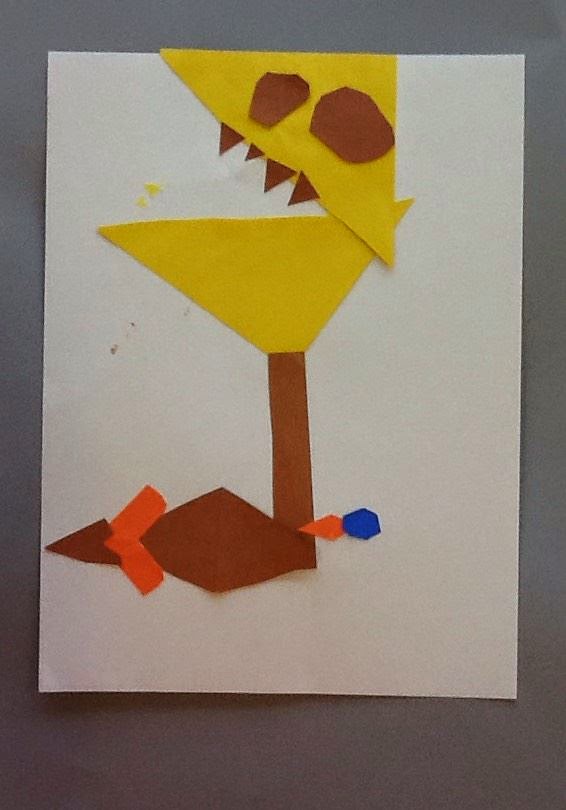
Kindergarten students create a shape book each year.  They draw shapes, color shapes, stamp shapes, cut shapes, etc. throughout the year and the lessons are combined and stapled inside of a cover that goes home at the end of the year.  This year I focused only on the cutting and allowed students to glue the shapes onto the paper without any direction from me. I have to share a few of these with you.  I really love how naturally creative student can be when we allow them to be.
Abstract with balance
some type of creature


A bird looking over it's shoulder

Toothy creature
Flying bird


A face

symmetry

Thursday, February 5, 2015

Cutting Shapes in Kindergarten

panda heart puppet
Showing some creative independence


Wearing a panda collar
Kindergarten practiced their cutting skills this week.  They learned to turn the paper as they cut on a rounded edge for better control. After they had completed cutting practice, they collaged their hearts to create a cute little panda puppet using a brown paper bag as the base.


Sunday, February 1, 2015

Here's what I've been up to.....


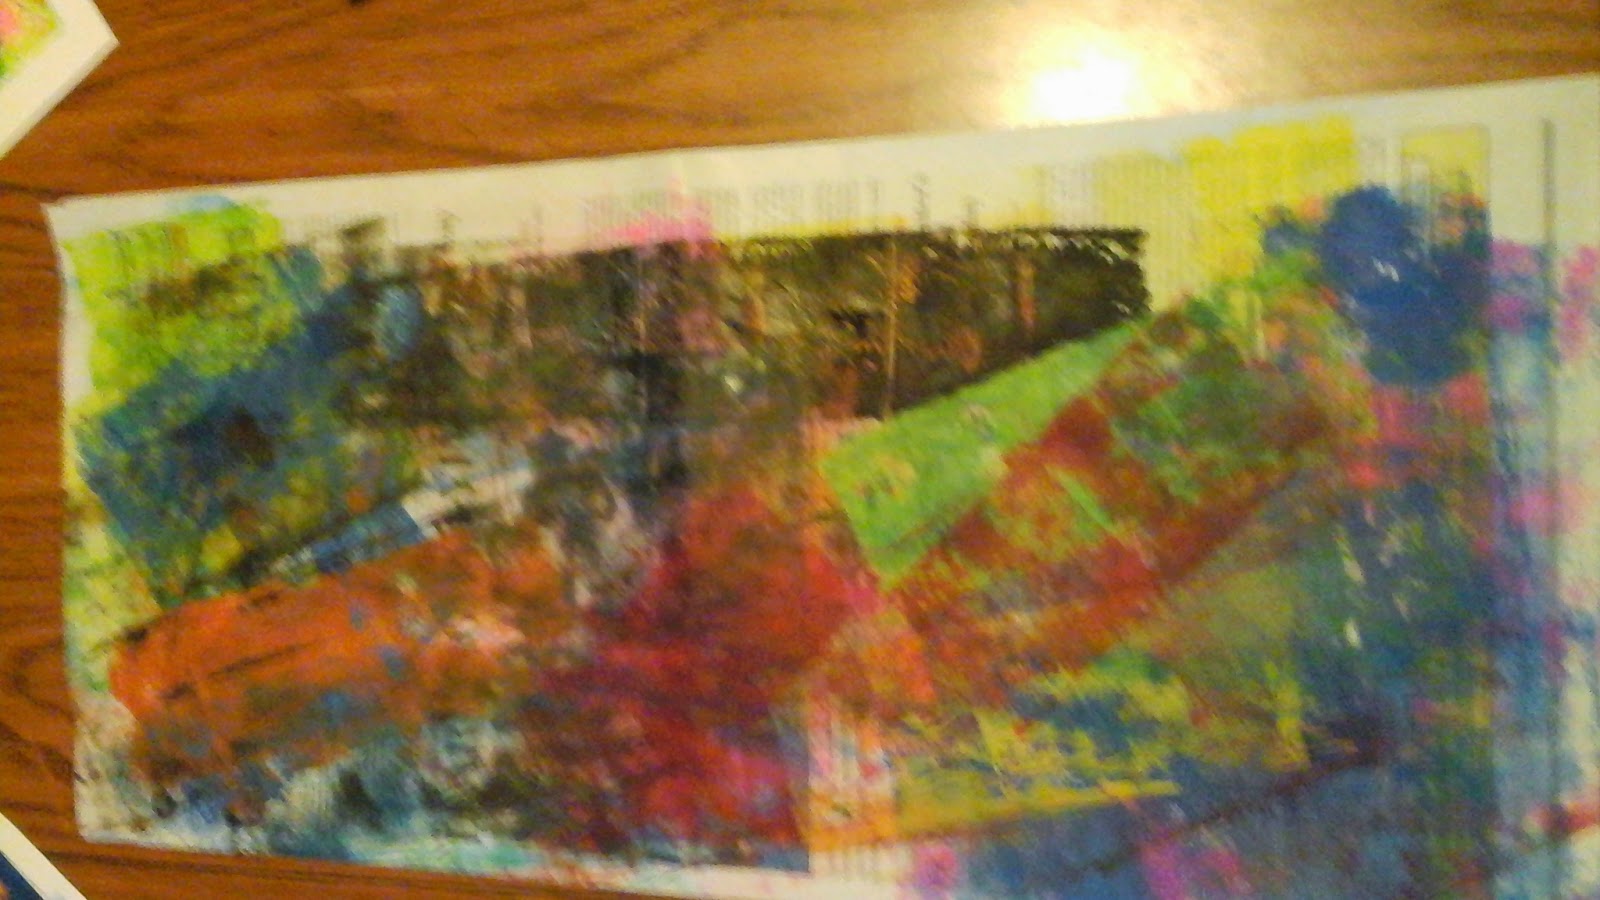
Not so good prints
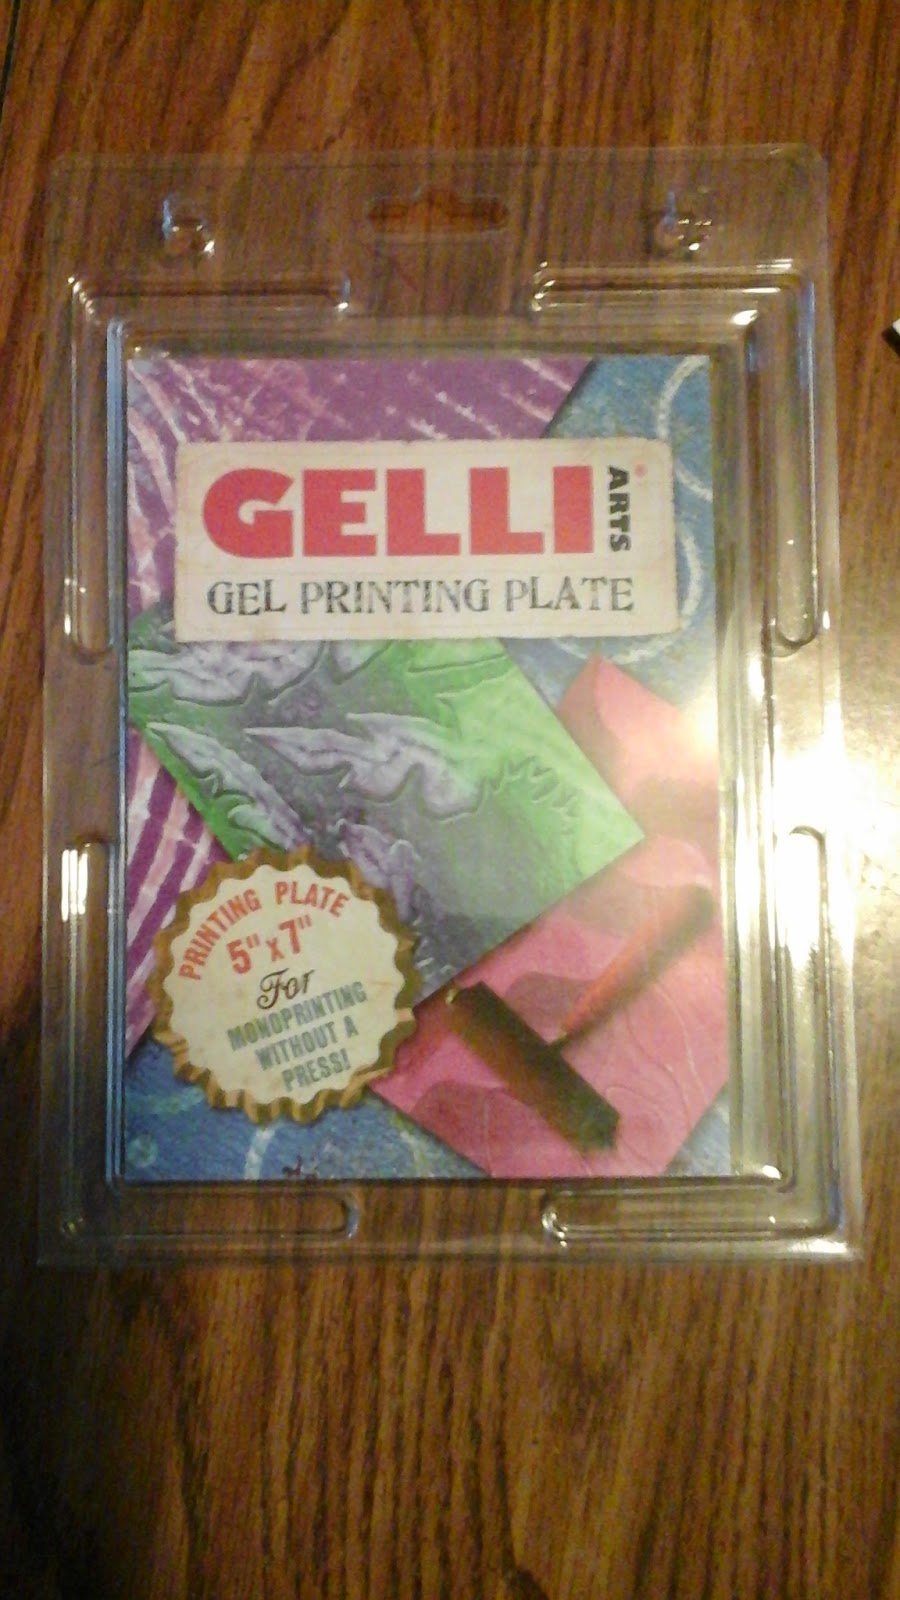
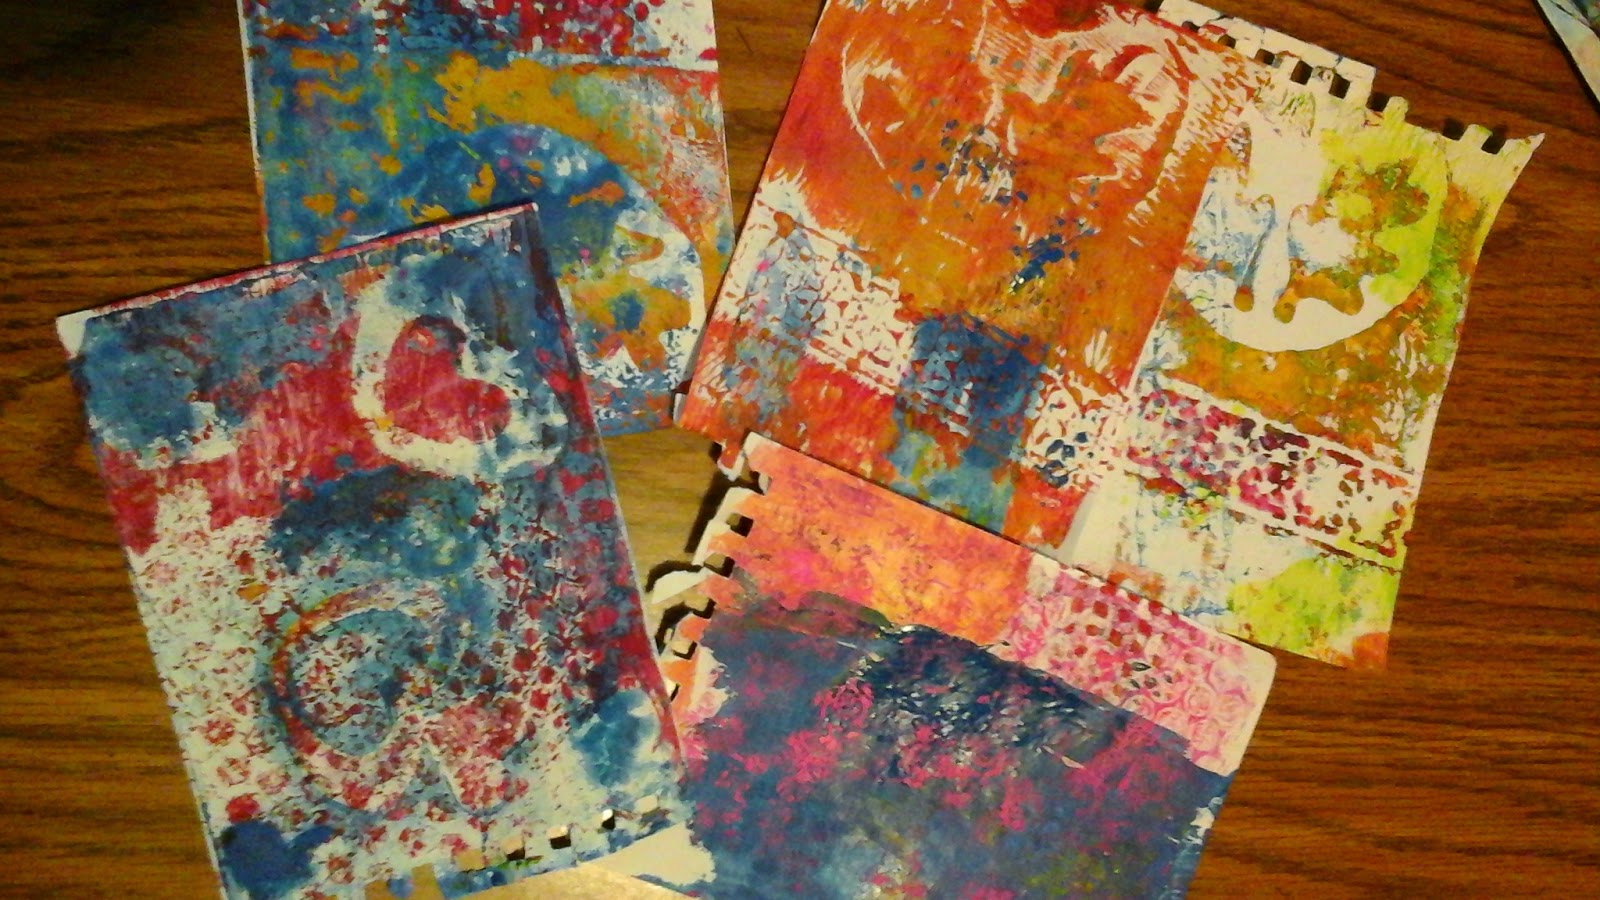
To begin, yesterday was a fabulous day, I posted myself in front of the big screen to view the AOE Winter on-line convention.  I can't think of a better way to spend my day than being connected with fellow art teachers from all around the world, getting inspired and well, uh, educated.  It's the next best thing to actually attending one of those face-to-face conventions like the one coming up in New Orleans in March.  One day I'll be able to do that, too.  Many weeks back I ordered a Gelli Plate.  I kept reading about them, viewing all these wonderful instructional videos and seeing some amazing prints so I just wanted to give one a try myself.  I ordered the 5 x 7 size and I am happy with my choice.  Upon it's arrival I immediately opened the package, read all the directions and sealed it back up leaving it to sit on the side table in my living room where it has been for weeks.  But today, inspired by all the wonderful of yesterday, I gathered up all of my tools and miscellaneous gadgets that might work for texture and headed to the kitchen table to finally try out that Gelli plate.  After a few refresher videos to refocus on the process I began to "play".  And, yes, it really does feel a lot like play.  First I attempted just inking the plate using printing ink.  Some of my ink has been around for awhile and either was too cold from being stored in the basement or was about to dry out because I really struggled with spreading it.  I used bubble wrap, a onion bag, and some stencils I found in a craft drawer to see how I might do with masking.  Quickly I discovered that I had jumped ahead of myself and I should be making my foundation prints using only color.  I think I learn best from my mistakes, it sticks with me longer and as we all really know "There are no mistakes in Art only opportunities for creativity"!  I eventually got the hang of the multiple layers of printing and masking to produce some of the effects I had seen in the videos.  Oh, and thanks to the Sargent paints in my AOE swag box, I was able to make some really effective prints using acrylic paint.  I did like the way the paint moved on the plate much better than the inks.  I don't truly know if it was because the paints were fresher or if paint is really an easier medium to use this way.  The yellow paint also stained my plate but it didn't add residue to subsequent prints so no bother.  I read that it would come off with mild soap and water but it wasn't that bad of a stain and I didn't attempt to clean it.  What was a surprise was that the plate picked up the ink from the newspaper I had laid out to protect my work surface.  It does not appear to come off but again did not transfer to the prints.  I had moved the plate off of the plastic surface I had it on to wipe up some ink and it was only on the paper a second...lesson learned.  Clean up was very easy.  I enjoyed attempting to pull as many ghost prints off of the plate as possible so there was not much ink or paint left on the plate to clean up.  I can't wait to gather up some more stencils and other items to use for mask and try it all again.  I do want to make sure I have a wider variety of colors available for the next round of printing.
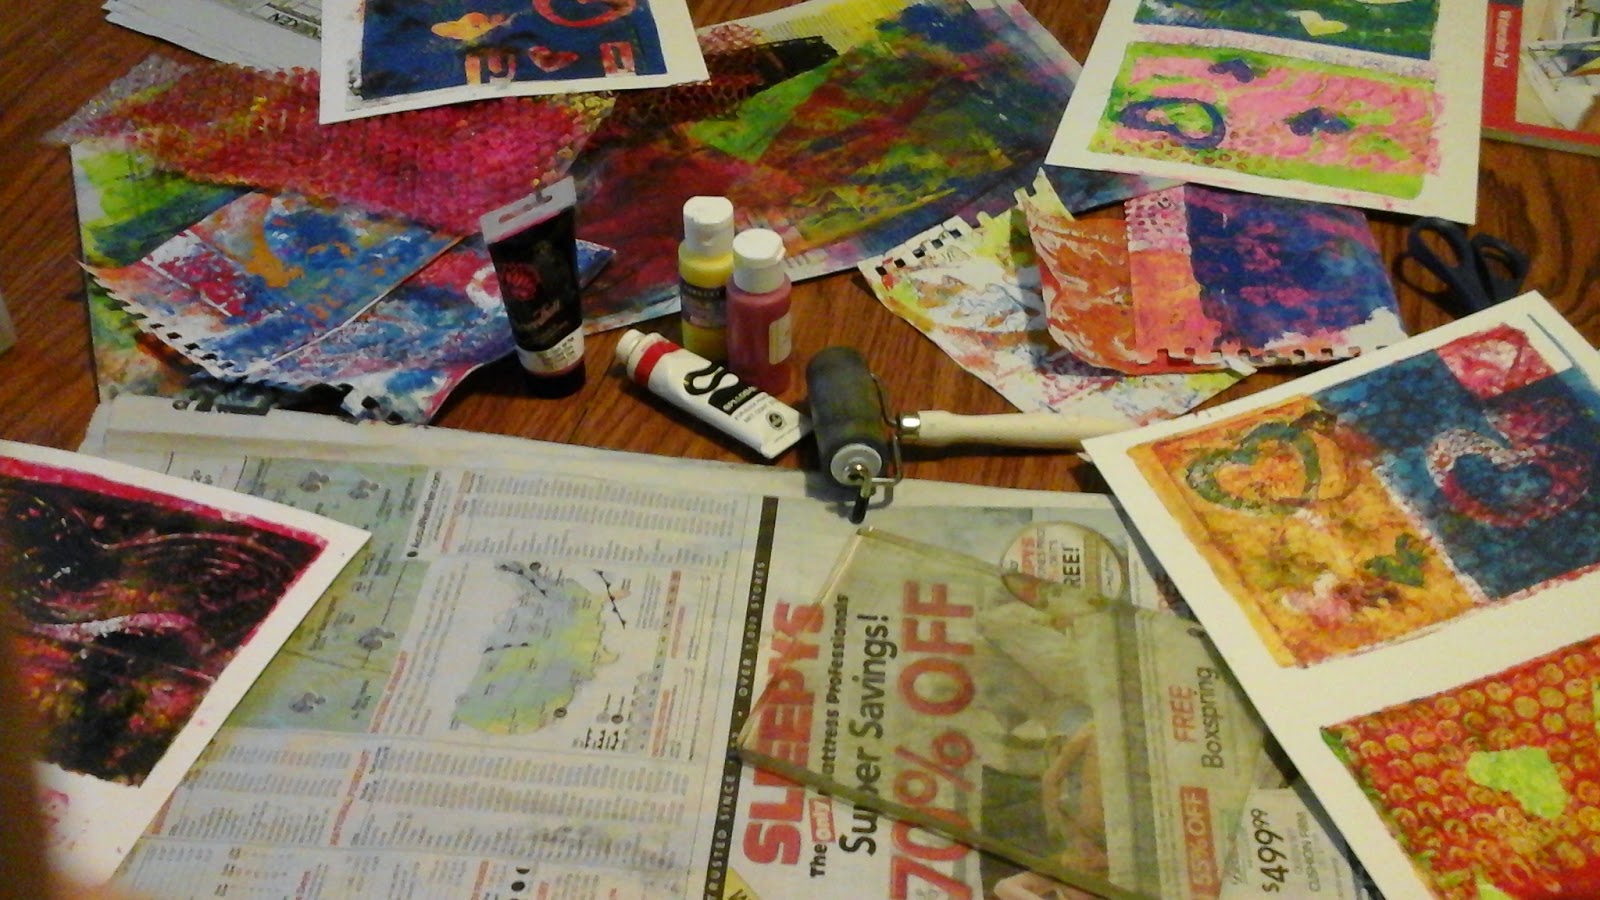
Work in progress


Used for Ghost  Prints


Used for Negative Prints


Even the paper used to clean the brayer looks interesting
I like the weight of the watercolor paper for the prints much better than the lighter sketching paper.  Lastly, a few of my getting there prints. I had cut notches out of an old plaster credit card to use for the subraction printing, the curved lines, and the dots are from bubble wrap.  I cut hearts out of the stencil sheets just using small craft scissors.  So, there we have it.
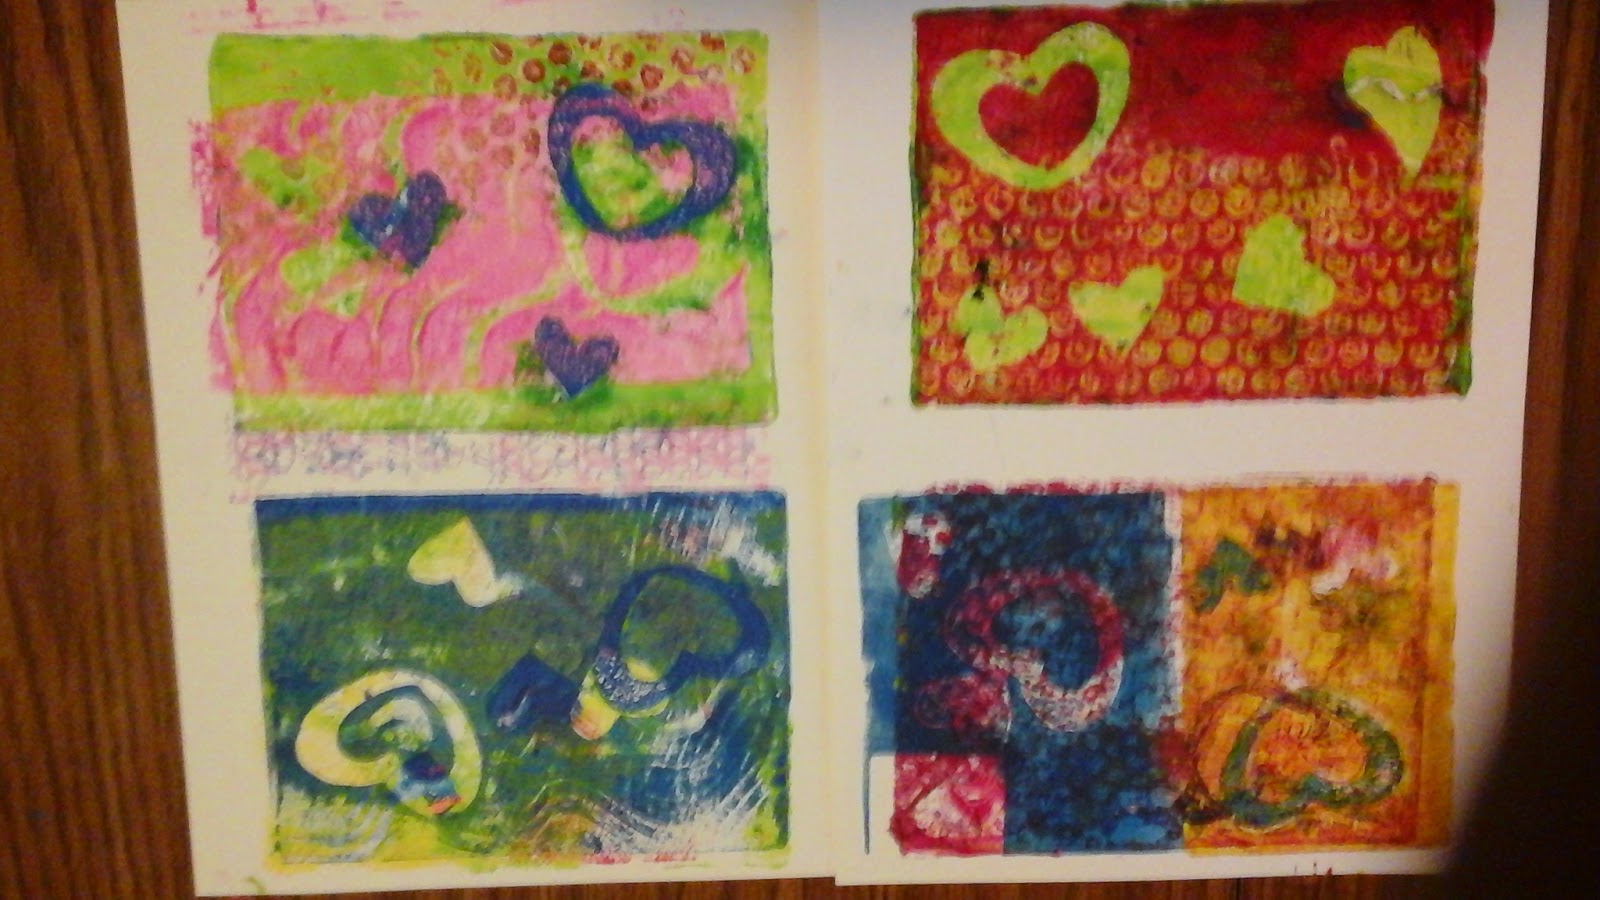


Starting to get the hang of it.