Showing posts with label weaving. Show all posts

Saturday, June 1, 2019

First Graders are weaving

4 1/2 x 2 " cardboard
 So, I wanted to transition my first grade students from paper weaving to something a little more functional.  I don't have enough of those big card board looms you purchase from the suppliers that are pre notched but I do have some donated heavy cardboard from a colleague.   I decided to re purpose this into tiny looms for my students.  First, I cut this up into 4 1/2 x 2" rectangles as shown on the left.
Holes punched along each side
 I added small punched holes on each end in an odd number.  To attempt to space them fairly evenly without having to measure, I started with a hole in the center, one on each margin and then attempted to place one in the middle of each of those.  I had marked my punch with a sharpie to attempt to line them up as evenly as possible.
Create slops for the warp threads
 Cutting from the edge, I cut to each hole to create a slot for the warp threads.  I did the warp with some light weigh embroidery weight thread and gave students a plastic needle and yarn for their weaving.  These are small enough that they can easily be completed in two class periods which is all we had left for the school year.  It was a great re purpose of donated materials, an easy transition to traditional weaving and an easy take home to complete if students didn't finish before the end of the year.  They can be taken off by cutting the warp threads on the back or can be left displayed on the loom.
A completed weaving

Saturday, July 1, 2017

Organizational Yarn 101?


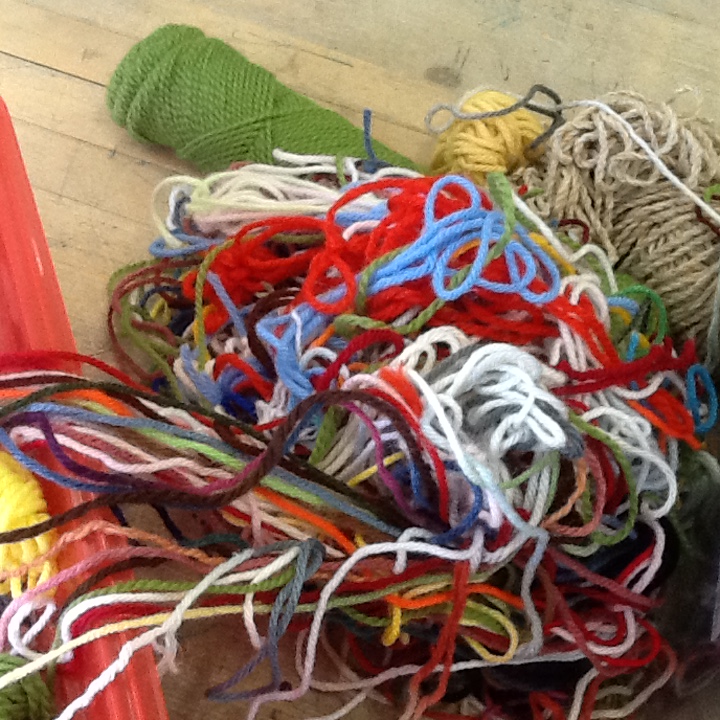
Does your yarn stash resemble this....
 Chances are your yarn supplies mine when your students have been weaving for a week or two.  I'd roll everything up into nice little balls and have it stowed away and before I knew it, we had a twisted, knotted, woven mess.  I didn't want to single any of the culprits out, they were just doing what kids do in their desire to select the best color ball of yarn ever but the knots and disarray were making me nuts.  I chose to dive right in and attempt to create organization out of this total chaos.  So the great UNTANGLE began......
or this?????
Let's create

a solution 
or two.

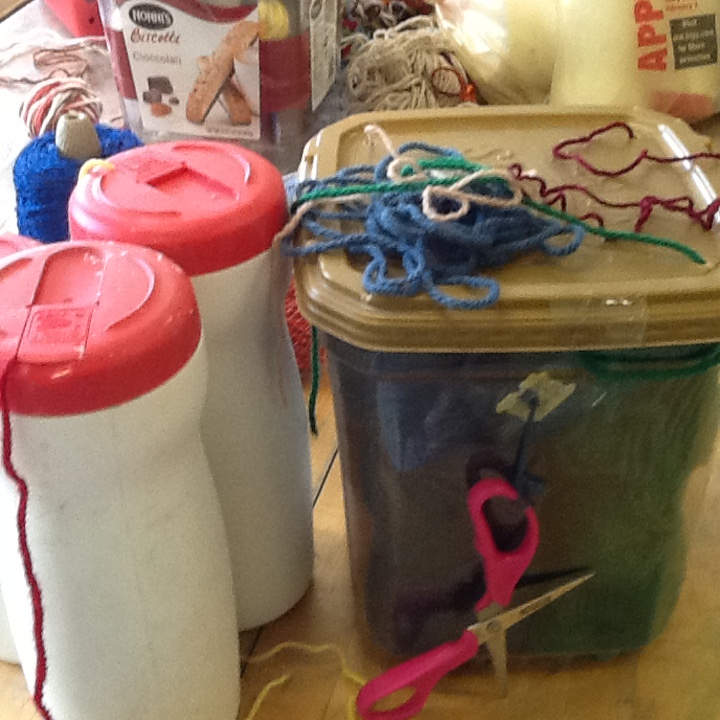
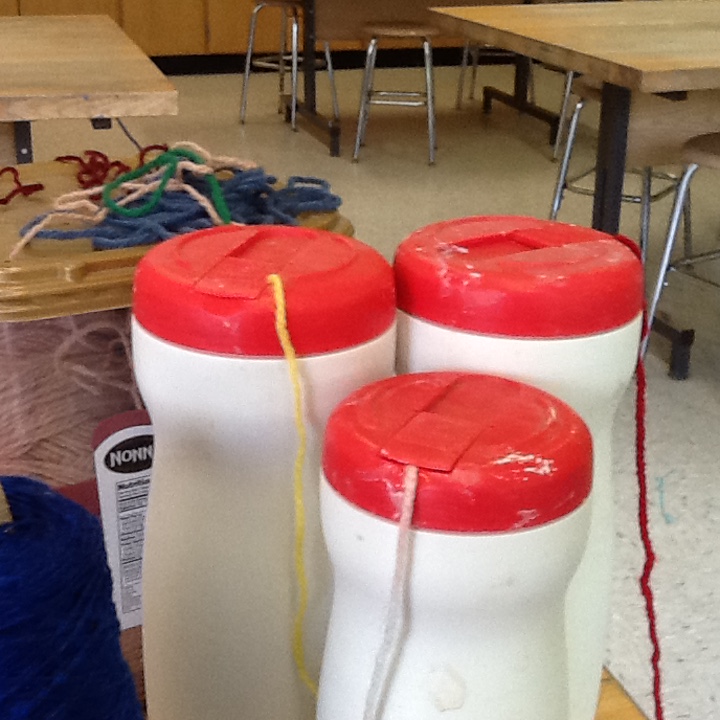
First on my agenda was finding a new way to store the yarn.  Like all art teachers, I seem to always see possibilities in all those recyclables.  I don't always know what the possibility is but I stash it away and wait for the moment to arrive.  My daughter binged on those biscote for years and I never parted with one of the big square containers.   After a few holes punched in the lid for the yarn to thread through,  Wa La, yarn storage.  Tape on the lid because the kids think they are suppose to remove lids from things.  You gotta teach them how to use it correctly, don't assume.  Next shown are some artificial creamer containers that a fellow teacher passed on to me at least 7 or 8 years ago.  Yeah, they have been sitting in a bag waiting to be discovered for a looonnnnggg time.  They work great and the lids screw on so no take needed.  They also hold one skein of yarn each so no tangling allowed.  Finally, I have purchased a variety of things from the dollar store in those little mesh bags.  I think some held river rocks and others little trophies.  Pull the yarn through the mesh and then seal them back up again.  Individual ball storage.  I should have shot one more picture of the nice way they look stored in the messy bin above.  That photos is for another time.  For now I am totally yarn organized for the next weaving session!

Tuesday, May 17, 2016

Weaving

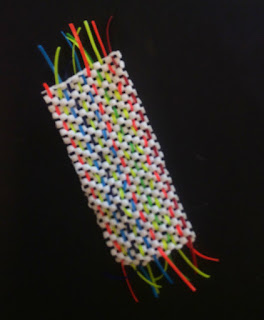
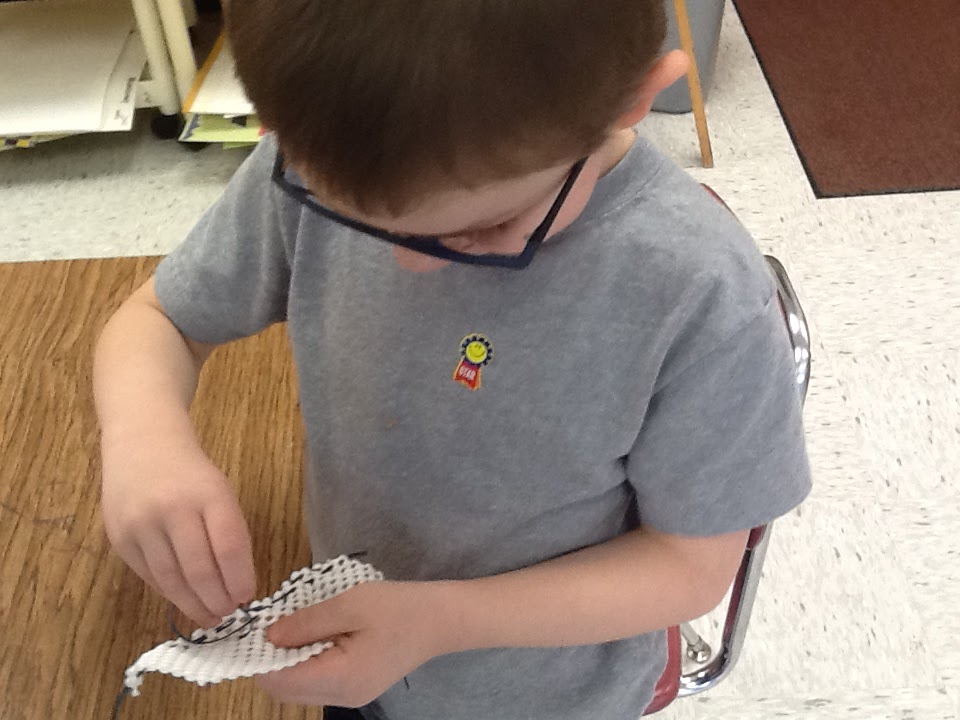
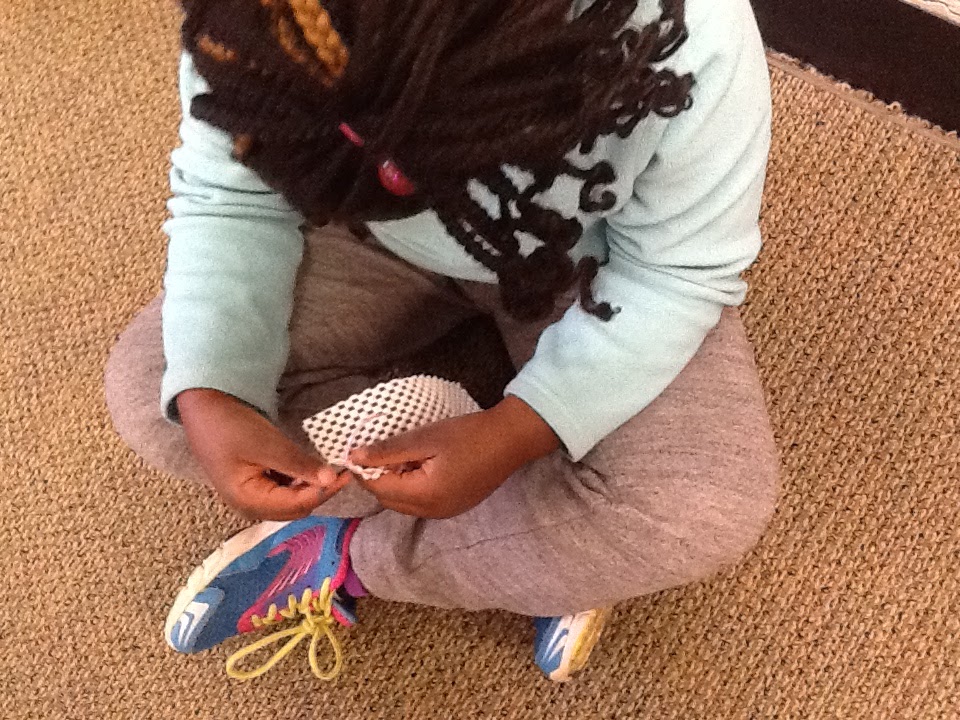
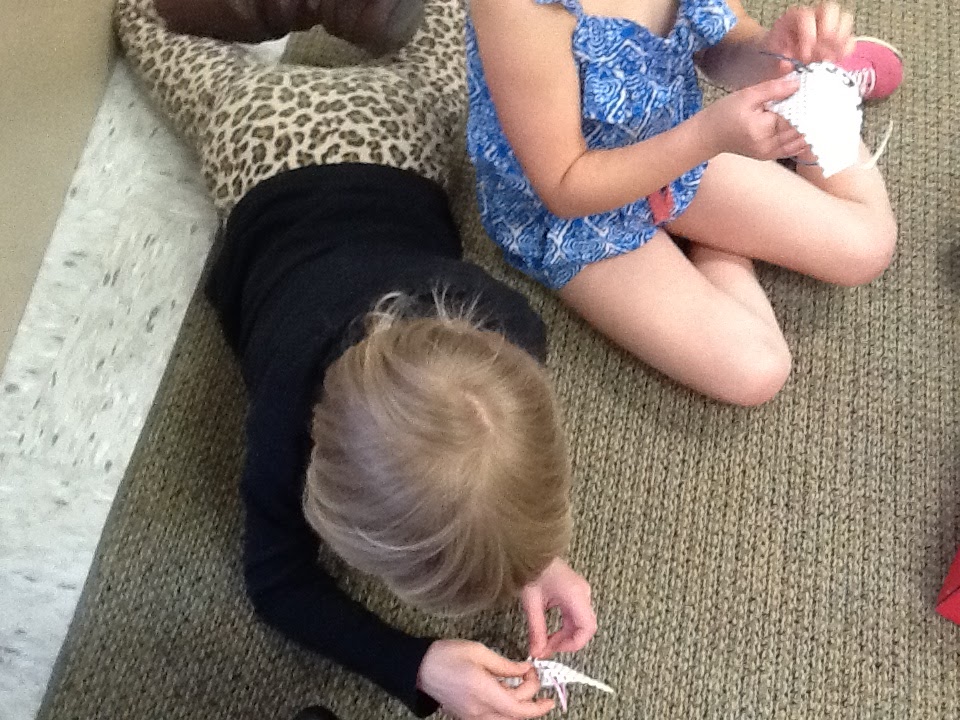
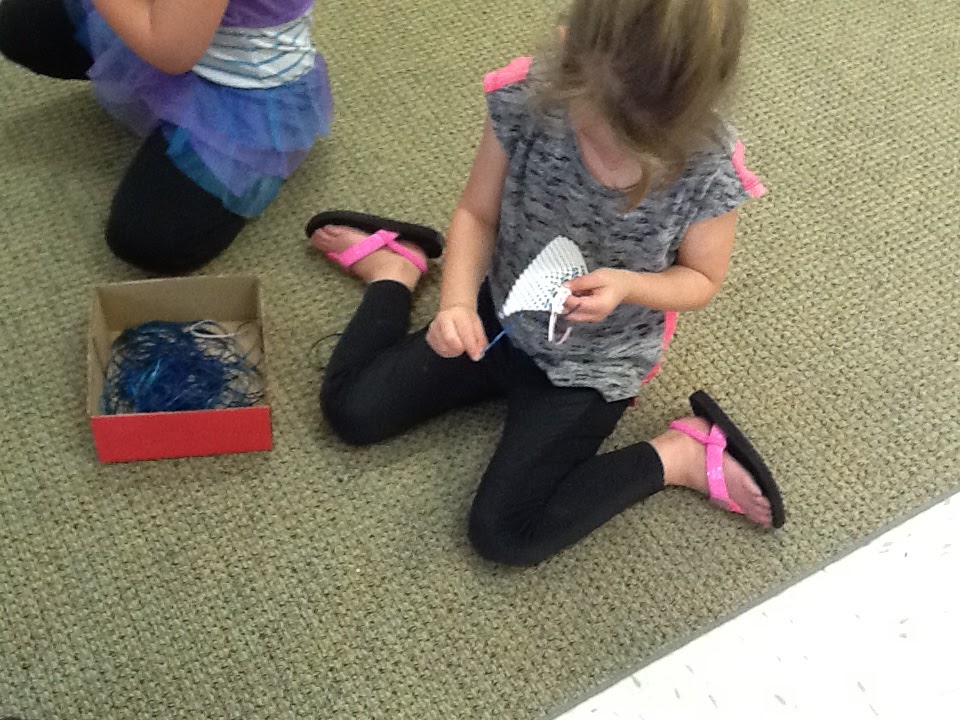
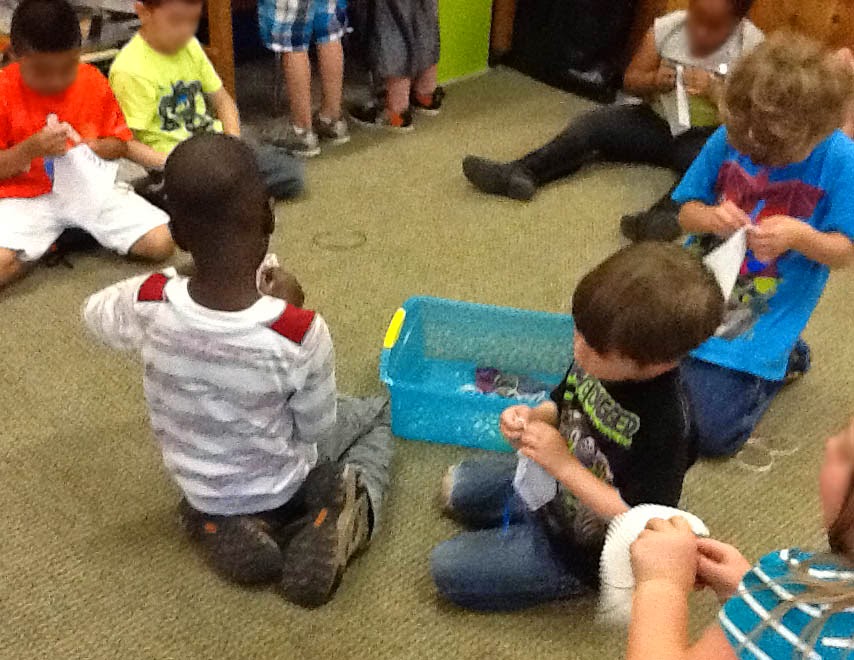
 Kindergarten students are starting to weave this week.  This will probably be their final project of the year.  They are weaving with gimp into the product that you use so cups and dishes won't slide in your cabinets.  I cut pieces about 6"x2" and they practiced the simple in and out that is weaving.  To make it more fun, I tell them the gimp is a very noisy snake who is wondering what is going on in the art room.  He pokes his head up out of the ground only to be frightened by their noise and laughter which sends him back down in the next hole.  You can hear them repeating the story to their snakes as they weave.


Tuesday, April 26, 2016

Early Finishers

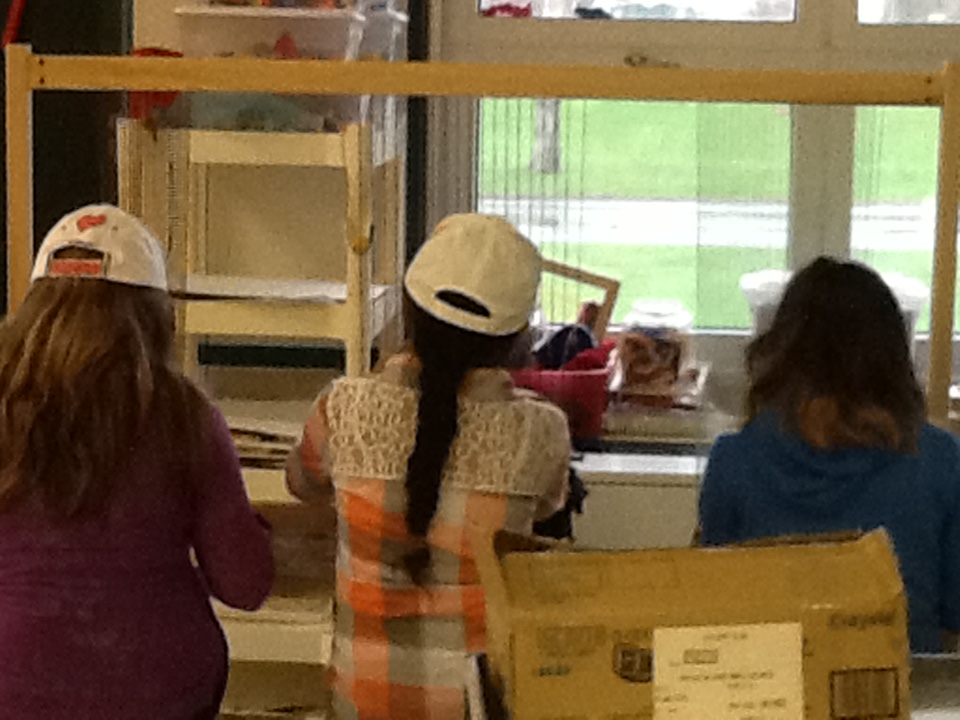
This is what it looks like this spring in my classroom with the early finishers.   We all are loving the new "Friendly Loom".

Wednesday, November 11, 2015

More pics from Classroom Hacks

Weaving ideas using a paint stirrer loom, CD's
and plastic lid needles
Baby Oil and Oil pastel Impressionist Works


Using an old overhead projector for a light box with
transparencies cut from notebook dividers
 A few pictures taken at our session on Classroom Hacks at last weekend's Massachusetts Art Conference.
Die Cut transparencies

Conversations about the light box

Talking about the Hacks

Sunday, November 8, 2015

Classroom Hacks

I had a blast presenting at the Massachusetts Fall Conference yesterday.  We were assigned the 9 am slot which was great, got over the nervous butterflies first thing in the morning and was able to enjoy the rest of the day.  I can't believe I didn't think to take a single picture of our set up.  The tables looked great, if I do say so myself, and it would have been a great way to share with you all.  But I never took my iPad out.  For this morning, before I head back out to the conference, I will share one of my hacks with you.  I have had weaving on the brain this fall.  I think it is because I have been researching floor looms and especially the Friendly Loom to purchase for my classroom.  I like the idea of the Popsicle stick looms that you see on Pinterest but I wanted to make something a bit larger.  I must have been mulling it over in my sleep because I woke up last weekend with the idea to make the old Popsicle loom but using paint stirrers. 
I used 6 stirrers with two on each side to reinforce the rectangular shape.  Warp your loom with an odd number and start to weave!  The needle was cut out of the lid of a plastic container, no chance of someone getting stabbed and they won't break.  Happy weaving everyone; I can't wait to do this with my kiddos in the Art Club in a few weeks.

Tuesday, May 26, 2015

Good days as the year winds down


Here we are in the final month of school and I have to say, today's classes were fabulous!  I began one-point perspective with fourth graders.  I love introducing students to this process.  They become genuinely excited and really quiet as they concentrate on making their shapes disappear to the vanishing point.  I started the lesson by having all the students join me at the front of the room to view the ceiling tiles.  Then I ask them to share what they were noticing.  I had some great answers mentioning shapes, "they are rectangles", patterns "the tiles make a repeating pattern" and then finally "they look smaller and they are closer to the other end of the room" .  Bingo!  Just the answer I was hoping to achieve.  Students returned to their seats where they practiced holding their rulers to successfully create diagonal, vertical and horizontal lines.  I've learned in past years that the skill of holding the ruler and drawing a straight line is not being taught anywhere but in the art room and began to incorporate the skill building at the beginning of this project.  Students then draw five simple geometric shapes using their rulers to ensure nice straight lines.  They add a vanishing point and work around the paper, beginning with the shapes closest to the point to put all of the shapes into perspective.  To build the excitement, I tell them we will be writing their names in block letters in a following class and they will follow the same process.  This is a terrific way to end the school year on a big high.  I'll post work as soon as some are finished.
worksheet from pinterest that was used as a practice tool prior to personal projects

In second grade, we took advantage of the warm sunny day to create some sun prints.  I had seen on a blog or pinterest, an idea of using the stain glass scratch art paper to make a stencil for sun printing.  2nd graders reviewed shapes and filled the scratch art paper with a variety of geometric and organic shapes to fill the paper.  I wrote each students name, in reverse, on the paper for them so that it would print correcting on the sun print paper.  With five minutes left in class, we all headed outside to use the new stencils, a terrific piece of work by itself, to make a sun print.   I plan to mount both pieces together for the completed work.
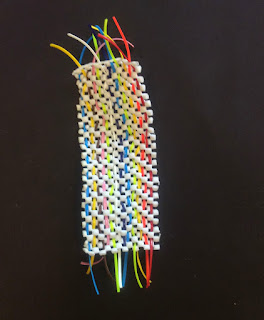


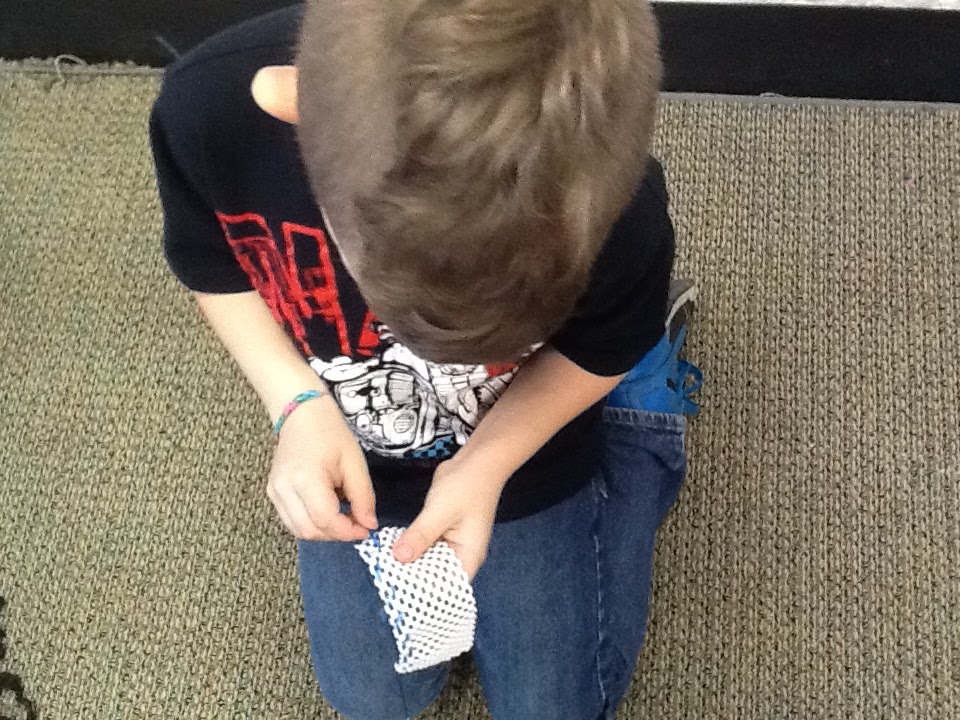
Kindergarten students are weaving bookmarks using rubber shelf liner and gimp.  Last year's classes took a complete 4 weeks to complete these.  I already have two talented little ones that have finished in just two weeks.
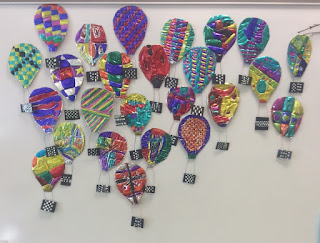
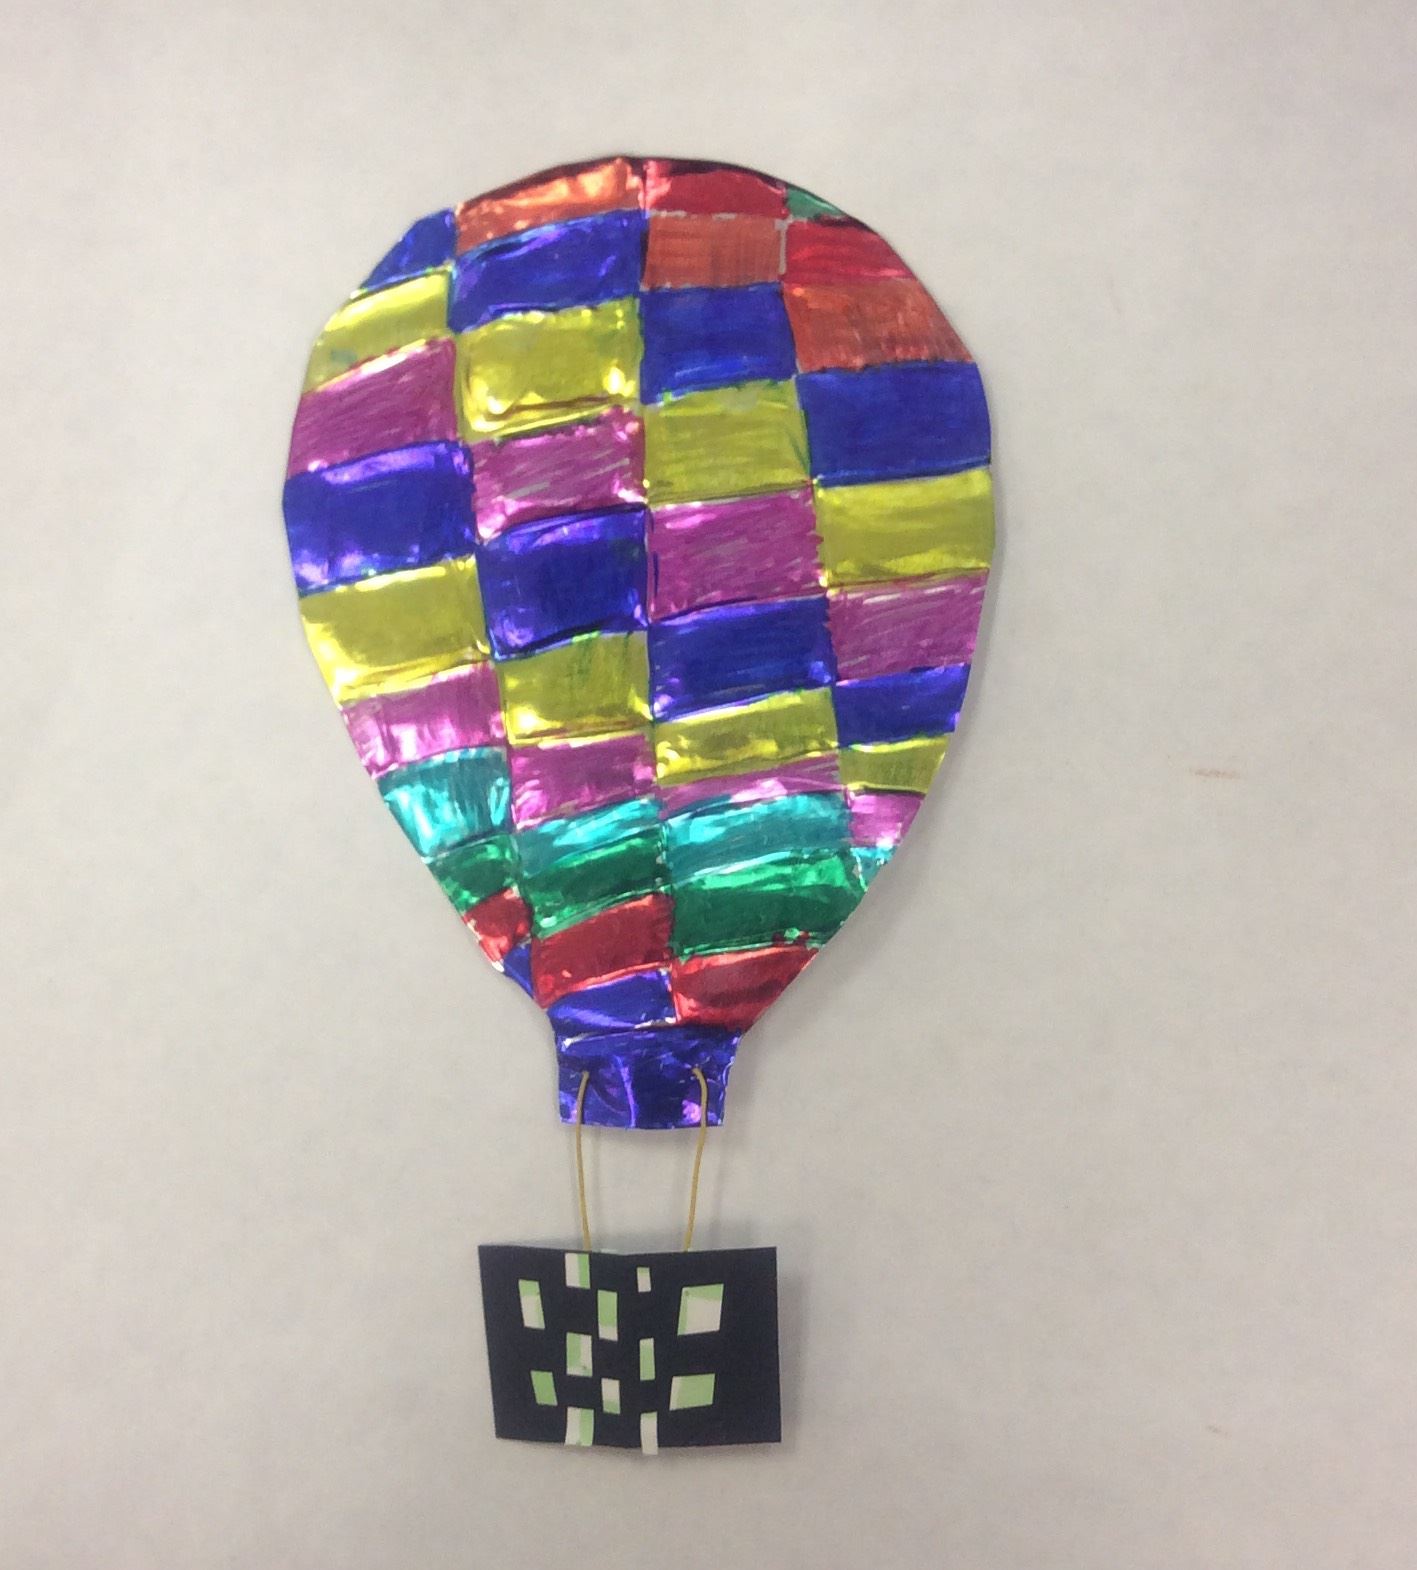
This years balloons in the works.
I've brought back an old favorite project for third graders.  They are working with tooling foil to create hot air balloons.  I have adjusted the lesson a bit.  They are also weaving small baskets for the basket on the balloon that are being attached with twistee wire. Here are a few finished ones.
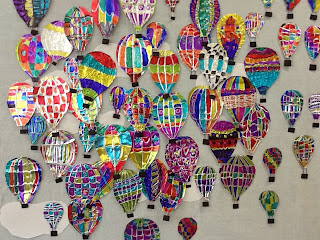
Previous project, watch for an updated version when more are completed.


Friday, May 30, 2014

Kindergarten End of Year Weaving


Who ever thought of teaching weaving using these materials...Brilliant!  I wish I knew who to credit and I'm sure I found it on pinterest so if you read this, let me know and I will give your the credit due.  The white fabric is that shelf liner that Contact puts out.  It has really big holes which makes it idea for a Kindergarten weaving project.  I pre cut the fabric into 6" squares and the gimp into pieces about 8" long.  I started the lesson by gathering all the students on my rug in a circle and demonstrated the concept of weaving.  Some students had done some weaving but others had never seen this before.  For the novice students, we imagined the gimp was a snake darting in and out of the fabric.  First the snake pops his head up from underneath the fabric and then he pokes his head back down to hide.  I reminded them to not skip any holes and t
o try to weave in a straight line.  They were to work in a pattern of their own choice.  The above example was one 45 minute class period by a student who was comfortable with the process.  I could see this taking several weeks to complete.  It is a perfect project for the end of the year when students are getting antsy and unfocused.  You could have heard a pin drop for most of the class time.  Watching the students work and helping one another was fabulous.  I plan to trim off the edges of the gimp next to the fabric when finished and maybe add a line of elmers around all four sides to keep everything in tact.
This went so well with my Kinders, I handed out materials to early finishers in 1st grade and let them begin one, too.  Off to the store this weekend to buy more shelf liner and into my basement storage to scrounge for more gimp!