Thanks to Aimee over at
One Happy Art Teacher. This week she had a post about printing with Payon watercolor crayons. I am in the middle of a printing lesson with my students so it could have not been more timely. Her idea was to print with foam that had been incised. I had just made plates with my fifth grade students and intended to do traditional prints with them this week. Unfortunately, I don't seem to have any photos of their prints so I will post about that success next week. However, I immediately hit the classroom and began to experiment with the payons with hopes of discovering other ways I

.
might use them with my students in the other grades, primarily with first graders for mono-printing. First I tried them on plexi. I used wet payon by dipping into a container of water and drawing directly on the plexi. It worked well but no pictures of those because I haven't yet given it a try with the kids.
But, I planned to use kutz-it and water based makers with my first graders that afternoon and grabbed the payons for that experience instead. All these examples are student examples with the kutz-it plates. The kids loved them and were thrilled with their successes. I had encourage a more abstract approach rather than realistic drawing as you can tell from most of the prints. We even achieved ghost prints by sprinting with water after the first print was pulled. The students did dip in water and draw with a wet payon not a dry one. I did have to scrub the plates to clean them and they are stained.

This is only the products of one class. I look forward to seeing the results of my other first grade students as we continue with this week. And, for those looking for you own set of payons, I found them on-line. It looks like Prang has reintroduced them. So Aimee, someone is listening!!!!








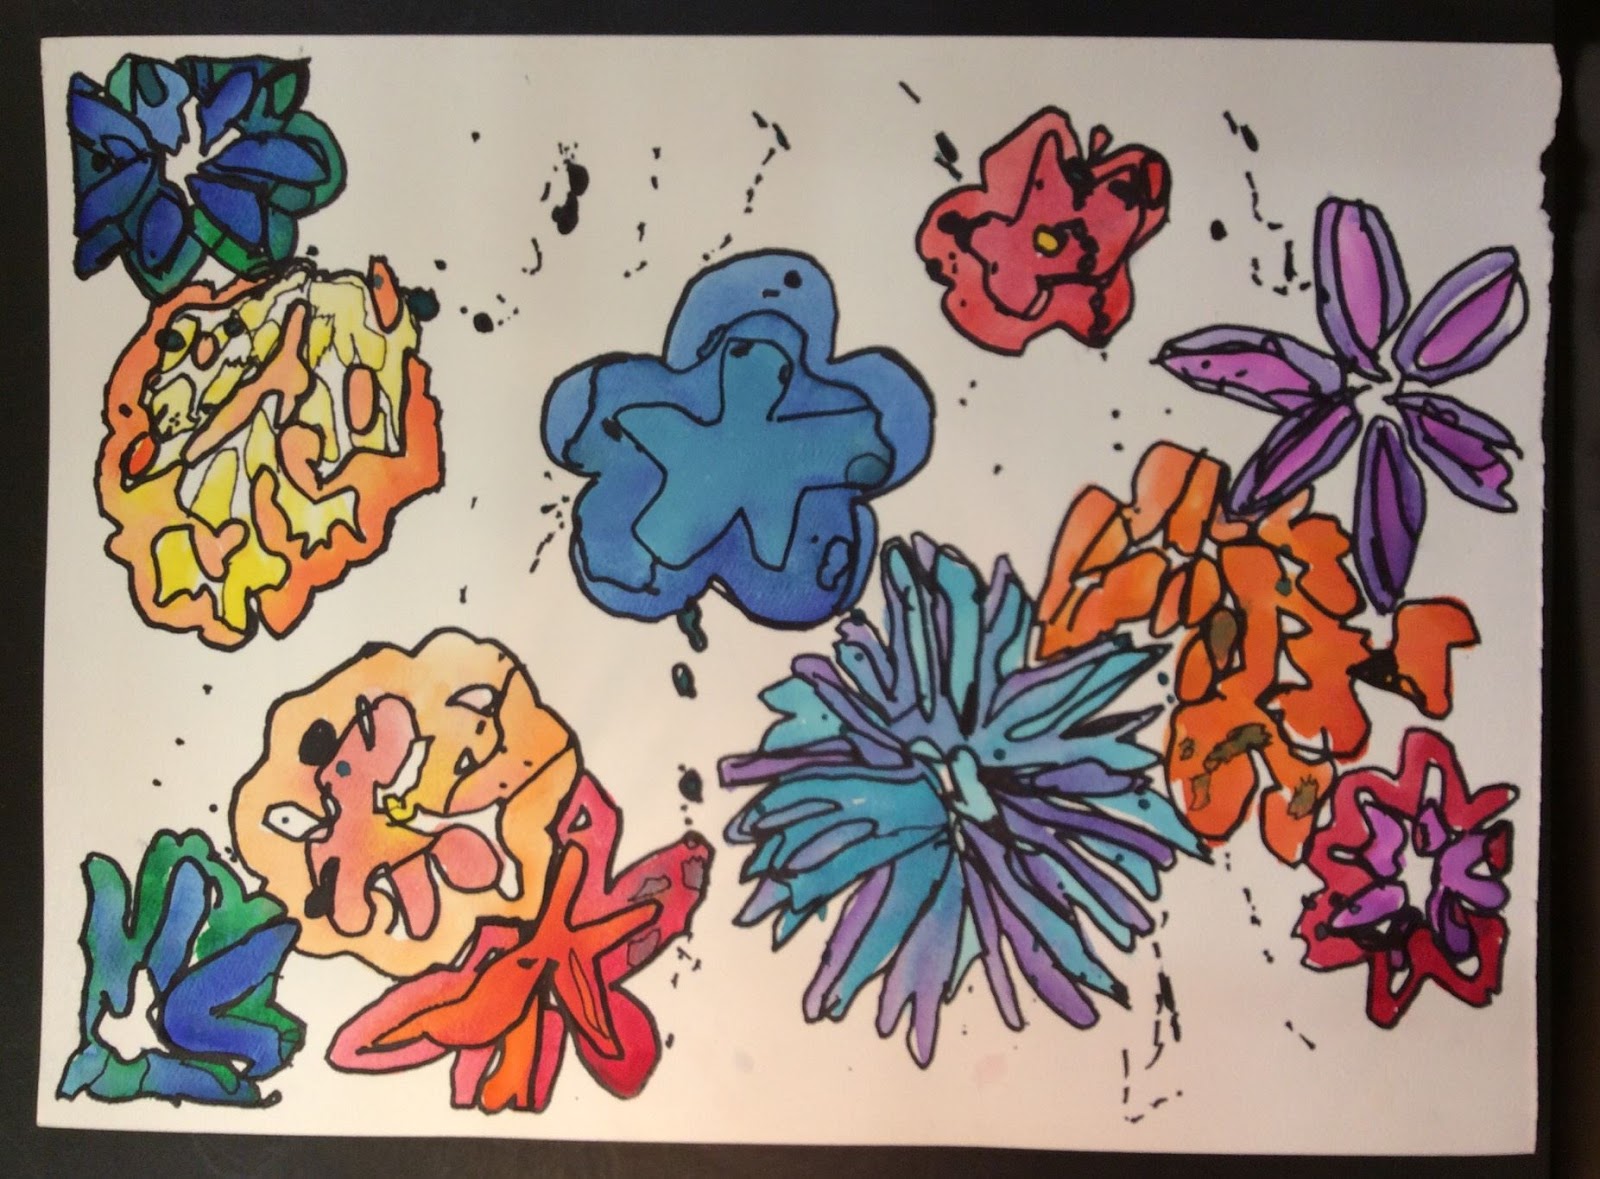 Students painted a visually balance work with a focus on analogous colors. Their flowers were to be recognizable and realistic in nature. Negative space was accentuated through the process of tracing the lines formed by the paint colors. This was to create depth and improve the impact of the design. Thanks go out to Mrs. Kain from Lenox School District for sharing this lesson with teachers at our State Conference this fall.

 I posted about this project back in 2013 here. This years projects are turning out so sweet, I just need to post a few new ones. I made a small change in the lesson this year as well. Students drew the vegetation and bird during day one prior to applying the watercolor background with the kosher salt. That was allowed to dry and week two they returned to the project using watercolor pencils to add color to the bird. I think this gave them better control over the coloring of the bird and it gave me the opportunity to introduce them to an additional medium, which they loved. This is alway a WOW lesson that I make certain to post on the bulletin boards and share with everyone in the school. This is done with 2nd grade students.



 .
.


 This year second grades placed their cardinals in evergreens. Connections were made to science as the discussion was opened up about what an evergreen was and where we might see them. The birds were drawn with black crayon and the evergreens were made with shades of green. If you haven't purchased liquid watercolors for your classroom, they are wonderful. Younger students can use them much more easily that the semi-wet watercolors in a tray. I can better focus the lesson on technique and brush use rather than concentrating on the water/paint ratio.


.jpg)


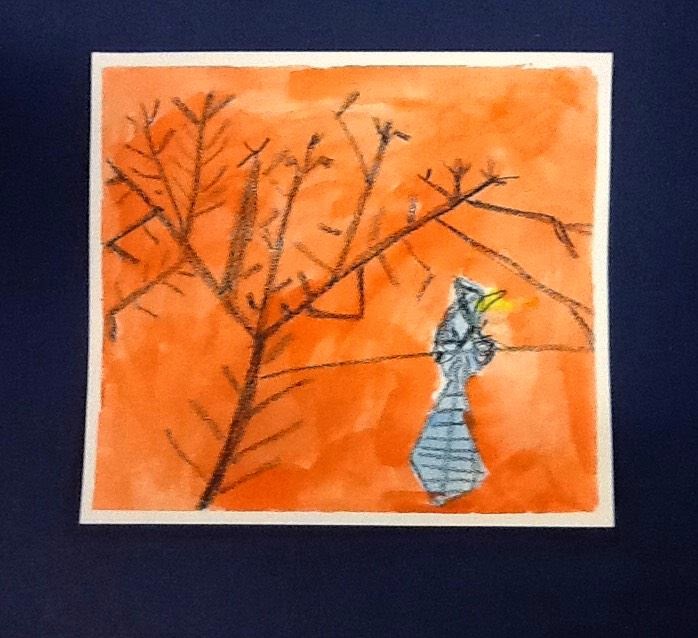 Last year I introduced my students to the work of American Artist Charley Harper. They created some wonderful cardinal paintings. This year I decided to try his bluebird with second grade students. First off I need to share, this bluebird was pretty hard. I only did this lesson with one class and returned to the cardinal for the others. This was our first day back after Thanksgiving break. We had a huge snow storm that took down a lot of trees and one of my favorite trees outside of the Art room suffered a huge loss. I stepped outside the room during my prep and picked up one of the fallen branches and brought it inside of the room. It is still hanging on my whiteboard. I decided to have the second graders observe the branch and attept to see it like a scientist. They started the lesson by first practicing on a small sheet of paper and then they drew a larger second drawing. To this one they added the Charley Harper bluebird. All the drawing was done with black crayon and they painted with watercolors. Students chose to make the night sky a dark purple or to make an orange early morning sky.
 Third grade students have also been working on a unit about native Americans. For their project, I had the paint a pattern on one piece of paper to create a warp and then a second sheet of paper to be cut into strips for weaving. For the second paper, I told them they could paint what ever they would like. I'm now sad we will be cutting up these wonderfully spontaneous paintings. I think I'd like to give my students more opportunities to freely paint. I think I see a future abstract artist in these!


