
 |
| Student Work 2019 |


|
| Student Work 2019 |
 You might be wondering why any sane Art Teacher would take it upon themselves to do an art club every week when no one expects it from them, no one ask them to, and it's not in the contact. Let me start my answer by saying that the Art Club is the highlight of my week. I have the opportunity to be creative and enjoy the company of ten really great kids each week who want to spend some time in my room with me. For me, that's just a gift with a big red bow on it every Thursday afternoon. No matter what type of week I am having, I know I will walk out of Art Club feeling relaxed and appreciated. Ten is the number of little artist I have this year but I have had closer to 20 in years past. I don't want to go beyond the 20 mark but the range of 10 - 15 is really the cream. A few of my little artist are behaviorally challenged in their regular day but in the Art Club, they are in their element. They do have to agree to follow my rules with the understanding that they can be removed from the group if behavior becomes a problem, it seldom does.
 |
| Gelli Print Collage |
 |
| Original Buttons |
 |
| Snow man Christmas Ornaments |
 |
| Acrylic Painting on Canvas Board |
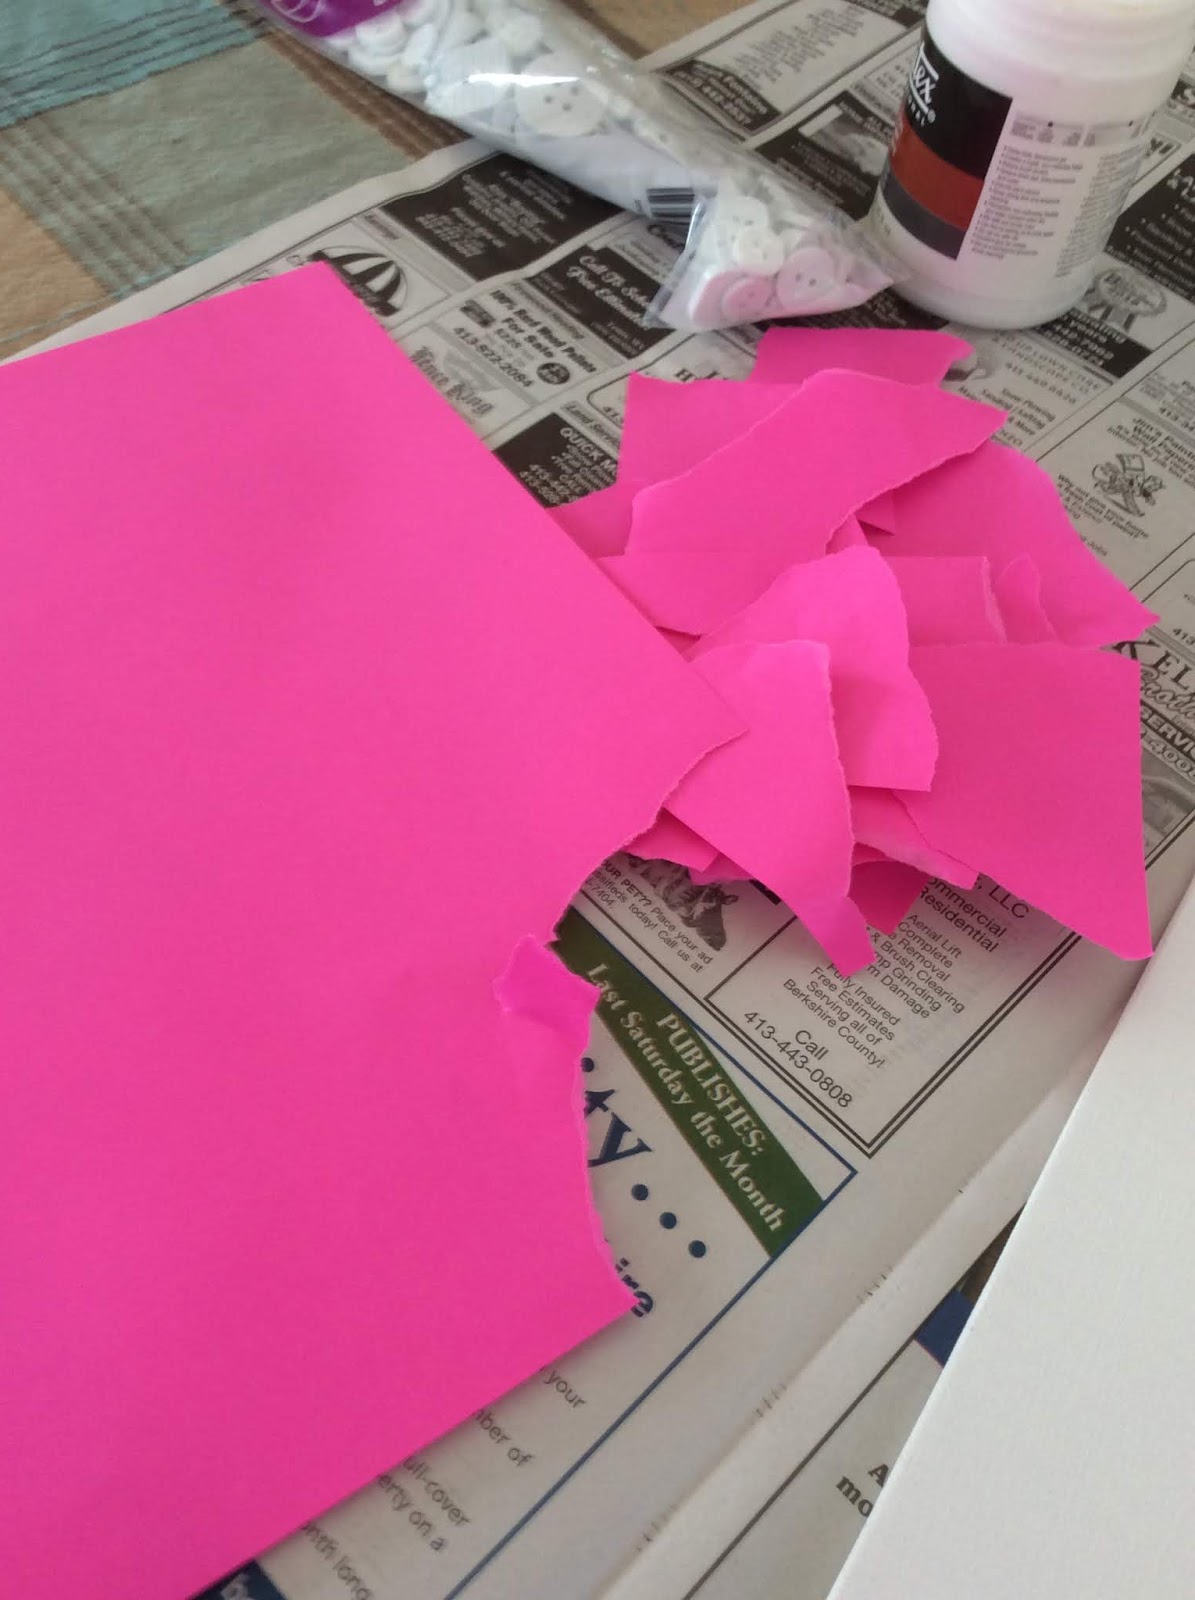
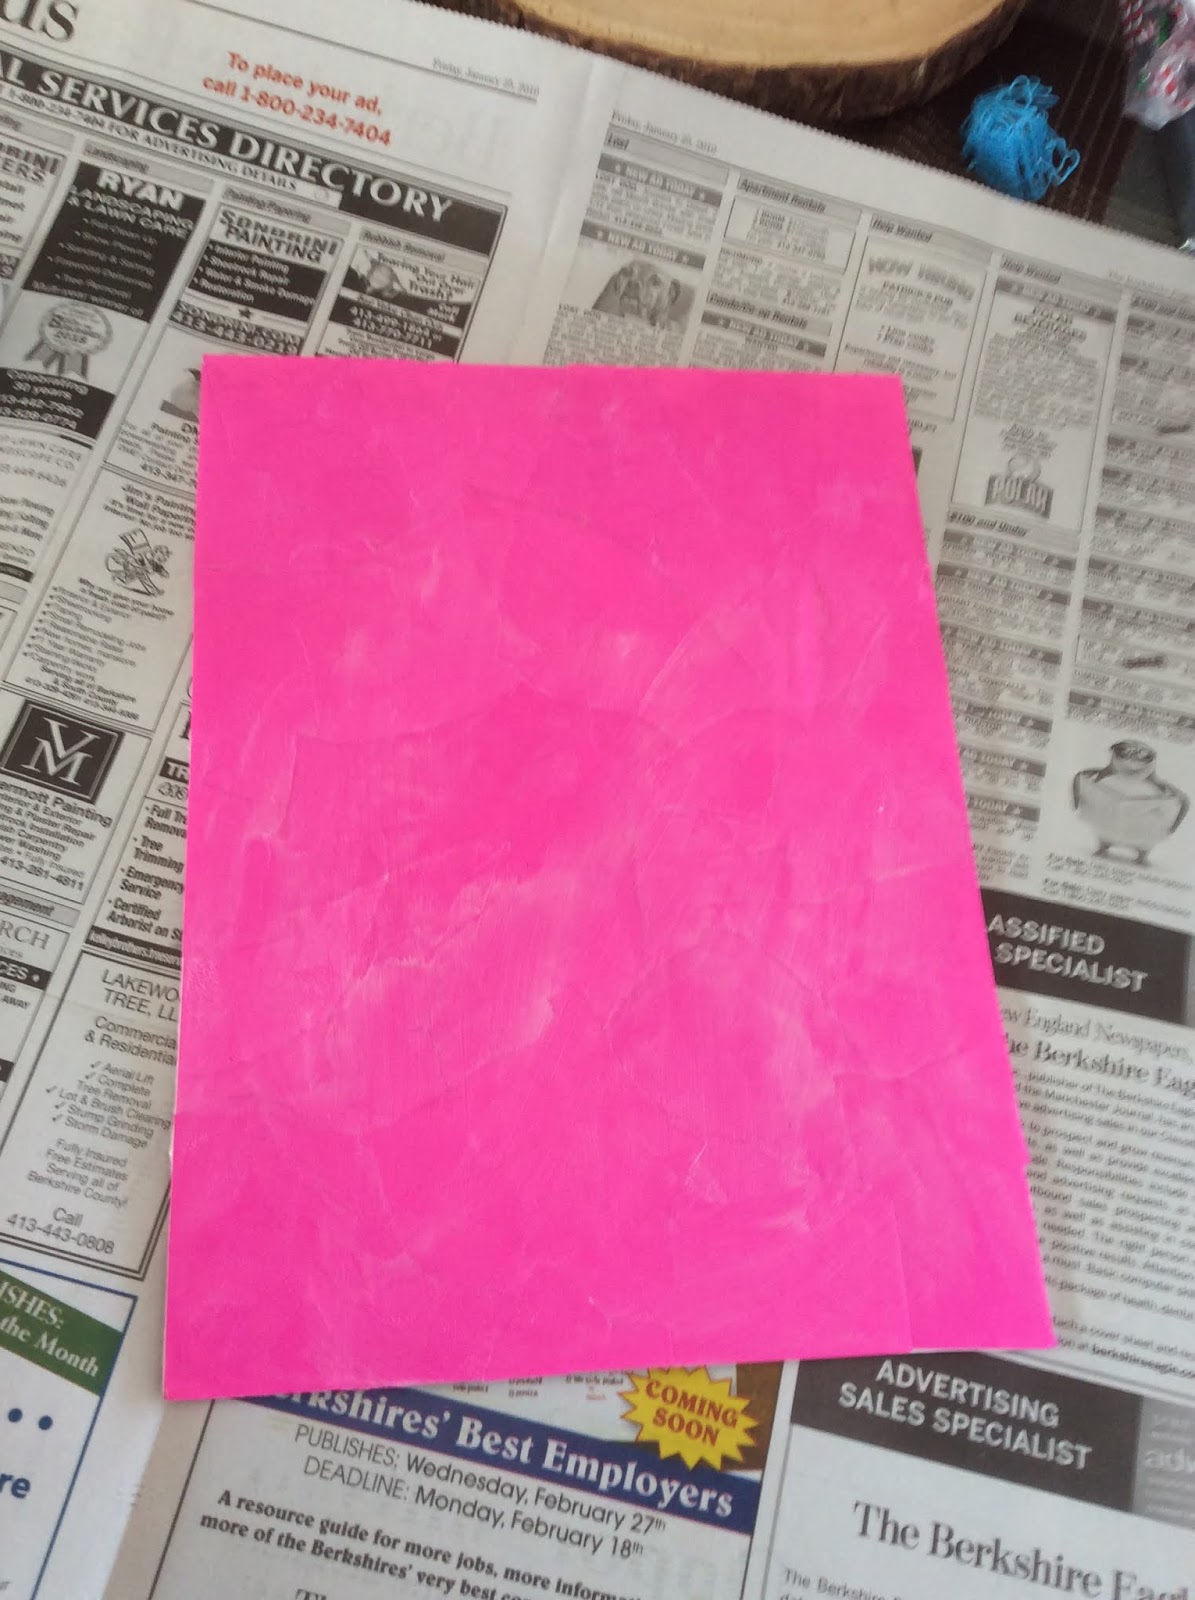
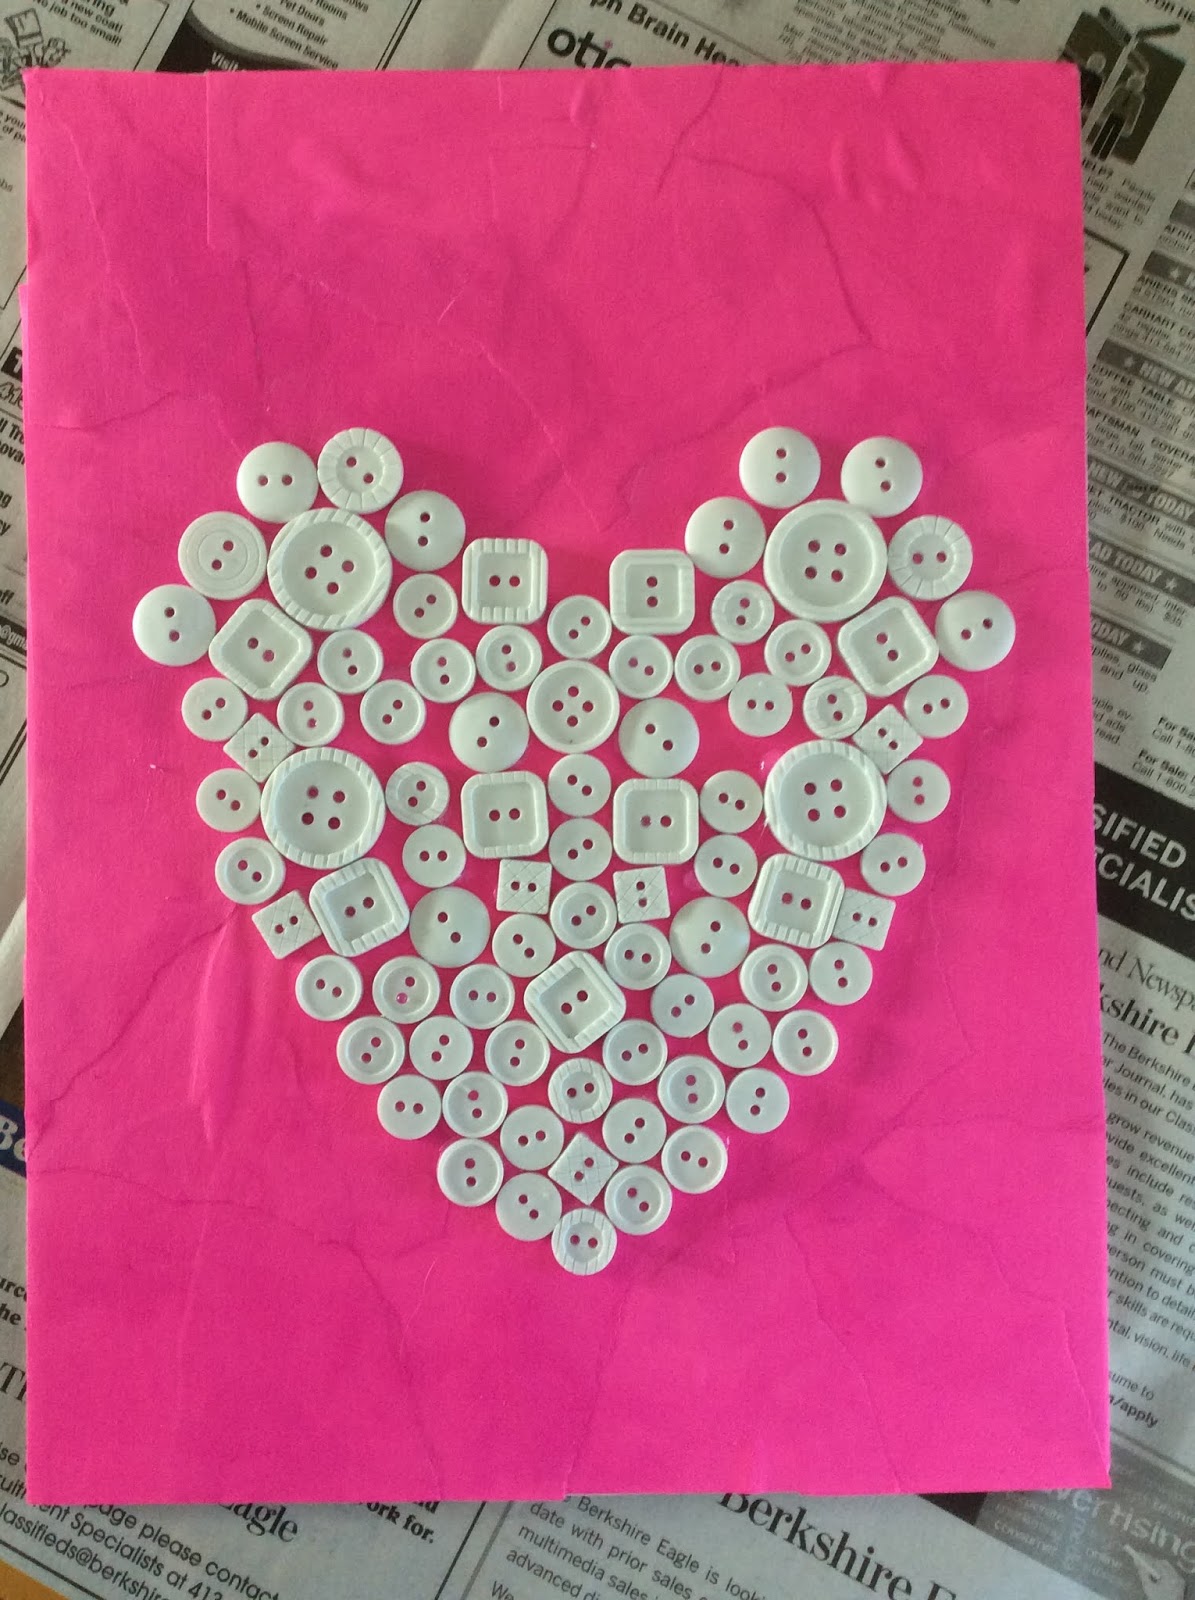 Back in the summer I ordered way too many packages of white buttons from NAEIR. I had plans for some cute little snowmen pins for the Art Club to make for their teachers for the holidays. I think only one of my 10 art-clubbers was into the idea and I have way too many white buttons left over for any human being to own. So what does one do when faced with this dilemma? Well of course, you hit up Pinterest for some ideas!!! I found quite a few ideas but am going to try to shoot this one to the group for approval and hopefully use up a lot of those buttons. Here are some visual steps for how we are going to put this together


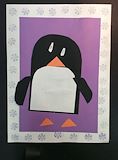

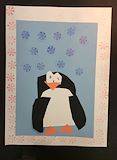
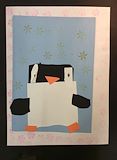
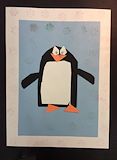
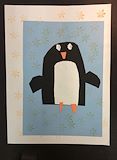
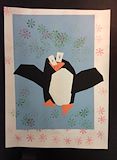
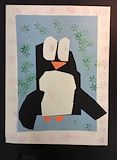
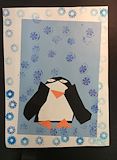
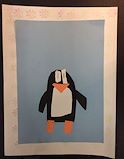
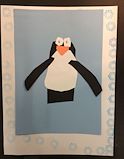
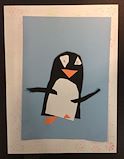
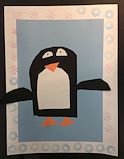
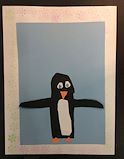
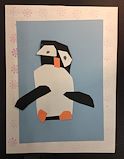 Cutting skills are not a given when my youngest students enter Kindergarten anymore. Used to be they were experimenting and cutting at home prior to beginning school, however, most incoming Kinders haven't even used a crayon anymore. The simplest of what were once given skills are now totally absent. The majority of my Kindergarten curriculum is based on shapes and how to create them. We draw them, color, them, cut them, well you get the picture. By December, students are beginning to combine some of the skills we have been practicing to collage this cute little winter penguin. Matisse is the artist of choice as we share a few stories of his life. For the project, students start by using stamps to do some basic printing and then practice how to use a glue stick without covering every surface of the table and ourselves and not wasting and breaking the glue stick. Skill building 101. I pre-cut rectangles for students to use to then cut and assemble the penguin. Each shape is their own so development levels are quick to identify. I love this project because they are making something they can identify and each one quickly develops it's own personality. Enjoy our Kinder penguins. I sure do! Good books for accompaniment are:
