Showing posts with label oil crayons. Show all posts

Saturday, October 20, 2018

Observing and drawing like Scientist

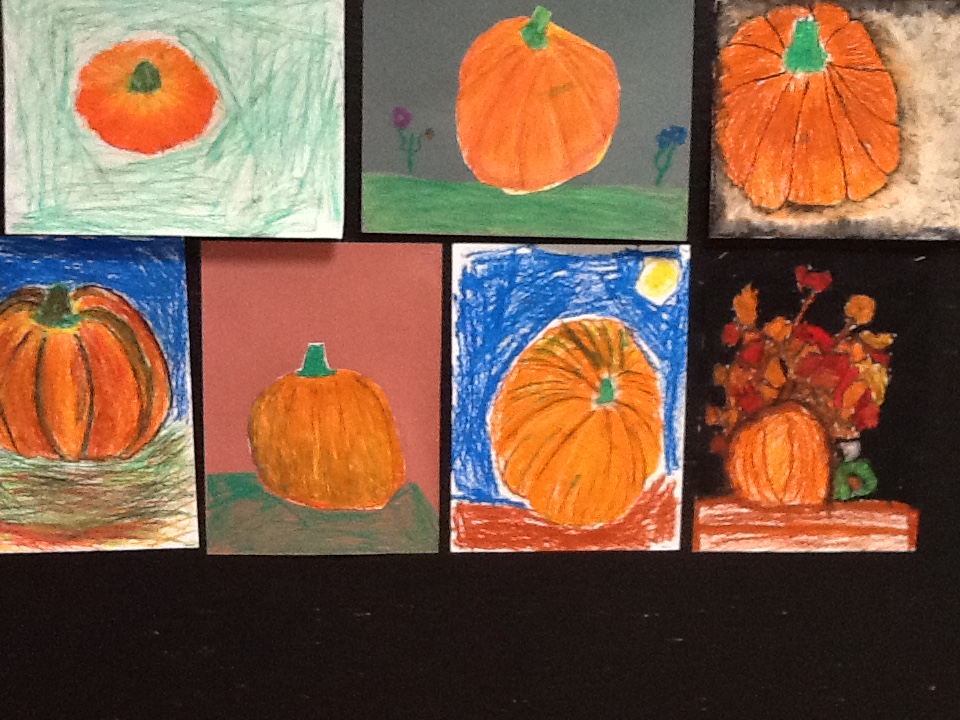
Here are some Oil Pastel creations done by 4th and 5th grade students from Observation.  I purchased several of those really large artificial pumpkins on clearance several years ago.  They have naturally aged and gotten slightly dirty creating different colors making them great for an observation work.  Students were task with drawing a pumpkin as it looked and not stylized with a rectangle stem sticking on the top of a circle.  We talked about the texture of the pumpkin and how it was not truly smooth but had irregularities that we wanted to make apparent in our work.   Using oil pastels in analogous colors, students them added color and dimension to their drawing.  I'm really pleased at the variety of the completed projects and how each of them hints at the 3D element of the pumpkin.  They were allow to finish them as they chose which is evident in the many different backgrounds.

Tuesday, January 12, 2016

Surrealism in Art Club

Art Club work from this afternoon.  We studied a few works from the Surrealism period and talked about how the colors were laid down.  Using oil pastels and baby oil, these small paintings were created.


Check out the texture in this one


Monday, April 28, 2014

Non-glaze effects for clay

I was checking out the latest outfit Cassie Stephens was sporting on her blog the other day and found her post about clay hearts that had been colored with crayons and then painted with watercolors.  I was inspired by her results and it got me thinking.  My third grade students worked with clay with an emphasis on slab and texture this year.  There are lots of challenges with glazing and firing a kiln full of slabs and I really didn't feel I had enough stilts to make certain we wouldn't have a mishap or two.  I decided to set up stations and give the students choices on how they might complete their work.  Two stations contained tempera paint in neon colors.  By splitting it into two stations I had divided the painters into two separate groups so that they wouldn't be working elbow to elbow.  Another station contained crayons, one oil crayons, and one colored pencils.  The last three stations would all have an India ink wash applied to the final project.  As the students finished, I applied the ink and they removed it under running water with a gentle rub.  So here is the reason for this post,  the ink just didn't have the pizazz I was looking for.  Last year I had done clay magnets with kindergarten, here and had used black tempera paint.  I really liked the way they had turned out and how the color of the crayons seemed to pop.  Tempera is definitely my medium of choice with this technique.  Here are a few finished birds to demonstrate the differences.
Left: Oil Crayon with Tempera
Center: Crayon with India Ink
Right: Color Pencils with India Ink

I may try to paint over the ink ones and see if I can achieve more contrast with the colors...we'll see.

Thursday, January 30, 2014

Snowmen in Perspective

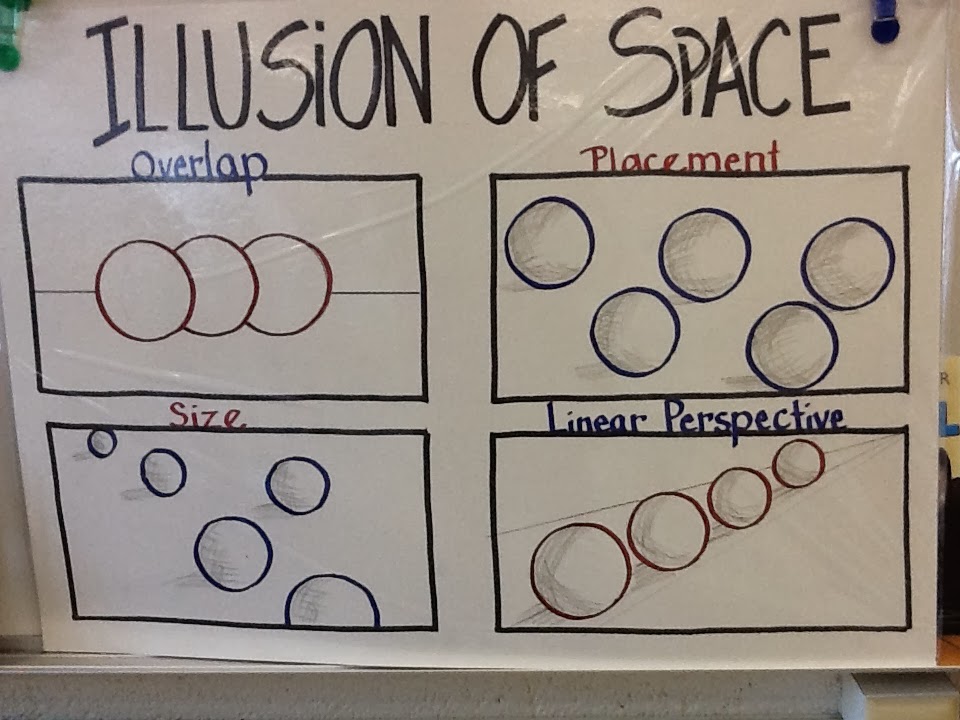
I found multiple references for this form of perspective on pinterest in the past along with this very helpful poster.  I generally do a lesson on space or perspective with first and second graders at this time of the year using the terrific books of Caralyn Buehner, illustrated by her husband Mark.  If you haven't check out the series, it is a must have in the art room.  The short rhymes are catchy and cute and I am in love with Mark's wonderful illustrations..  Most all of them are done without using the color white even though most of the pictures are primarily of snow.  It's a great way to get students to expand their thoughts concerning color and to maybe explore what they see in a new way.  After the reading, we study the illustrations to identify the colors that are actually used for the snow and then investigate our own snow outside the windows to see if we can really see colors in our natural landscape.  The discussion leads to shadow, reflection, and light and color.

First graders explore the multiple ways to show space.  We use the words "Near and Far" in art so the poster is a very good visual.  I decided to try the aerial perspective approach with second graders.  First they cut three "snowballs" from white paper to form their snowmen.  Oil pastels were used to colored around the edges of each circle so they would be visible when stacked to form the snowmen.  Constructions paper was used to collage the features of the snowmen.  Consideration was given to the direction the snowman would be looking.  You can see from the student works, some look forward, some look up.  Finally, snowmen were glued on a dark sheet of construction paper and splatter painted using white tempera and a toothbrush to create the appearance of falling snow.  The students really enjoyed this project.  First graders are still working; I'll post some of those when they are completed.


Sunday, June 2, 2013

Texture Magnets for Kindergarten

Two of my Kinders classes worked faster than the others during the clay unit so I taught a texture lesson and gave then each a ball of clay to make a texture imprint from the bottom of their shoes.  This is usually a Spring project for me and I use model magic and add a magnet to the back.

I begin the lesson by reading the book "Feely Bugs" by David A. Carter.  I have the mini hard back version from when my soon to be 20 year old daughter received it as a child.  As I read, I have good listeners come up to feel the bugs and report back to the rest of the group with their descriptive feeling words.  This helps them to define texture as something we can feel and challenges their vocabulary as well.    If the group is doing a good job as listeners, we read the book twice through so everyone can have the opportunity to report.

I give them a piece of clay about the size of a jacks ball that they form into a ball and then carefully press into the bottom of their shoe to flattened to about 1/4".   With the model magic, they are left to harden for the following week and with the low-fire clay, of course they had to be fired.  The rest of the class period is usually used coloring with texture sheets.   I have a pre-drawn picture of a turtle that is turned into "Texture Turtle".  They then practice cutting skills by cutting it out on the lines when finished.

Back to the clay, with the model magic texture magnets, I have the students color with water based markers and then I spritz then with water to create a tye dyed finish.

In the process of trying to complete all the projects in the remaining three weeks of school, I came upon the clay textures the other day and was scrambling for ideas on how to finish them.   I did not think the marker tye dye would be as effective so went to google to find an alternate method to finish these up.  All the sites I tried to visit were blocked by the district but I though I remember reading on other blogs something about oil crayons and tempera.  Here are the results and I could not have been more pleased with the outcome.   The students were so excited that each one showed them off to the principal!  First they colored as they chose using the oil crayons.  Then a quick coat of black tempera went over everything.   As they dried, I rinsed them under running water and patted them dry.   I think I ill replace the model magic with the low-fire clay in all of the classes next year.

Monday, April 22, 2013

First Grade Wacky Birds

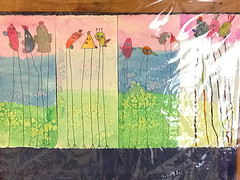
 I found this project on pinterest that had originated from the blog Small Hands Big Art and decided I had to use it as an extension to the Wacky Birds Cooperative Murals.  This way students would have something they could take home since the murals are a group project.  We pulled out those terrific Wacky Bird handouts from Expressive Monkey and each student designed their own birds.  They had used watercolors and kosher salt to create the background the week before.  The idea was to make their birds with really looongggg legs.  I pulled out some watercolor oil craypas to color the birds.  This was the first time we had worked with these and the kids were really excited for a new medium.


Tuesday, February 19, 2013

Dr. Seuss

I always try to create a few project linking to Read Across America Day.  I begin by reading a Seuss book and then spiral off into a lesson in a few different ways.   I will share a few of those lessons over the next few days and follow up with photos of student works next week as we finish them up.

For Kinders a lesson using 
"One Fish, Two Fish, Red Fish, Blue Fish"

Materials:
2 - 9x12 pieces of paper (1 is taped to a firm surface where it will dry flat)
watercolors in warm and cool colors
black oil crayons
glue sticks
scissors
black construction paper for mounting


Week one - using warm or cool colors we create a patterned background.  Pattern is a big focus for kindergarten so I try to support their curriculum as much as possible.

Week two - I begin by have students follow along with me as we draw a fish.   I use my document camera for projecting on the wall for all students to easily follow along.

Using a black crayon or oil crayon,  here are the steps:

   Draw a large open "C" on the left of your paper
   Connect a large "V" with the point toward the right
   Connect a smaller "v" with the point touching the previous one with the opening facing right
   Close the small "v" with a small "c"
   Where the "v's" meet, add a smile on top and a frown on bottom to widen the space
   Add angles to the top of the fish and the bottom of the fish for fins both dorsal and pectoral
   Place a large oval near the front of the large "C" for an eye
   Place a smaller circle inside of the oval
   Personalize the fish with a smile, eyelashes fins, etc as desired
   Decorate the fish using lines in a variety of ways,  horizontal, vertical, zigzag, wavy, etc.

Students finish up by adding watercolor to their fish.   If their background uses warm colors, the fish is cool colors and vice-a-versa.  They really turn out beautiful, colorful and individual.

Finally, fish are cut out and glued onto the patterned paper from week one.  The finished project is glued onto a black mat before display.

At this point I'd like to mention the website Deep Space Sparkle because I think I initially found the ideals for this lesson on her sight a year or so ago, I don't know if I added my own twist or if this is the way she presented it.

A second grade Seuss lesson features the book 
"My Many Colored Days"

This book is about color and emotions.  I have color "people" that coordinate with the characters of the book.  After the reading, we review the colors and expand on what the colors might represent to the students.  I then share some cute monster teaching aides that I purchased that also reflect emotion through their face expressions.  Each student is then challenged to think of a color/emotion combination to use as they create their own Emotion Monster.   

Materials:
9x12 drawing paper
drawing pencils
sharpie markers
water based markers
construction paper
scissors
glue


Students will first brainstorm monsters on a scrap paper using pencils taking into consideration the facial emotions needed to match their color of choice.  Once final decisions have been made, monsters are drawn on 9 x 12 paper to fill the space using a pencil and then going over with a black sharpie. Color is added with water based markers and then "spritzed" with water to add a textural effect.  Monsters are cut out and attached to a colored paper of choice.  This could be complementary to the color of their monster.  The monsters are glue nearer to the top of the paper to leave room for a rectangle that will explain the emotion they are depicting.   Students will first share their monsters with classmates to determine if their color and expressions portray the emotion they had hoped.  Then a rectangle of white paper is created to show the word, in bubble letters that expresses their monster.  These are colored to match the emotion and glued into place below the monster.   I am using Kira Wiley's song "Colors" to accompany this lesson.  Here are the words:


Saturday, December 22, 2012

Birds in the birch trees


I found this project on the blog, Deep Space Sparkle.  With a birch tree visable from my elementary classroom in New England, it felt like a project worth pursuing.  We could observe the uniqueness of this beautiful tree that dots our landscape and create a beautiful project for the winter season using a variety of techniques.  I used this with my second grades in two different buildings and had extreme results.  One group created the project your see above while the other building was a disaster!  I want to think it was the excitement of December that created a varied results but I can't verify that as a truth.  The project was beautiful when created by students in the successful building and I am glad to be able to post a few results to share with everyone.  This was the first opportunity for students to mount their own works.