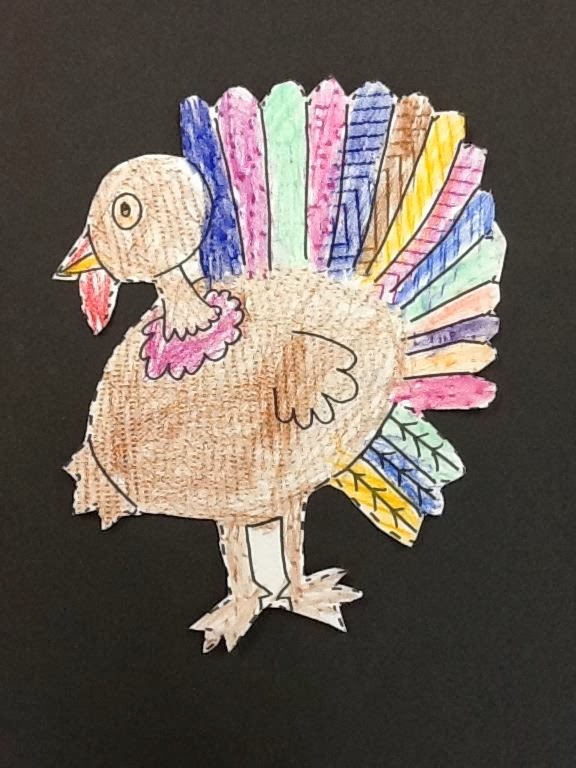
I generally stray away from any holiday themed projects in the art room unless I can strongly present them with a focus on an element of art and not a holiday focus. Many holiday projects tend to be more crafty in nature and I stay away from the crafts to ensure that my colleagues and administrators take my program seriously and don't view it as just a time filler. With that said, here is a recent project for Kindergarten students. Many of my students are still working on using scissors correctly so I try to incorporate a little cutting practice. Also, many have not developed an understanding where cutting should take place and will cut every line on the paper until they have completely dissected their projects. Practice does improve these skills, so we practice!
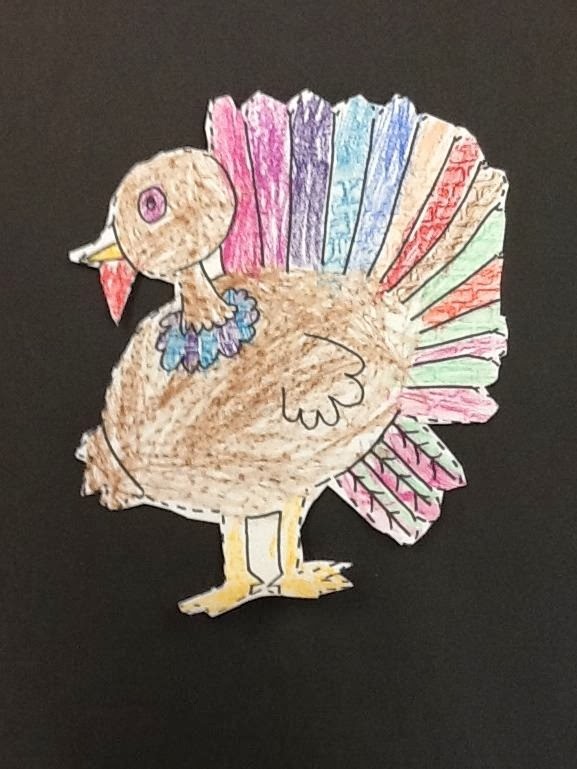
I wanted to introduce texture in art to Kinders this week. We first attempted to define what texture actually was. This is a new concept for them so it takes awhile to make that connection. After a knowledge of texture was established, I took out some plastic texture sheets and demonstrated how to use a crayon sideways to color with the plate and pick up the texture on the paper. Students were given a brown crayon and a large texture sheet to color the bodies of their turkeys. Upon completion, those were collected and a variety of texture sheets were place on each table along with a mixture of colors so students could complete the color/texture process in other areas of their turkeys.
A review of cutting on the dotted or broken line of the turkey shape came next as scissors were passed out and the cutting began. This was not an easy cutting project as there were angles and curves to manipulate around. Happily, only a few turkeys lost their heads and were easily taped back together. It looks like those cutting skills are developing well!!




.jpg)


 I generally stray away from any holiday themed projects in the art room unless I can strongly present them with a focus on an element of art and not a holiday focus. Many holiday projects tend to be more crafty in nature and I stay away from the crafts to ensure that my colleagues and administrators take my program seriously and don't view it as just a time filler. With that said, here is a recent project for Kindergarten students. Many of my students are still working on using scissors correctly so I try to incorporate a little cutting practice. Also, many have not developed an understanding where cutting should take place and will cut every line on the paper until they have completely dissected their projects. Practice does improve these skills, so we practice!


