 |
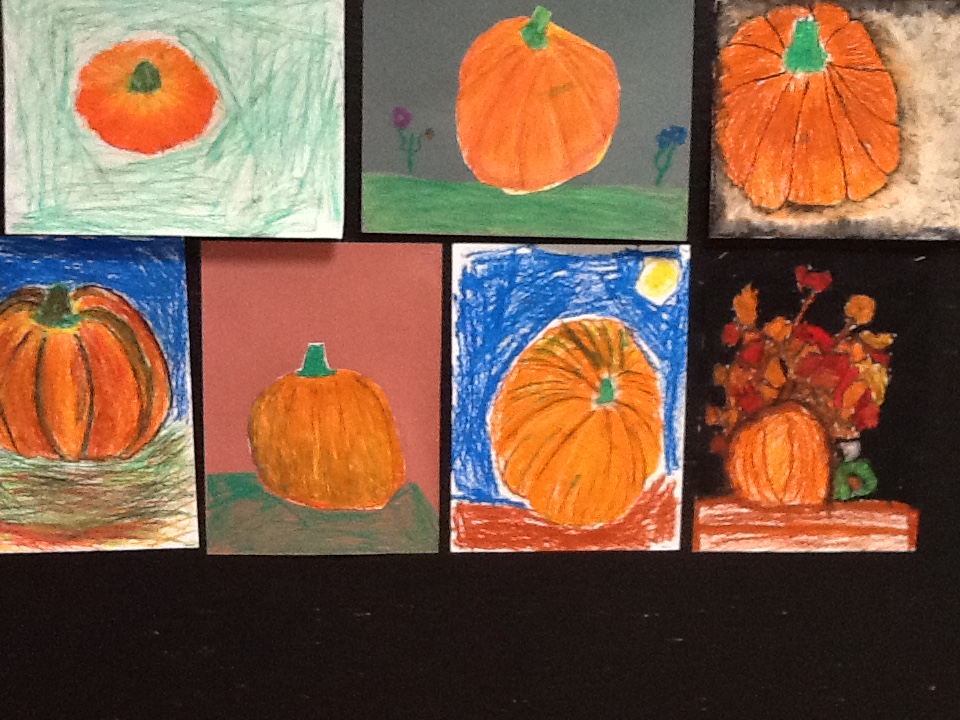
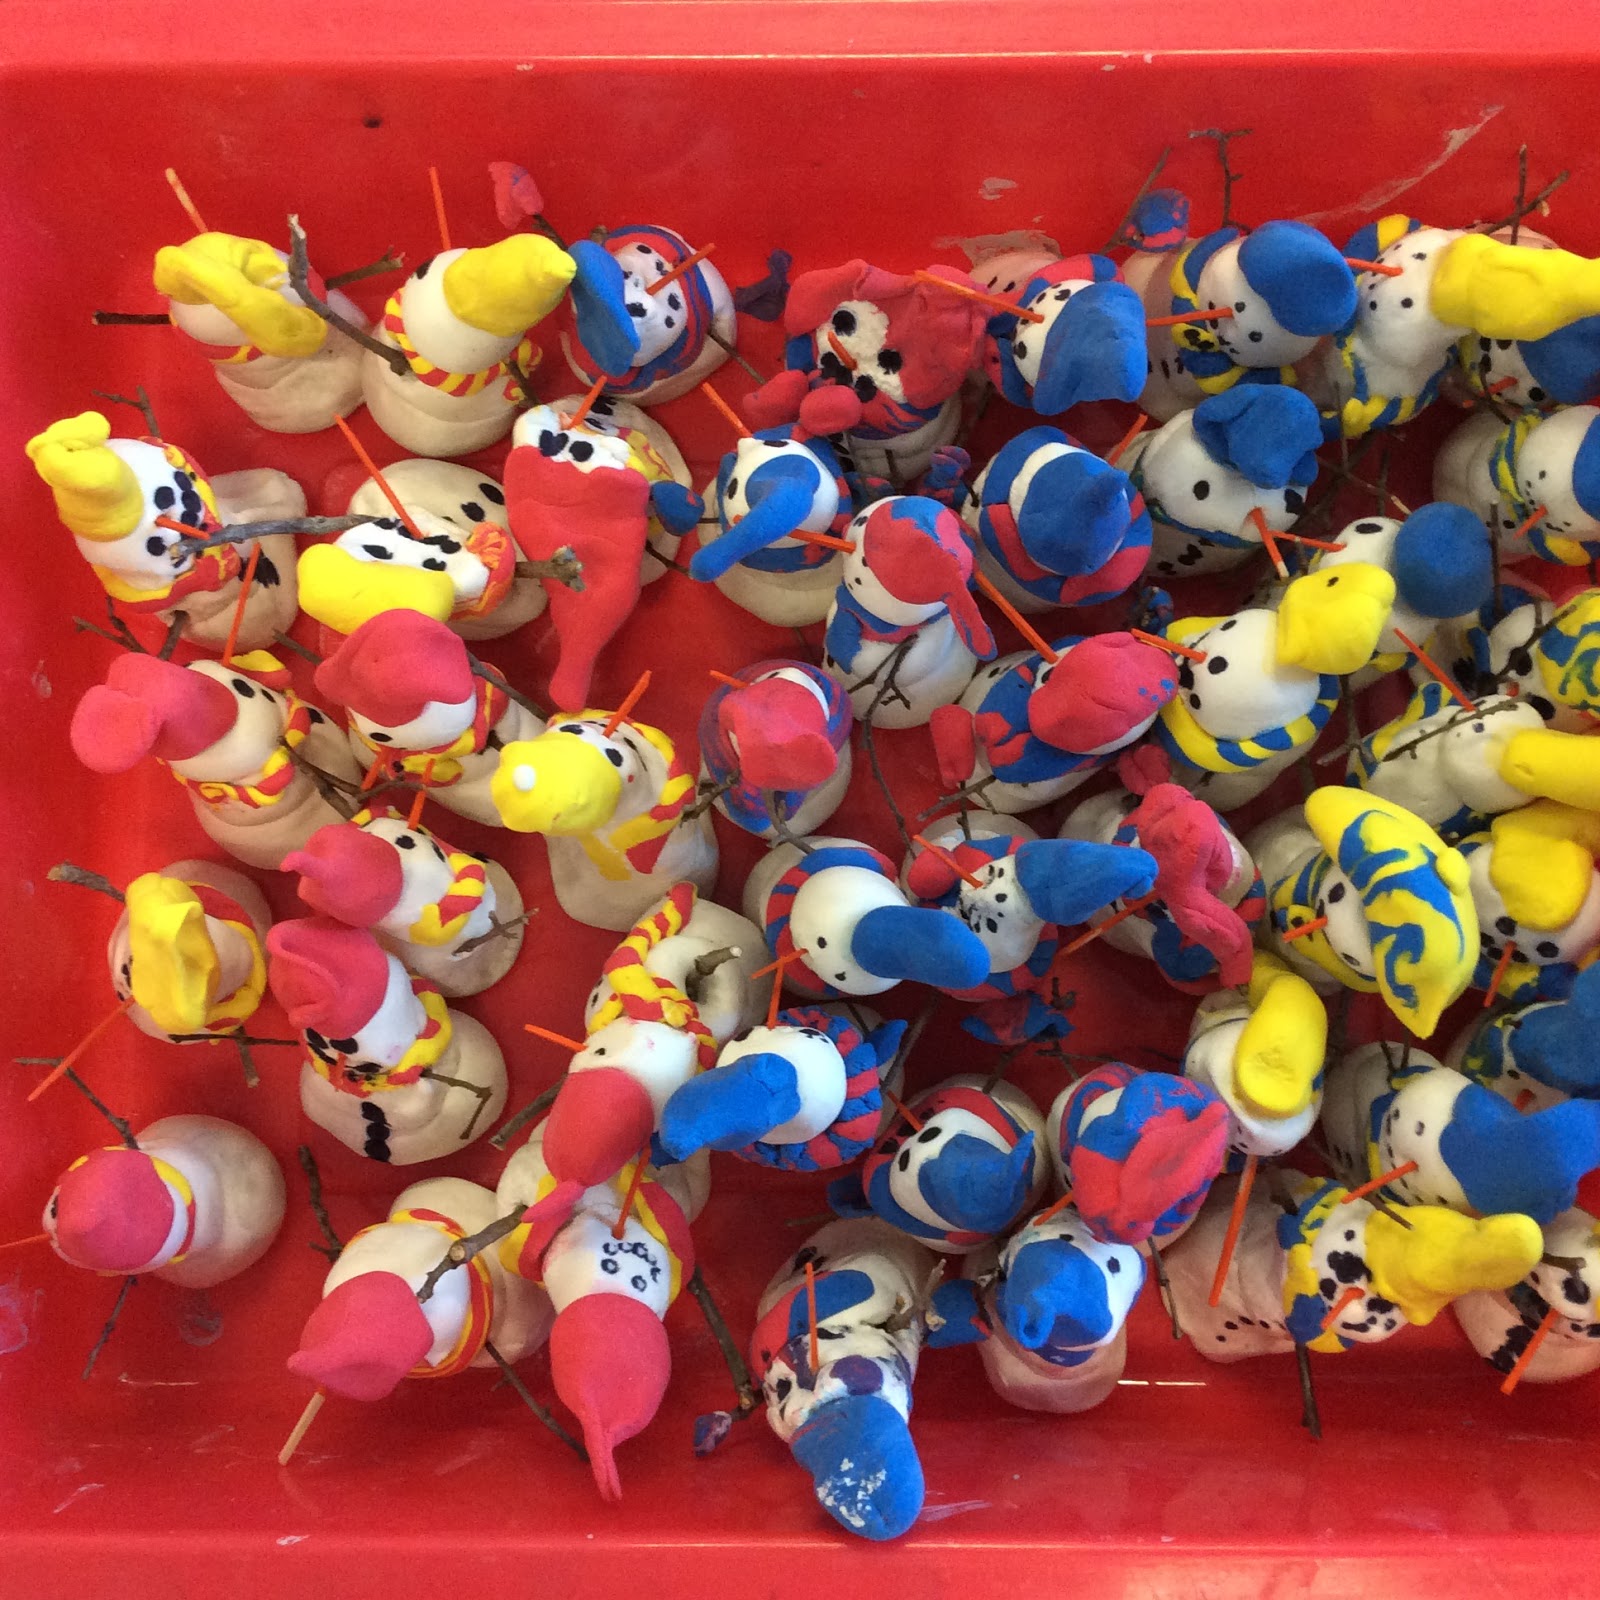
| student work |
 |
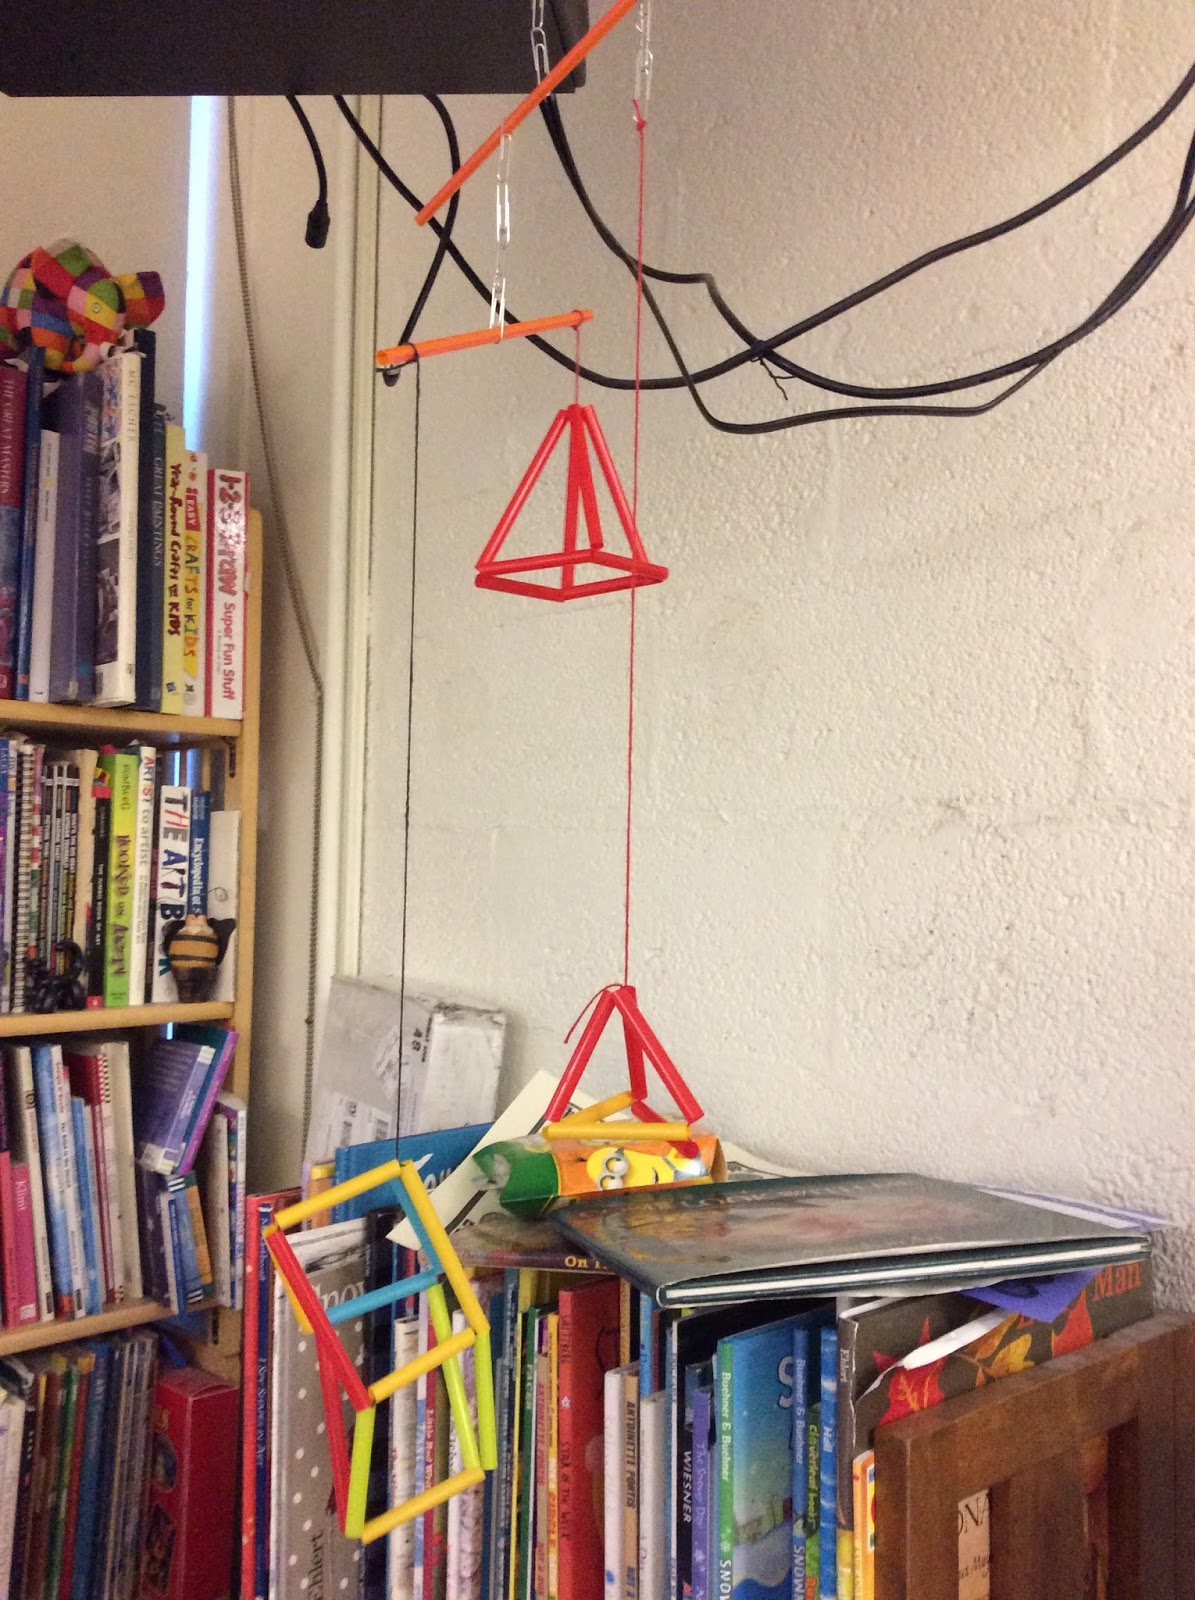
| teacher example |
I was cruzing on pinterest a few weeks ago and spotted this
pin where straws were being used to create a 3D shape. Fourth grade teachers in the past have mentioned to me that students need to understand shapes better for the state test. I have done many different projects where I have had students create a 2D piece of work that is then folded to create a 3D pyramid or cube. This shape using straws and string struck me as intriguing and I immediately knew I was ready to try this out with a group of students. I decided to try my idea with 3rd grade and since I already had the needed materials in my classroom began immediately with the idea of creating a 3 sided pyramid. The materials were simplistic: plastic straws, string, plastic needles, paper clips, scissors and a ruler. The first week was dedicated to having student measure and cut the straws into 2" pieces. This turned out to be a full lesson in itself as they need reinforcement on how to use the ruler to measure. We wasted a few straws but success with measurements far outweighed the cost of the straws. (I was able to obtain some donated straws as the weeks went buy so that was off set anyway.) The needles were used to allow for ease of putting the straws onto the strings. Next step was knot tying. With Velcro shoes, kids aren't very good at this anymore and I knew I did not want to be taxed with tying all the knots. I challenged the students to create the pyramid, a cube and a rectangular cube. After a visit with the 3rd grade Math teachers, I knew what vocabulary I needed to concentrate on to make connections to their classroom work. I encouraged making a minimum of four shapes. They view the works of Alexander Calder and his work with both mobiles and stables. The final step was to actually create their own mobiles with
 |
| teacher example |
attention to balancing on a fulcrum. All the vocabulary they had been exposed to in 2nd grade Science was review during this process. I must say, much of this project was a very painful experience. Often, I doubted whether the students would actually achieve my goal and complete a Calder mobile. Witnessing the pride of accomplishment when completed was so worth it!
Oh, and this is my 300th post!!! I never knew I had that much to say.





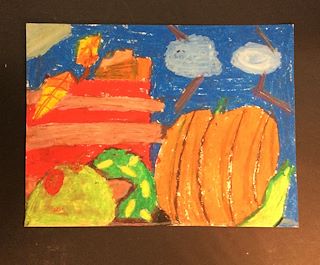
 Here we are in the final weeks of school and I have so much cleaning out to do! My room became the catch all space for some really cool recyclables this year so when I was trying to come up with a final project for a class of second graders, recycled materials came to mind. I had a huge pile of thin cardboard that a stamp collector had passed on to me as well as some cool ovals cut from mat board. I pre-cut all the cardboard into 2" x 2" squares and gave students the option to use as many as they wanted but with a minimum requirement of five squares for each sculpture. First we reviewed how to slit the squares on each side so they could slide and lock together to form the structure. Students experimented with what they sculpture might look like and determined how many squares they would need. They also could cut anything into a small size if they wanted. As soon as they had a plan they disassembled everything and painted the pieces in colors of choice adding designs and patterns as they wanted. Once everything was dry, sculptures were reassembled and I used hot glue to attach them to the base. This was a very successful project, the students really enjoyed it and it was all recycled!!


