Showing posts with label color. Show all posts

Tuesday, October 18, 2016

Build and Draw - Observational drawing with Kindergarten

Build & Draw
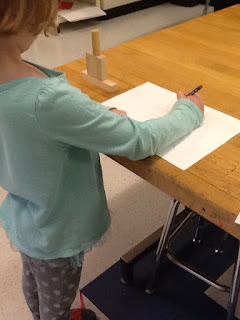
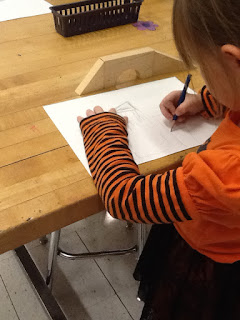
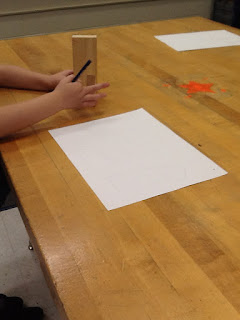
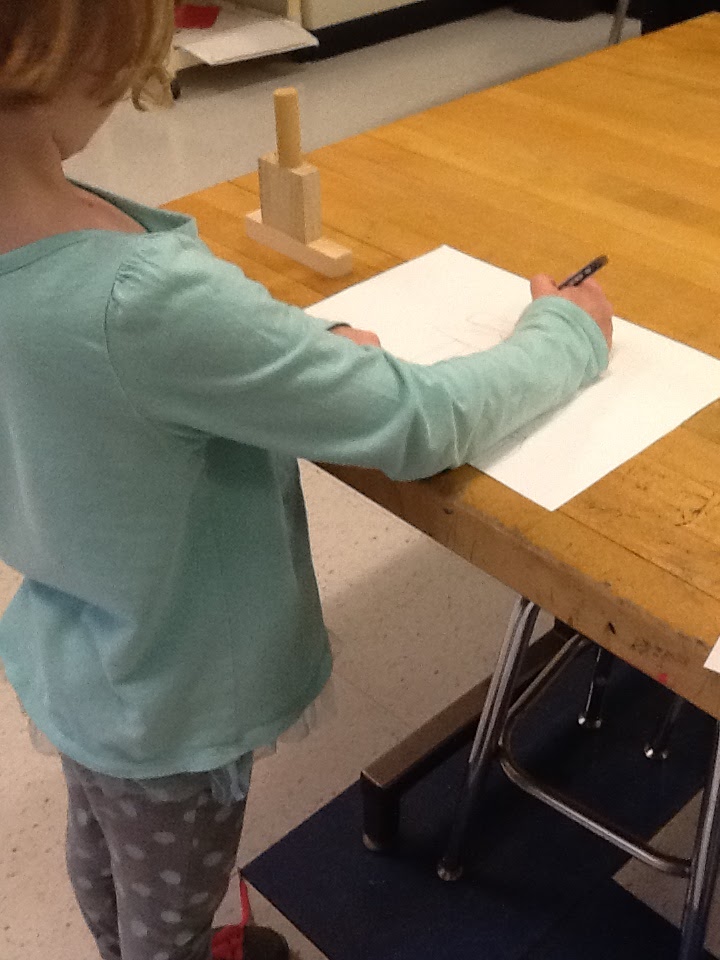
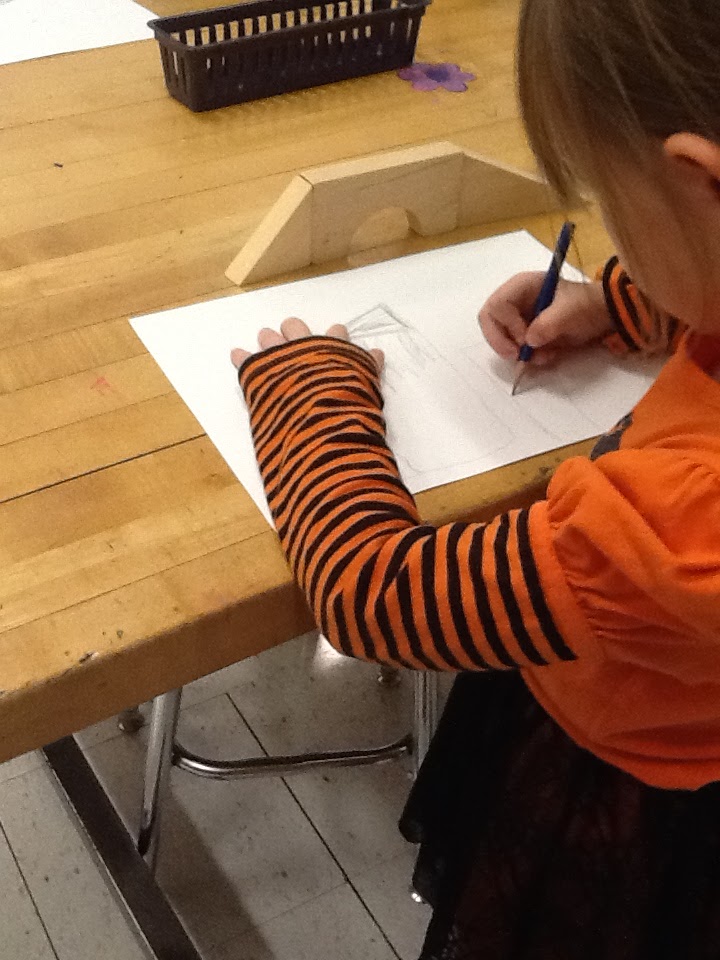
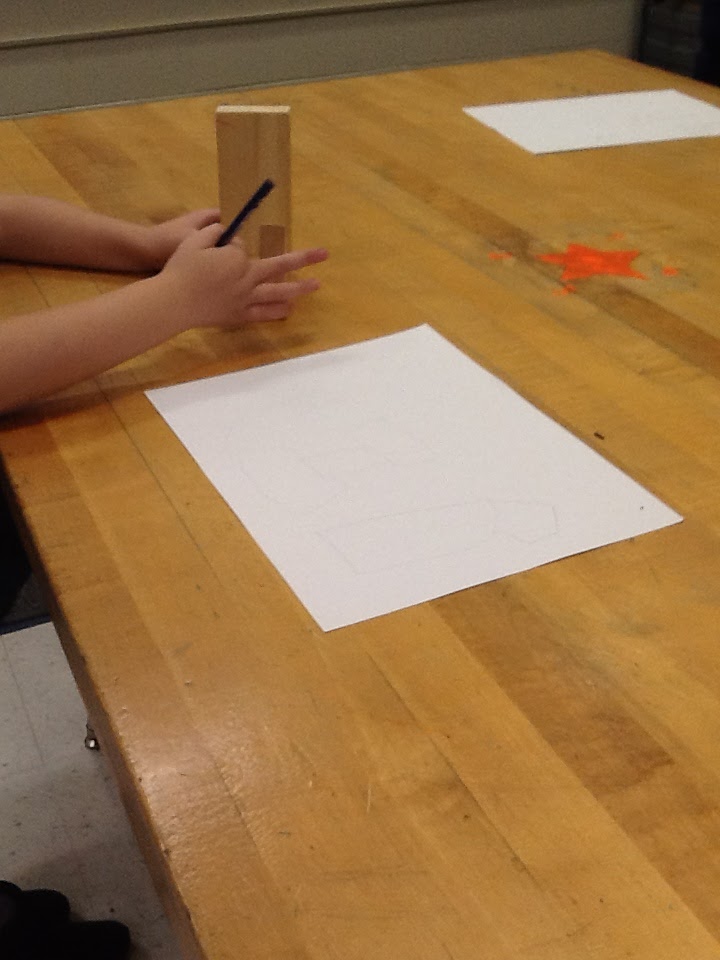
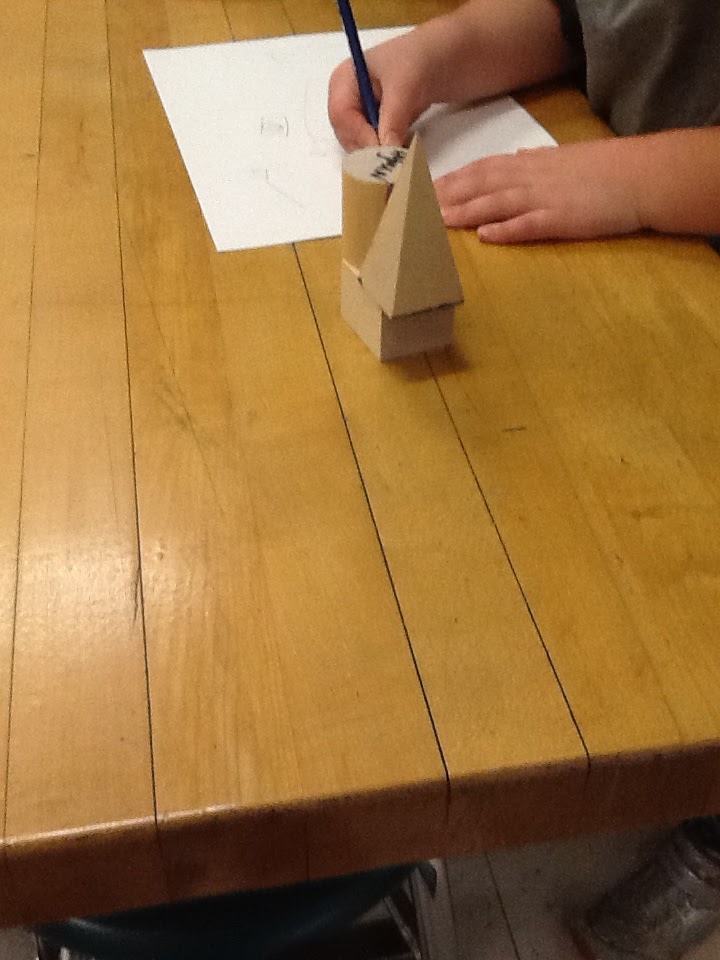
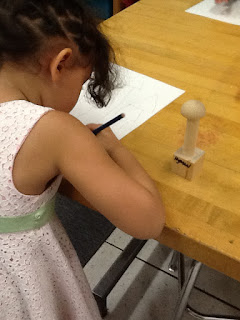
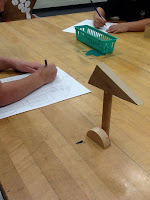
I took my first Studio class with AOE this past summer, Studio Drawing.  If nothing else, the course gave me the "courage" to try a few new techniques with my students.  I also re-evaluated some of the ways I presented a few of my lessons for Kindergarten.  After taking the Reggio Emilo class a year ago, I have been beginning the year with my Kinders doing creative play activities using a variety of manipulative and not jumping into the year with projects.  After four weeks of creative play, I introduced my students to a draw and build.  They used three children's blocks to build something and then drew the shapes using a whiteboard.  For an entire class, they built, drew, rebuilt, drew, etc.  This week, five weeks into the year, I handed them pencil and paper for the first time.  They repeated the build and draw on one piece of paper, three times, then were given colors to practice their coloring skills.  This was a terrific way for me to establish a baseline for observational skills, shape identification and reproduction and coloring.  I am so happy with the results!
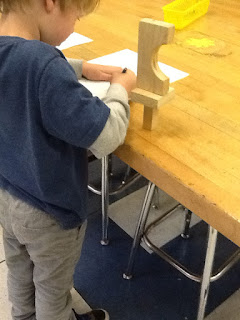
Kinders are standing to do art this year


Progressing with their drawing

Ready to build again

Focus

Great Concentration

Building

Let's get started!

Trading blocks to build again.

Lots of building imagination
Starting to add color

Sunday, March 29, 2015

Borrow some Cuisenaire Rods

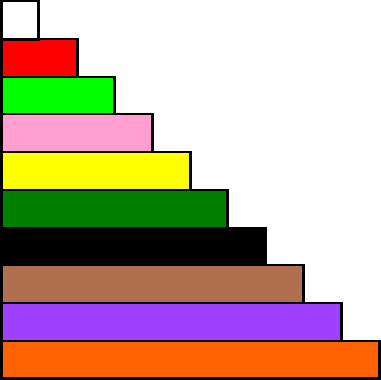
Cuisenaire Rods
These are called cuisenaire rods or sometimes you have them as cubes.  They are used in most Math programs to help students quickly make number associations.  The white rod is a "1" and they progress up by color to the orange "10".  I recently attended a professional development session focusing on using the rods more effectively with elementary students.  As I looked at the rods, all I saw were possibilities for pattern  With the focus on making connections I decided to use a set in the art room and see if my students could create a pattern project using addition combinations.  I challenged students to pick any number 6 or above to focus their patterns on.  The patterns would represent the addition facts for their number with the goal of creating a colorful pattern in the process.  The big build up was that students were told to not explain the project to their Math teachers to see if the teachers could recognize the connections.  This was our secret!  I pre-drew a 10x9 grid for the students to work with.  All the pre-made grids I could find were too small and the finished product would have been tiny.  The rods are actually measured in centimeters so I used the same measurements for the grid I created.
Diamonds of Orange and Blue or Ten


 Ten "X"
I love you 9 X over

Monday, March 2, 2015

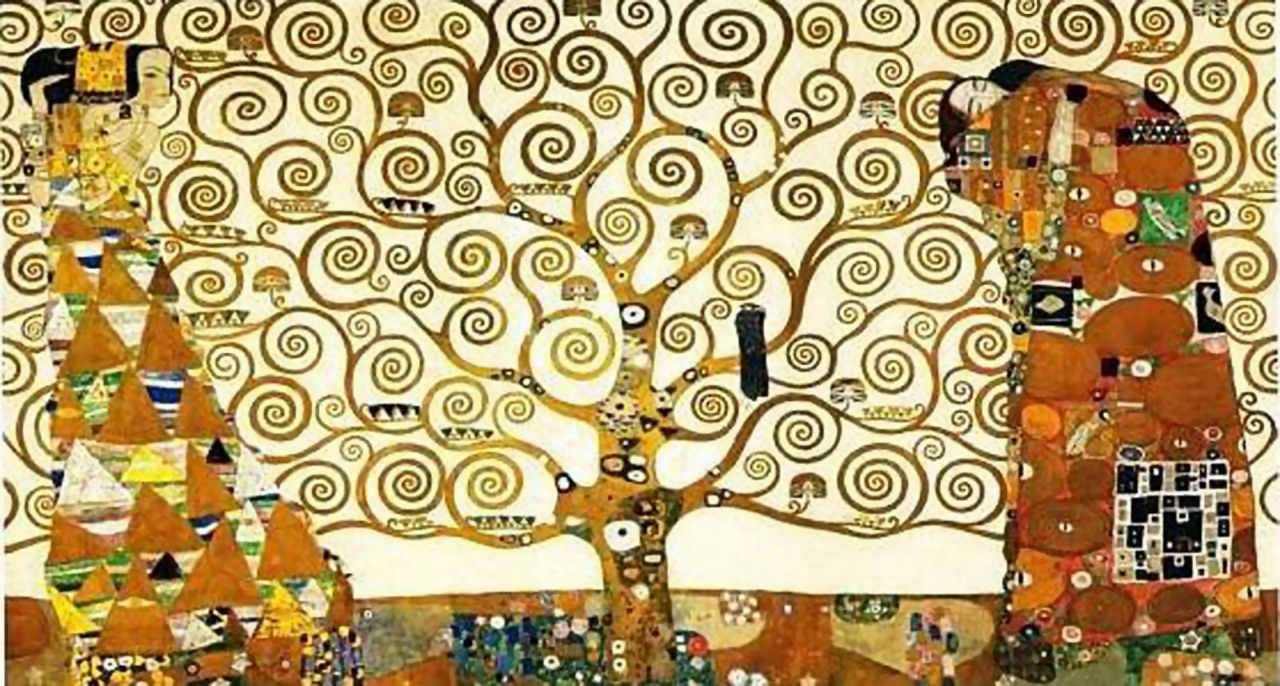
Self Portraits in the style of Klimt

Student Work
Tree of Life

My growth project for this year is focused on self portraits.  For the 
fall, students drew a basic self portrait to learn the "mathematics" 
of the face.  I wanted to help students with the placement of 
features and break habits of placing eyes high on the forehead,
making ears too small and other placement issues of the face.
For the second portrait, I decided to approach the subject
by introducing the work of an artist and using their work as a 
guide for individual work.  Third grade students focused
on the work of Gustav Klimt and primarily the right panel from his
work "Tree of Life".  The goal was to place their portrait inside a
patterned blanket created with line and color.  The backgrounds were 
completed with gold sticker paper to mimic the gold leaf Klimt 
often used in his work.


Friday, December 19, 2014

Paul Klee Poetry and Art

I wanted to collaborate with a classroom teacher for a writing project recently and found this idea in a book about Klee for children.  Students wrote a five line poem on a subject of choice.  Line one was a noun, line 2 was two colors to describe the noun, line 3 was three words to describe the first word, line 4 was four words to describe the first word and line 5 was one word that reinforced the word in line one.  The ELA teacher worked with students to create the poems and then sent them to me for the art portion of the assignment.  Students began by painting a paper with their two colors using watercolors.  They were to be abstract in nature with students having full control over the look of their painting.  Week two, students visualized their poem and created a line drawing that would  represent their thoughts.  These images were drawn on paper the same size as the painted work.  Using carbon paper, students transferred completed images to the watercolor painting.  Most of my students had not seen carbon paper prior to this experience and found the process to be magical!  The poem was transfer to the image in a like fashion.  I was a bit stress about the outcome of this project after the initial watercolor painting was created but the end results thrilled me.  I think my students did a terrific job matching artistic interpretations to poetic work.


Saturday, November 8, 2014

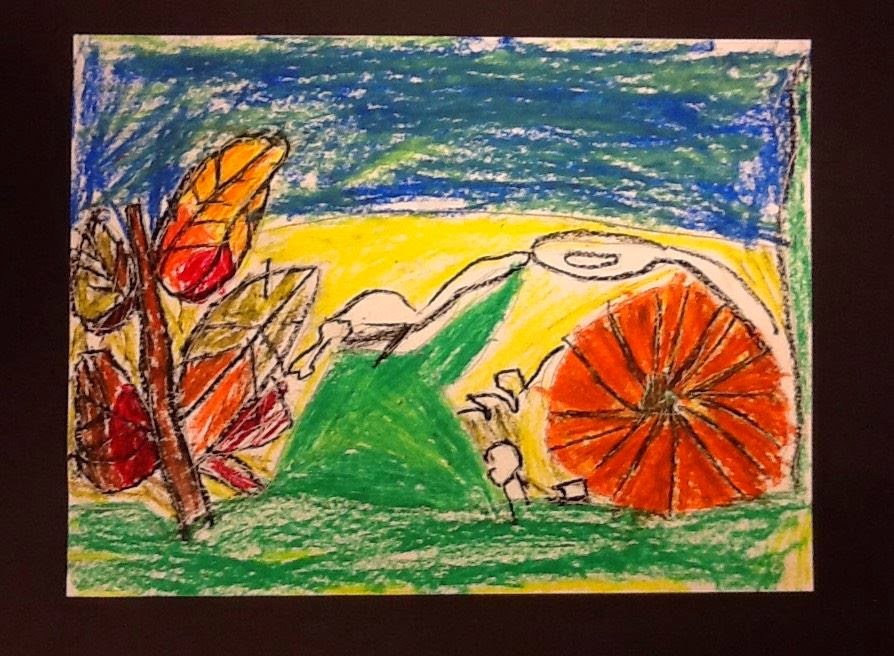
Picasso-stein

Okay, let me begin by sharing, this was not my project idea.  I needed one more quick project for October and a fellow art teacher friend shared this one with me.  First, I presented a brief history on the life of Picasso where we focused on the development of cubism.  The lesson was presented in a directed drawing format.  I always like to keep them guessing when I present a lesson this way.  Instead of revealing what we are drawing, I focus on shapes and lines and how they are combined to create form.  It doesn't take too many steps until students begin to guess what they are creating.  This one took awhile but they did quickly catch on to the fact we were creating like Picasso.  They are drawn on construction paper and colored with construction paper crayons and texture plates.  Texture had to be added in at least one area but could be utilized as much as the student wanted.


Saturday, November 1, 2014

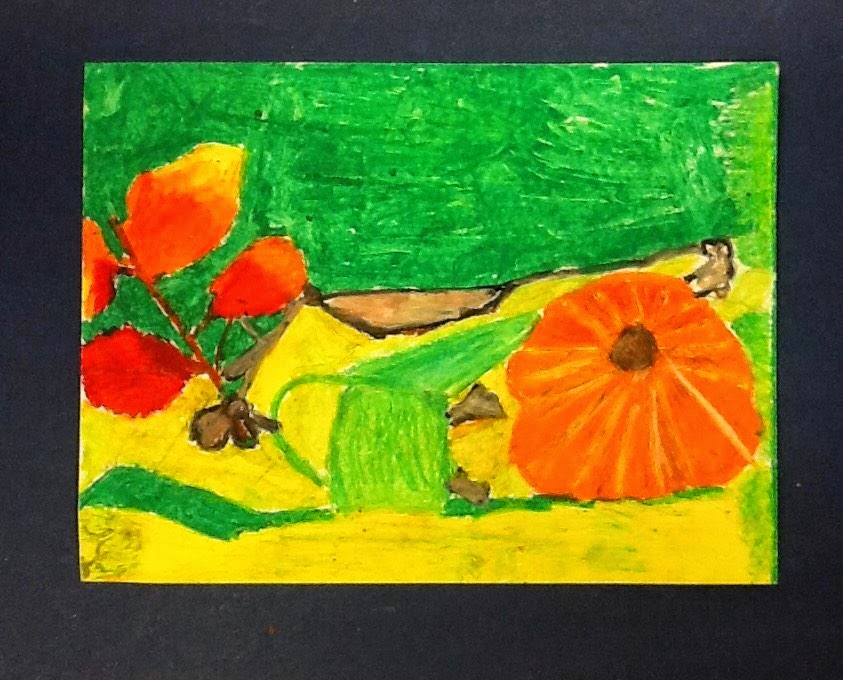
Fall Harvest Observational Drawings

Fourth grade students have been working on developing their ability to see "like a scientist" this past month by observing and drawing a harvest still life.  After drawing the still life the first time, they partner critiqued and drew it again based on the feedback they received.  The 2nd attempt was then colored using oil pastels.  Again, students focused on adding color as they saw it not as they thought it should be; no coloring book colors from this group!  Here are some of their beautiful results.


Friday, October 24, 2014

Life has been busy!

I've been absent way too long but it's not because things haven't been happening in the art room.  This month the focus was on shape, line and color across the grades.  Some of the projects are repeat project and a few were some old tried and true that I hadn't gotten to in the last several years.
Multiple projects from across the grades.

Above is the bulletin board in one of the schools where I tried to display a few projects
from each grade. You will notice spider webs done with a watercolor wash from
 Kindergarten where the focus was on line names and directions identification.  
Both third and fourth were creating observational drawings.  Fourth
 created the harvest still life and third were drawing skeletons.  For both 
grades the focus was "seeing like a scientist" and drawing only things as 
they are seen rather than what we know to be true. This proved to be a bit 
challenging for both groups so a two drafts were created for each project with
 personal and group critiques to help students to raise the bar with their drawings.
Second grade students created line/pattern leaves with scratch art paper.  This is a project from several  years ago.  I had used the die cut machine to cut out maple leaves and the left overs were filed away.  Since there were enough for my two classes, I decided to pull it back out again.  Since 2nd grade had never used scratch art paper before, I had them practice drawing lines and patterns on a small scrap of the paper first.  After mastering the technique, the stem was extended onto the leaf and veins added to created sections.  Each section was filled with a different line pattern.

Finally, a few photos of the value webs from 5th grade.  This project is a twist on one from Art with Mr. E that was popular a few years ago and you still find on pinterest.  Instead of plotting along a line and then creating the value curves, I had students draw a spider web and add value around the web.  Most students opted to add a spider using oil crayons once they were finished.  These were especially striking.  
So that will catch you up a little with the going ons.  I'll try to post a little more regularly in the future.


Tuesday, September 30, 2014

Kindergarten Formative Assessments

Student Project
How do you determine baseline levels for your new incoming students?  For years I have been using this project as my initial assessment of student skills.  I tell my students it is a "follow the leader draw".  As educators we call it a directed lesson.  As I begin the lesson I determine student understanding of line names such as horizontal, vertical and diagonal.  Some usually are familiar but not necessarily comfortable with the words.  I have students draw with their "magic pencils" (index fingers) in the air in front of them as I say the word for the line and then they repeat it back.  We do this for several repeats as they draw first horizontal lines from edge to edge of the paper, followed by vertical lines and finally a few diagonal lines.  Next we embark on the primary colors and shapes.  The lesson might go: color a rectangle red.  I would ask someone to tell me what a rectangle might look like before they color.  A square could be blue or yellow and the final color would be a triangle.  Each time someone shares what the shape should look like so that all students are able to identify the shape they should be coloring.  Secondary colors are introduced by combining the primary colors.  "What will happen when we mix red and yellow?"  This happens for all three secondary colors as more shapes are colored and circles are drawn and colored.  The entire lesson involves active student participation in the discovery with much repetition of words and concepts.  As they work I am constantly taking in the process and looking for struggling students and competent students.  As we all know, there is a huge discrepancy in skills with incoming Kindergartens some years.  This lesson really gives me an overview of what I need to focus on and whether students have already mastered basic skills due to PreK exposure or home involvement.

Student Project

Saturday, August 30, 2014

Back to School with International Dot Day Projects

We just completed our first week of school, 2 1/2 days with the students and we are off and running with projects for International Dot Day.  My teaching focus for this year will be writing artist statements using great artistic vocabulary and connecting and understanding the Elements of Art.  My older classes experienced a few AHa moments as we reviewed the elements of art and reflected on how our art making projects had incorporated multiple elements throughout their years. The students caught on as they began to remind me of their favorite projects and what they had done to represent the various elements.  The big one was Form and the realization their clay projects from previous years were classified as forms. I planned to have each grade connect to the elements in a conscience way with their "Dot" compositions.  The one on the left is from a fourth grade student.  The assignment was to demonstrate space in their composition.  We review past concepts of placement on the page, overlap and size to show space.  The small works (4" x 4 1/2) were then framed in a swirly frame as in the book "The Dot" by by Peter H. Reynolds.
I will share other projects as they are completed.  Fifth grade students are being challenged to create a composition that will reflect three of the Elements.  They will then write an artist statement defending their choices and explaining why they chose the Elements.  Third grade students are creating a dot based on something they might have experienced during the summer based on the dot shape.  I was particularly amused by some of the ideas they came up with for their dot.  I will share when they are completed, you must see the ferris wheel!  Second graders have turned their dot into a symmetrical image reflecting positive and negative spaces as they practiced effective use of scissors.  First grade classes have analyzed color mixing, some by creating a dot only colored with the primary colors and others by designing an original color wheel.  They used the primary colors to mix the secondary colors on the wheel.  I am hoping to have bulletin boards full of dots by September 15th for International Dot Day and prior to Meet the Teacher night.

Saturday, May 3, 2014

Cinco de Mayo - Fiesta!

One of my buildings always puts on a school dance around this time of the year where the teachers work to raise money for the PTA.  The theme for this year was Fiesta.  Art students create the decorations for the dance.  Fourth grades students created patterns in lively colors on white paper that had been cut into 9 x 4.5 sheets.  I had envisioned them as the skirts for Senoritas but once the papers were accordion folded; they didn't quite measure up in size.  The folds immediately brought to mind the beautiful fans Senoritas waved as they danced and the work took it's own life.  The fans made beautiful decorations.   The lesson incorporated math with the patterns along with an exposure to the culture of Cinco de Mayo with vibrant color and dance.


Saturday, March 1, 2014

Rubric for Kindergarten Assessment

I successfully administered my Roll a Dice Assessment to all Kindergartners.  They thought we were playing a very fun game and were exceptional listeners for the entire class.  I did not have time for them to color in all of the shapes in my 45 minute class period.  The average was about 16 rolls of the die.  Today I am attaching the rubric I used for this assessment.  I made sure to walk around during the test to do a bit of formative assessments to determine if they could identify the shapes.  I also made a master list of what number was rolled and what they were told to color. The assessment post is here.